Installation Tizen 7.0
Quick guide for setting up a Samsung Digital Signage display with Tizen 7.0
The most important data at a glance
URL launch app address
http://rstv.app or
https://rstv.app
RM server server address:
rm.rstv.app
TLS:
Do not use
Port:
7001
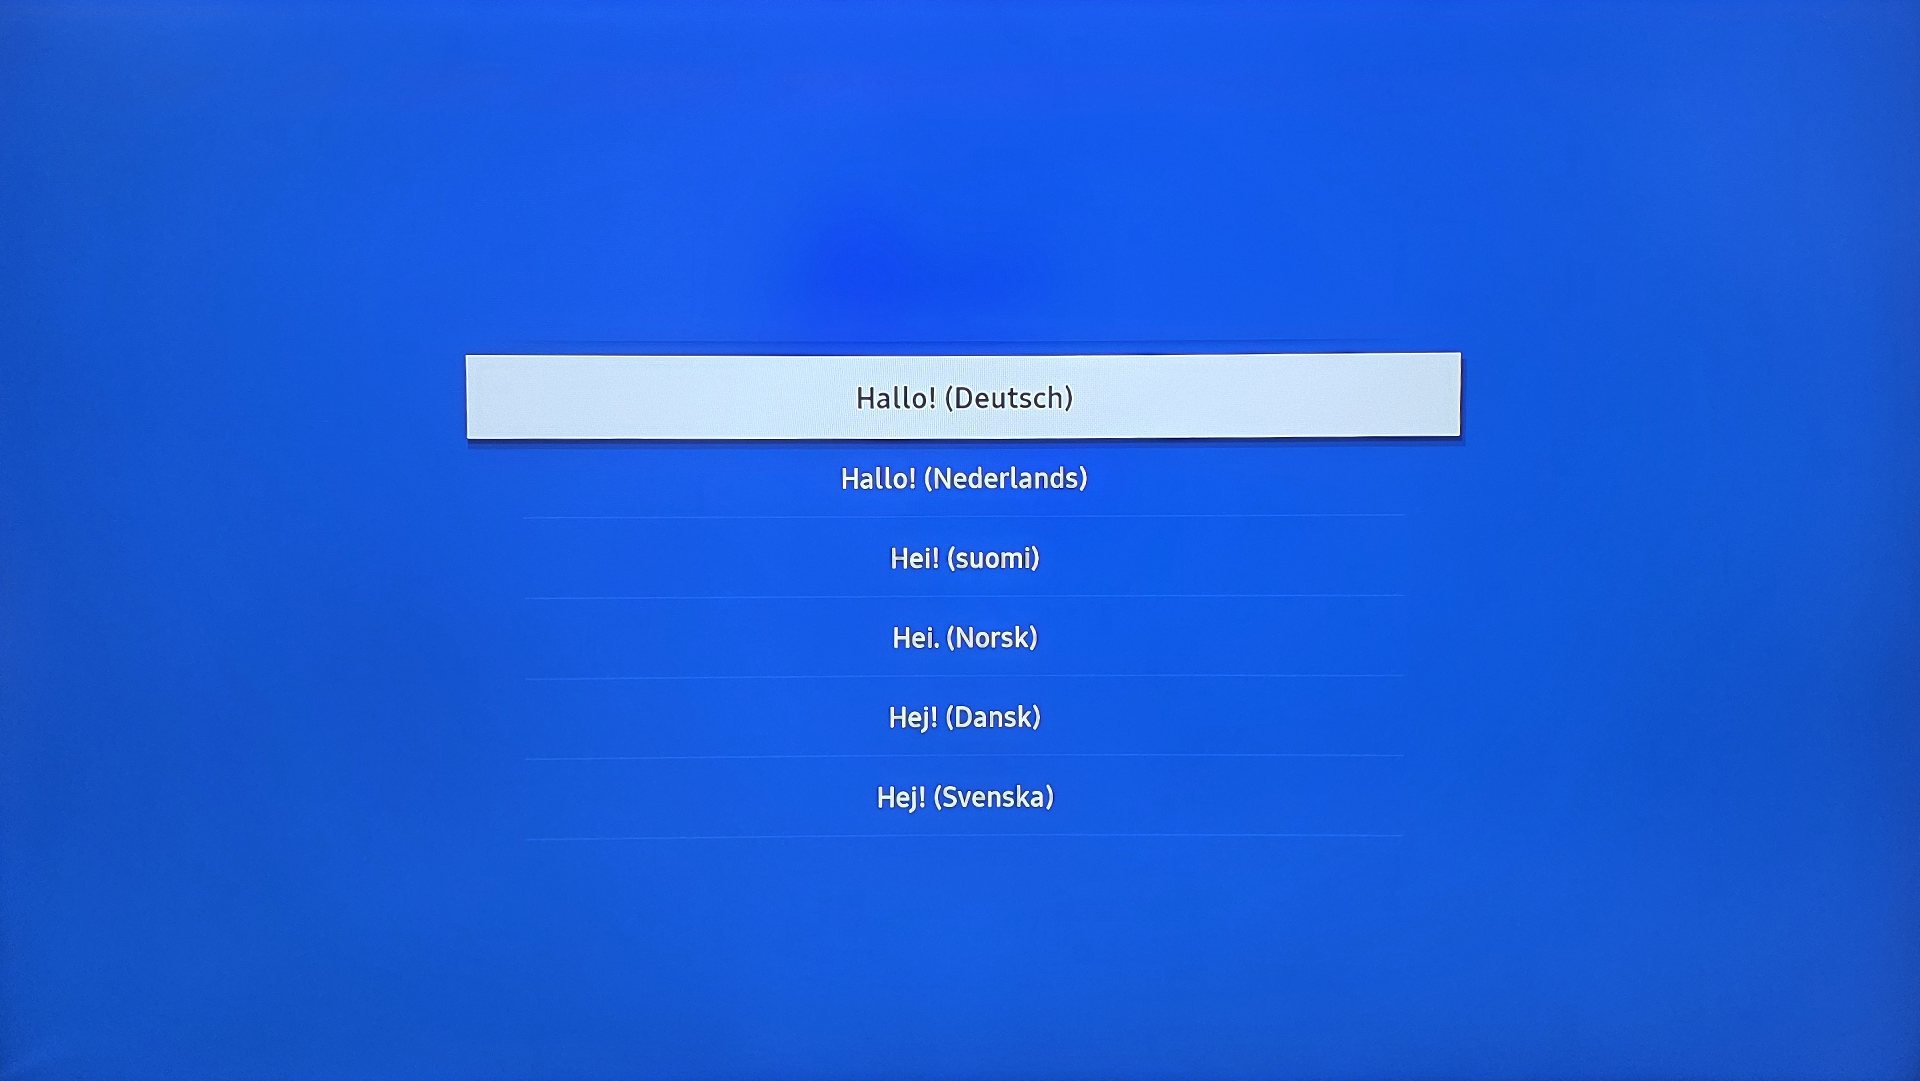
Set language
Select the language that suits you from the available languages.
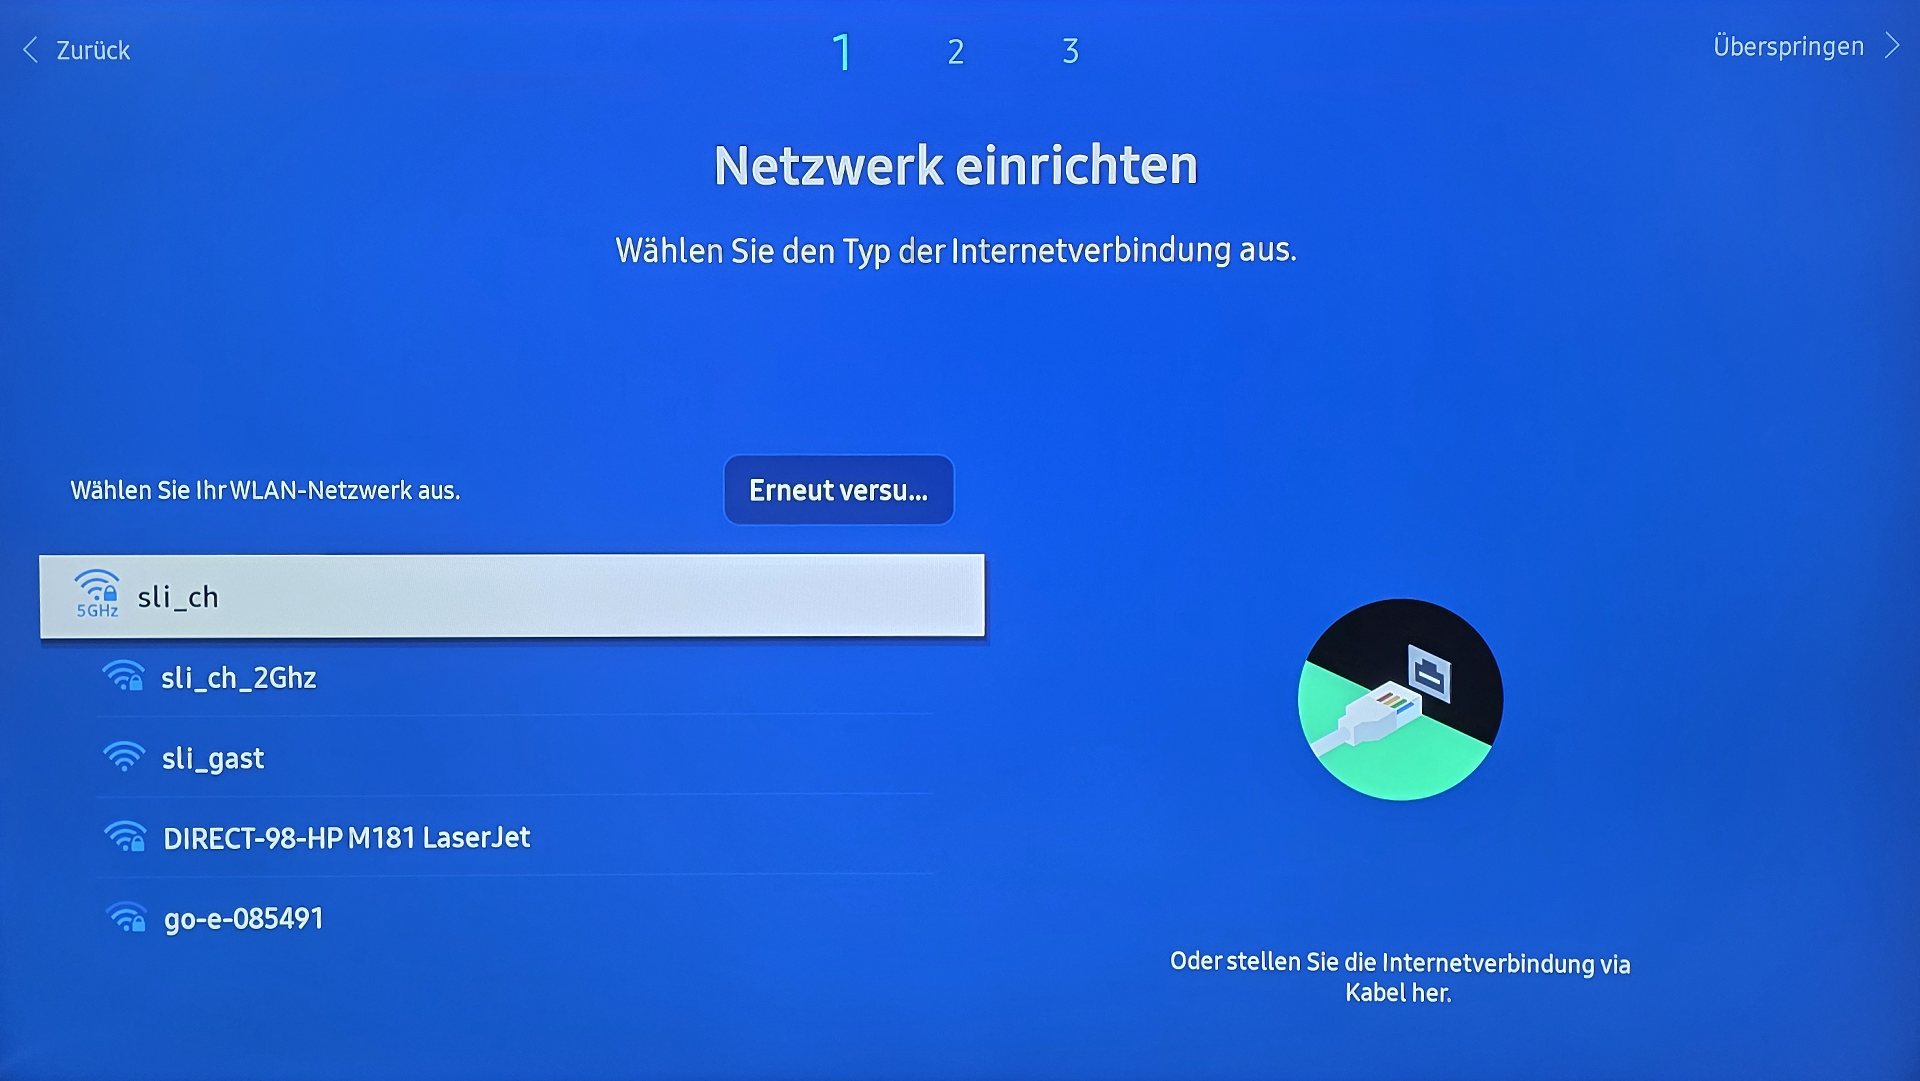
Set up network
Select your wireless network from the list of found networks. If the network you intend to use does not appear in the list, check the following:
- Is the router switched on?
- Is the device close enough to the router/transmitter?
- Is the network really available? (Test with other devices)
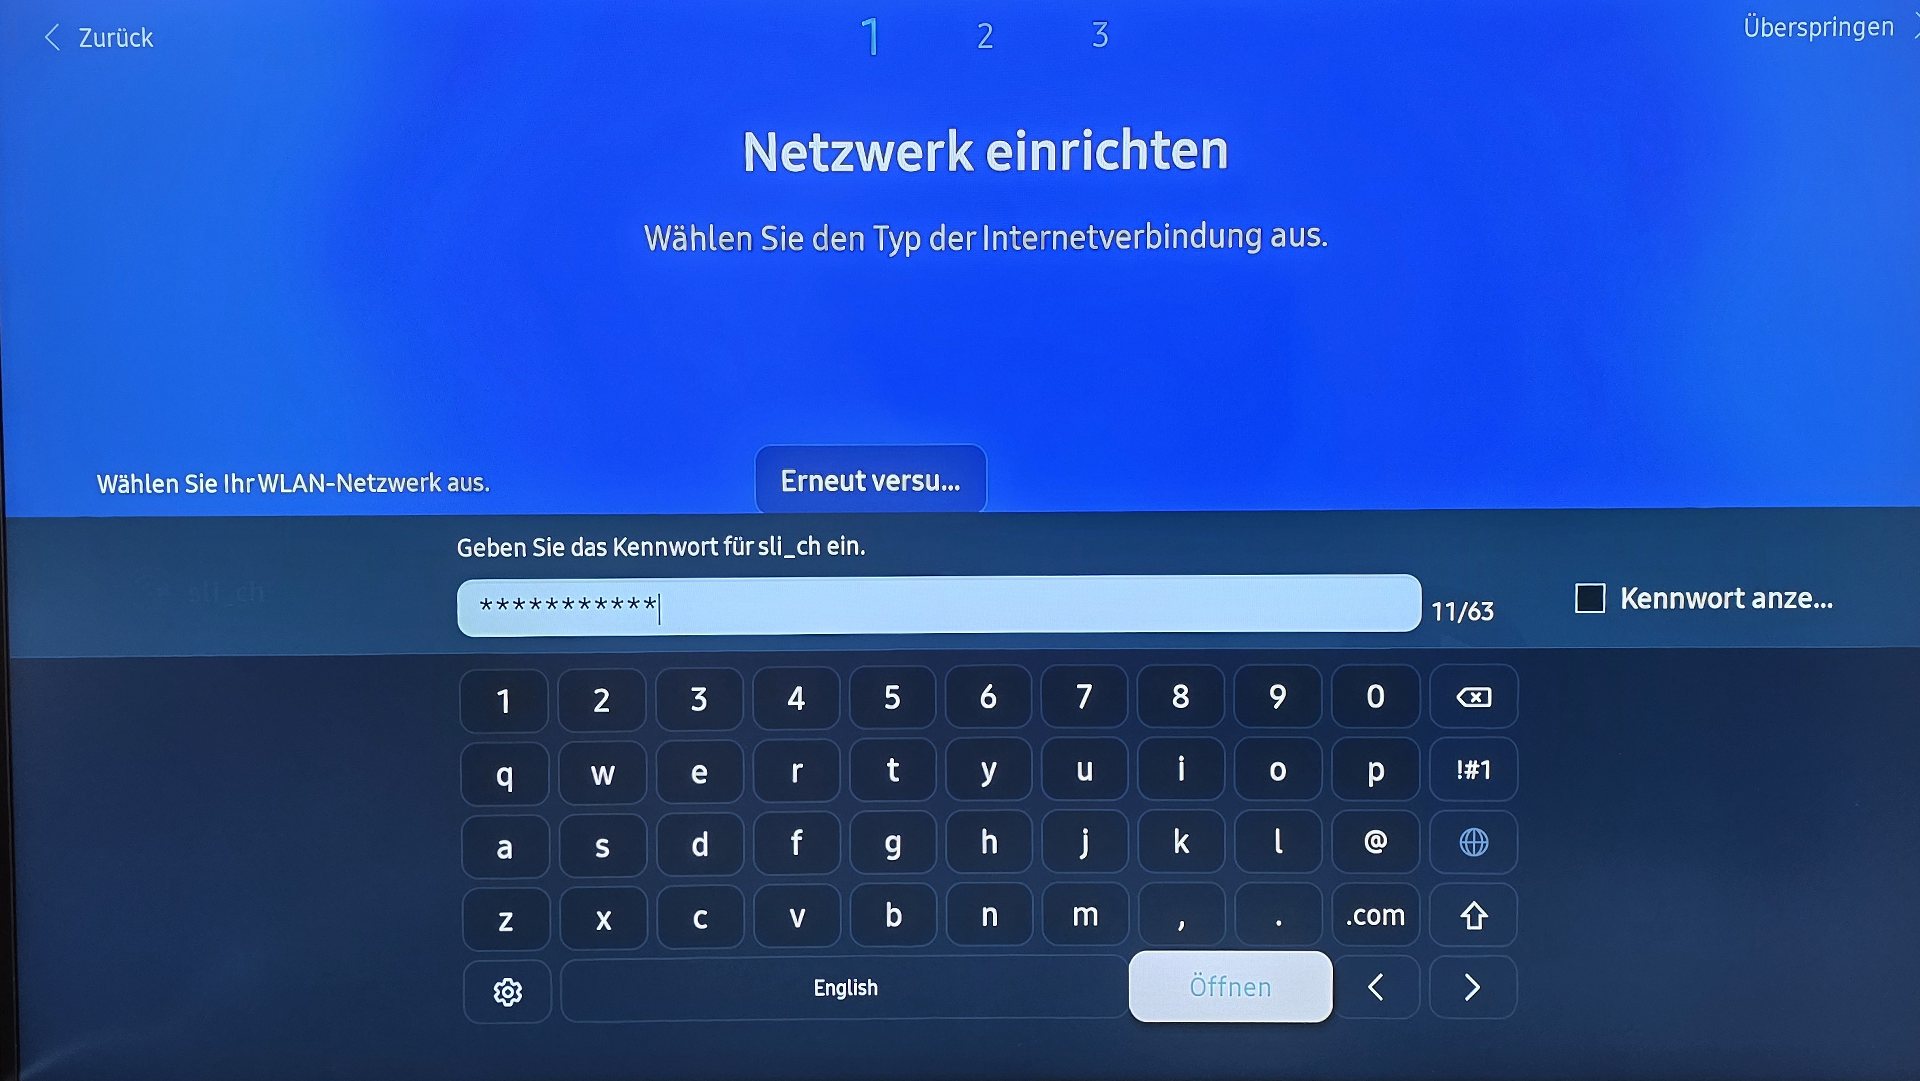
Enter the password of your wireless network to establish a connection.
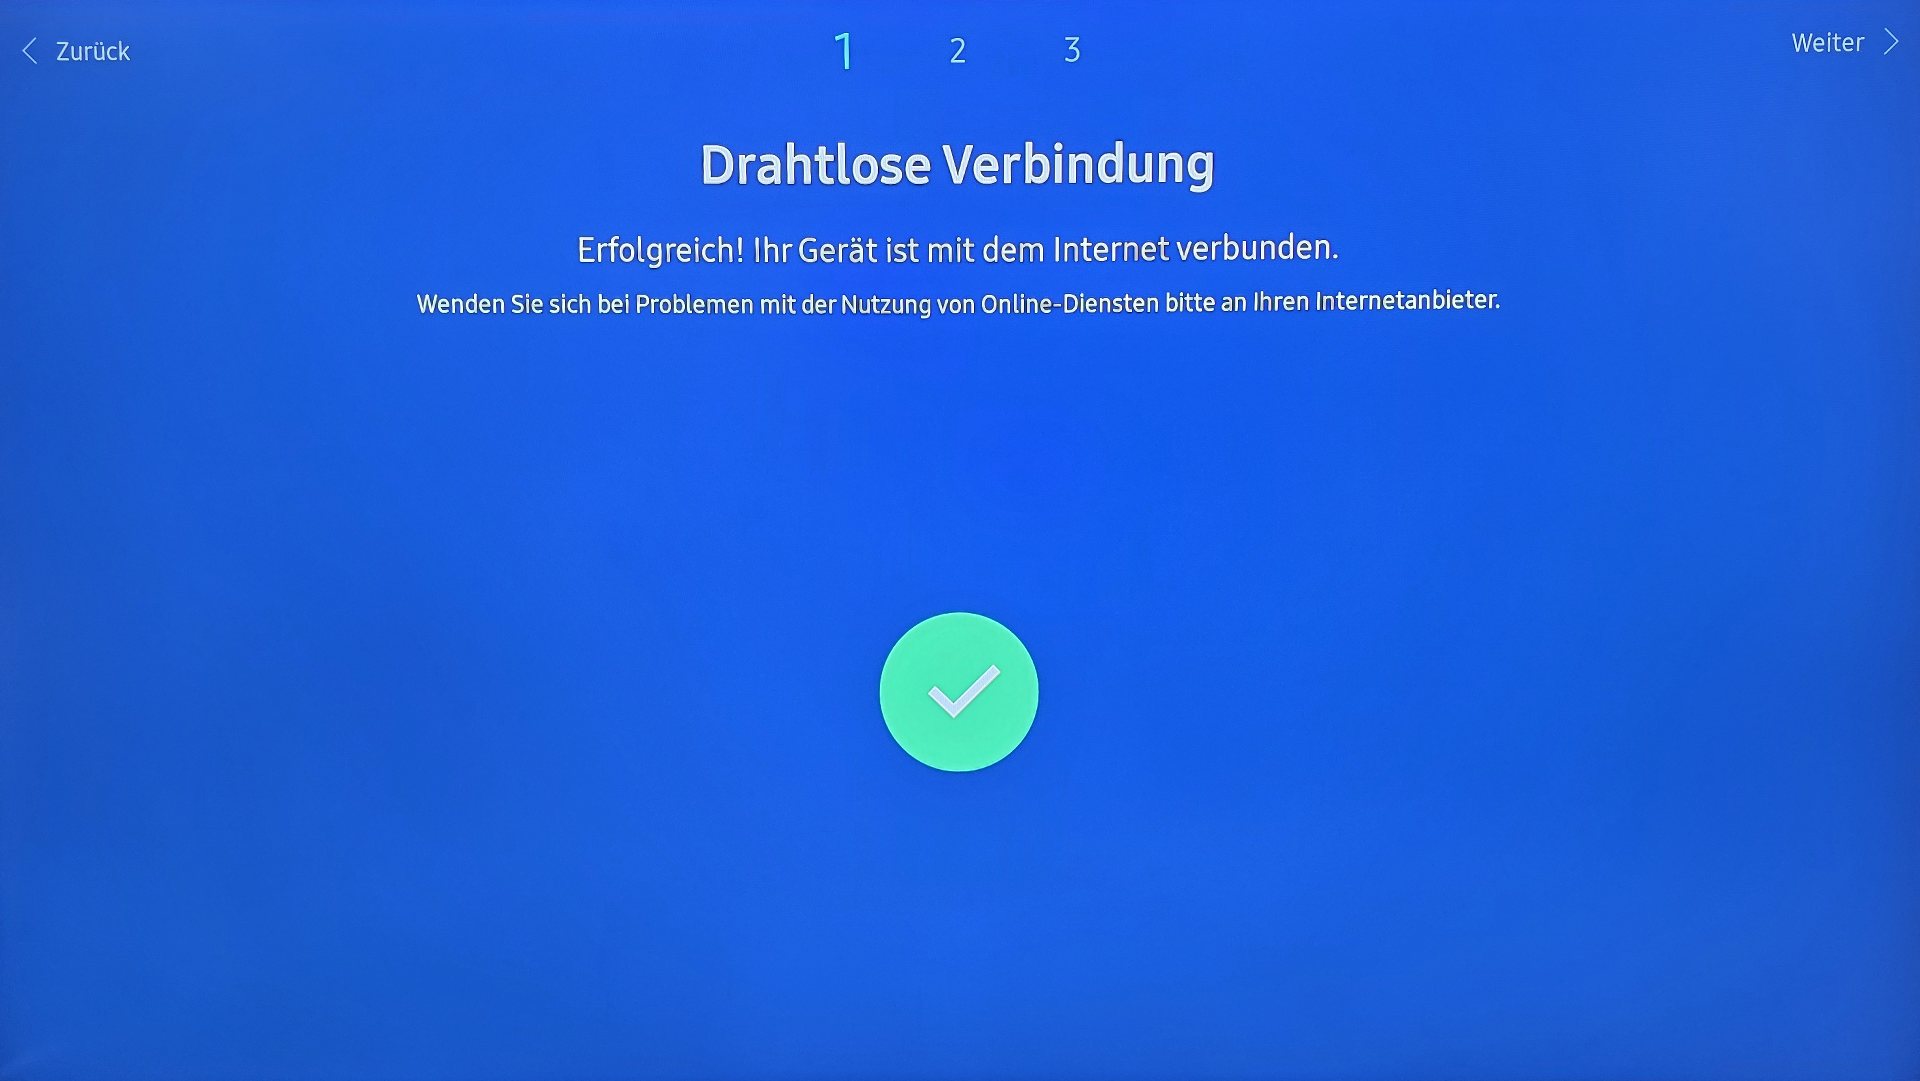
Wait until the verification is completed and the connection is established.
Wired connection
If you connect your device to the internet via an Ethernet cable, this step is not necessary. However, make sure that all cables are connected correctly and the router is connected to the internet.
Privacy notice
Read the terms of use and privacy notices and confirm them with [OK].
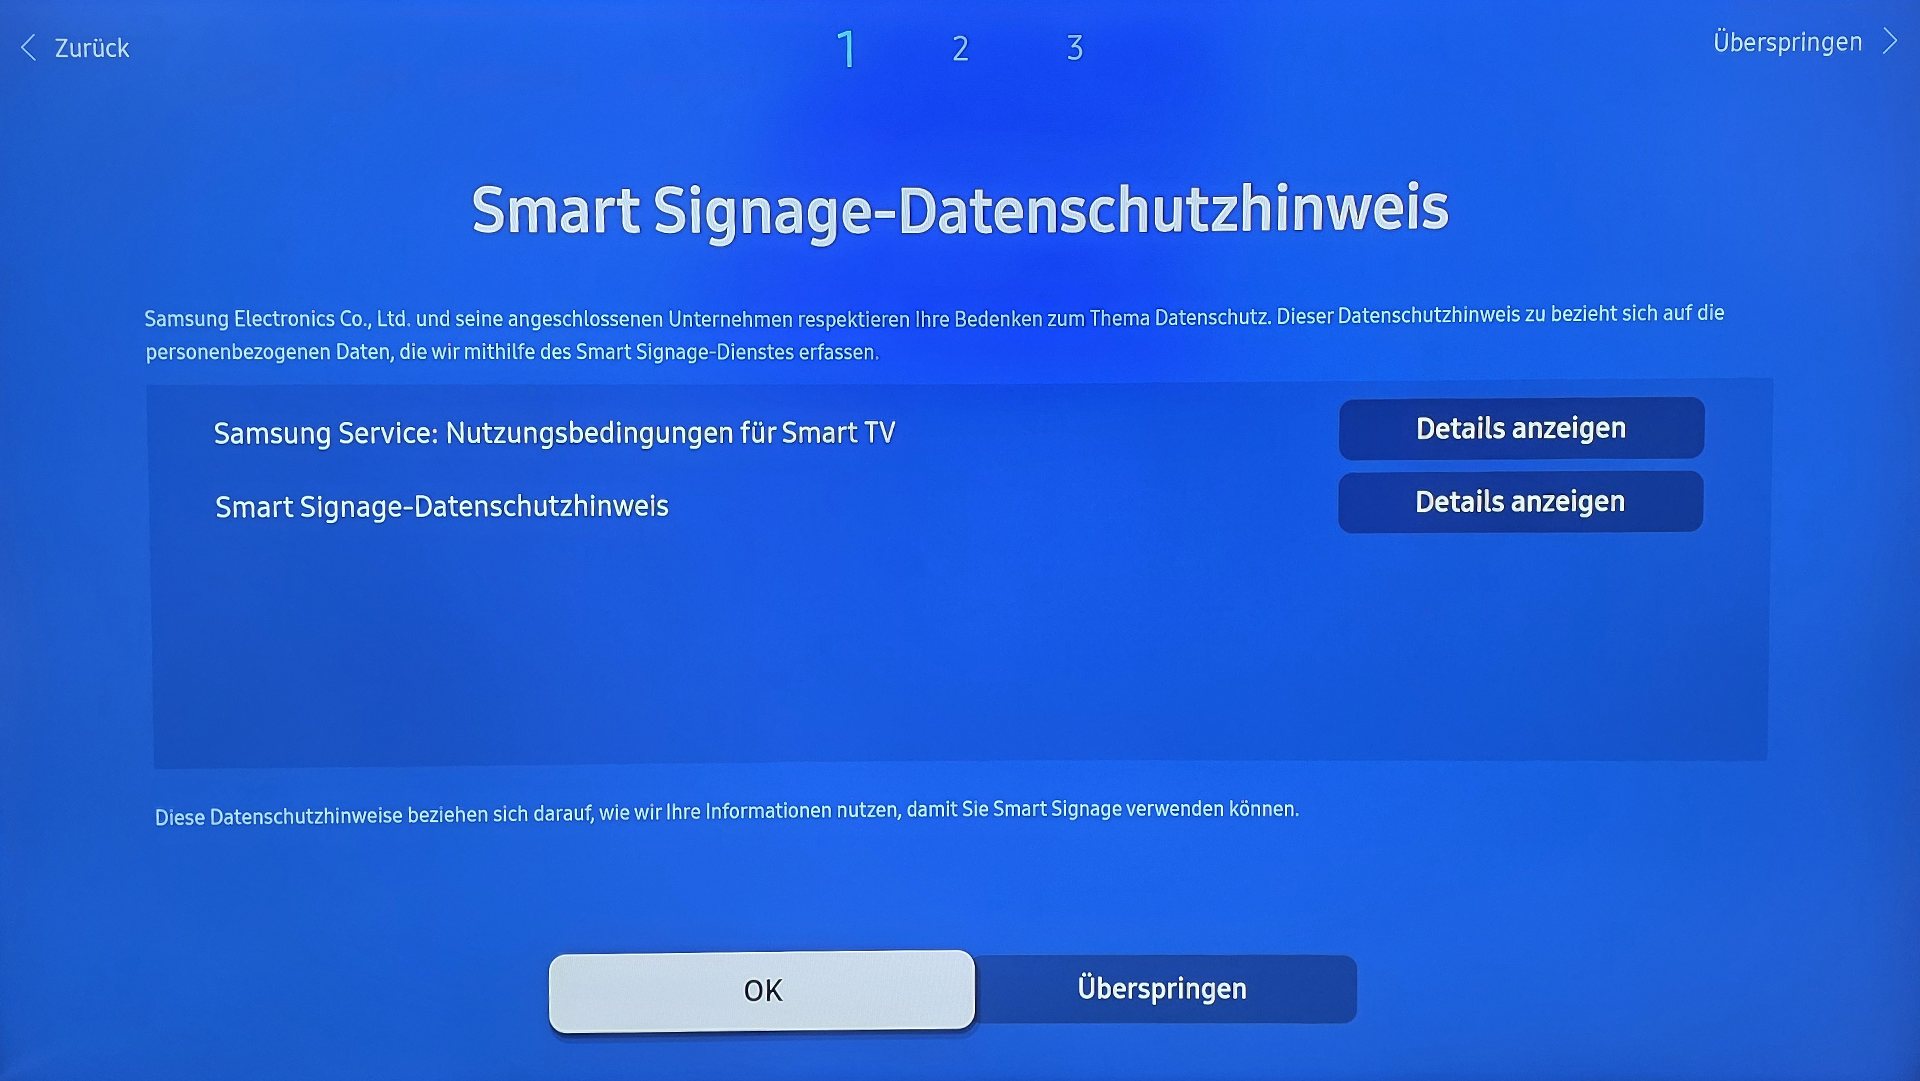
Installation type
Select the installation type [Manuell] (Manual). This way, the wizard guides you step by step through the initial setup.
The options [Zero Touch-Konfiguration] (Zero Touch configuration) and [Produkt klonen] (Clone product) are not needed for the setup with revolutionSCREEN. This step only appears from Tizen 7.0 onwards.
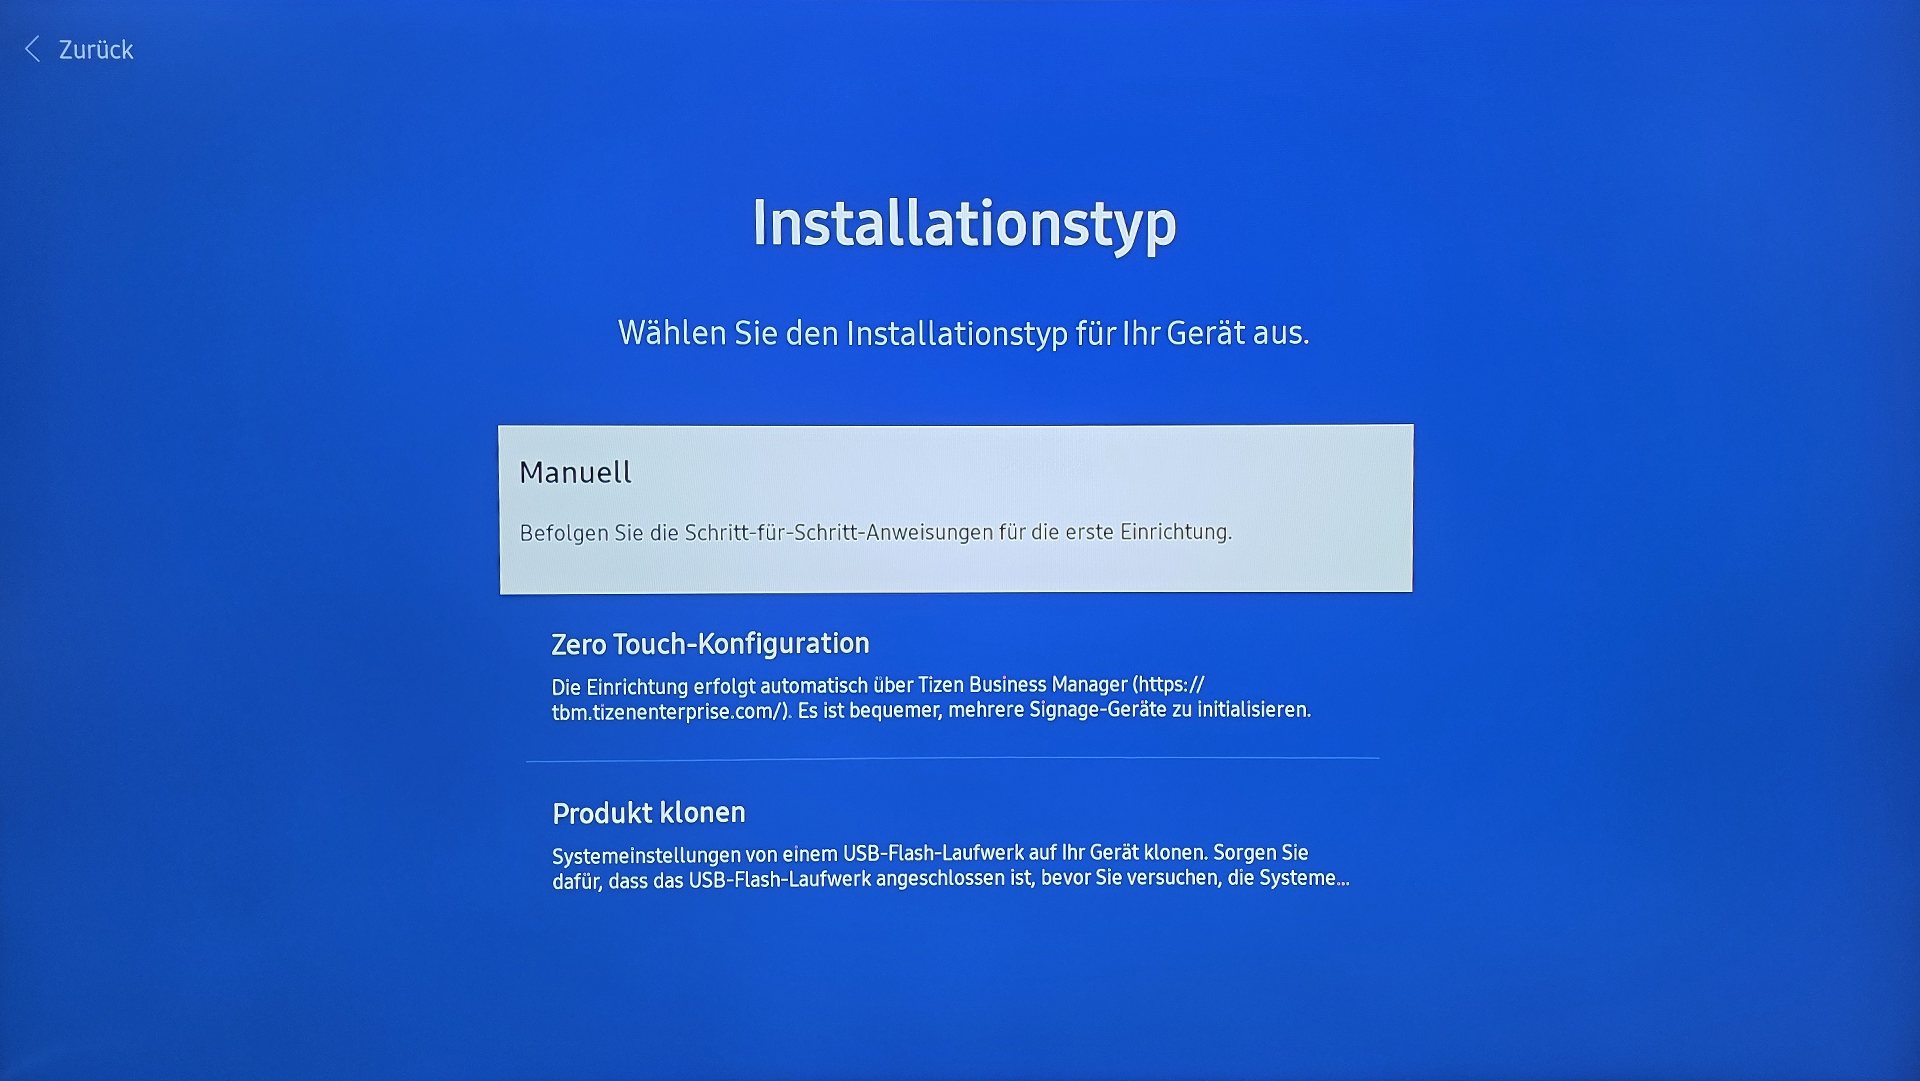
Display orientation
Select the correct display orientation for your display.
The display orientation selected here must match the actual orientation of the device. The ventilation and thus the cooling of the device is based on this setting. If the orientation selected here does not match that of the device, damage to the device will occur.
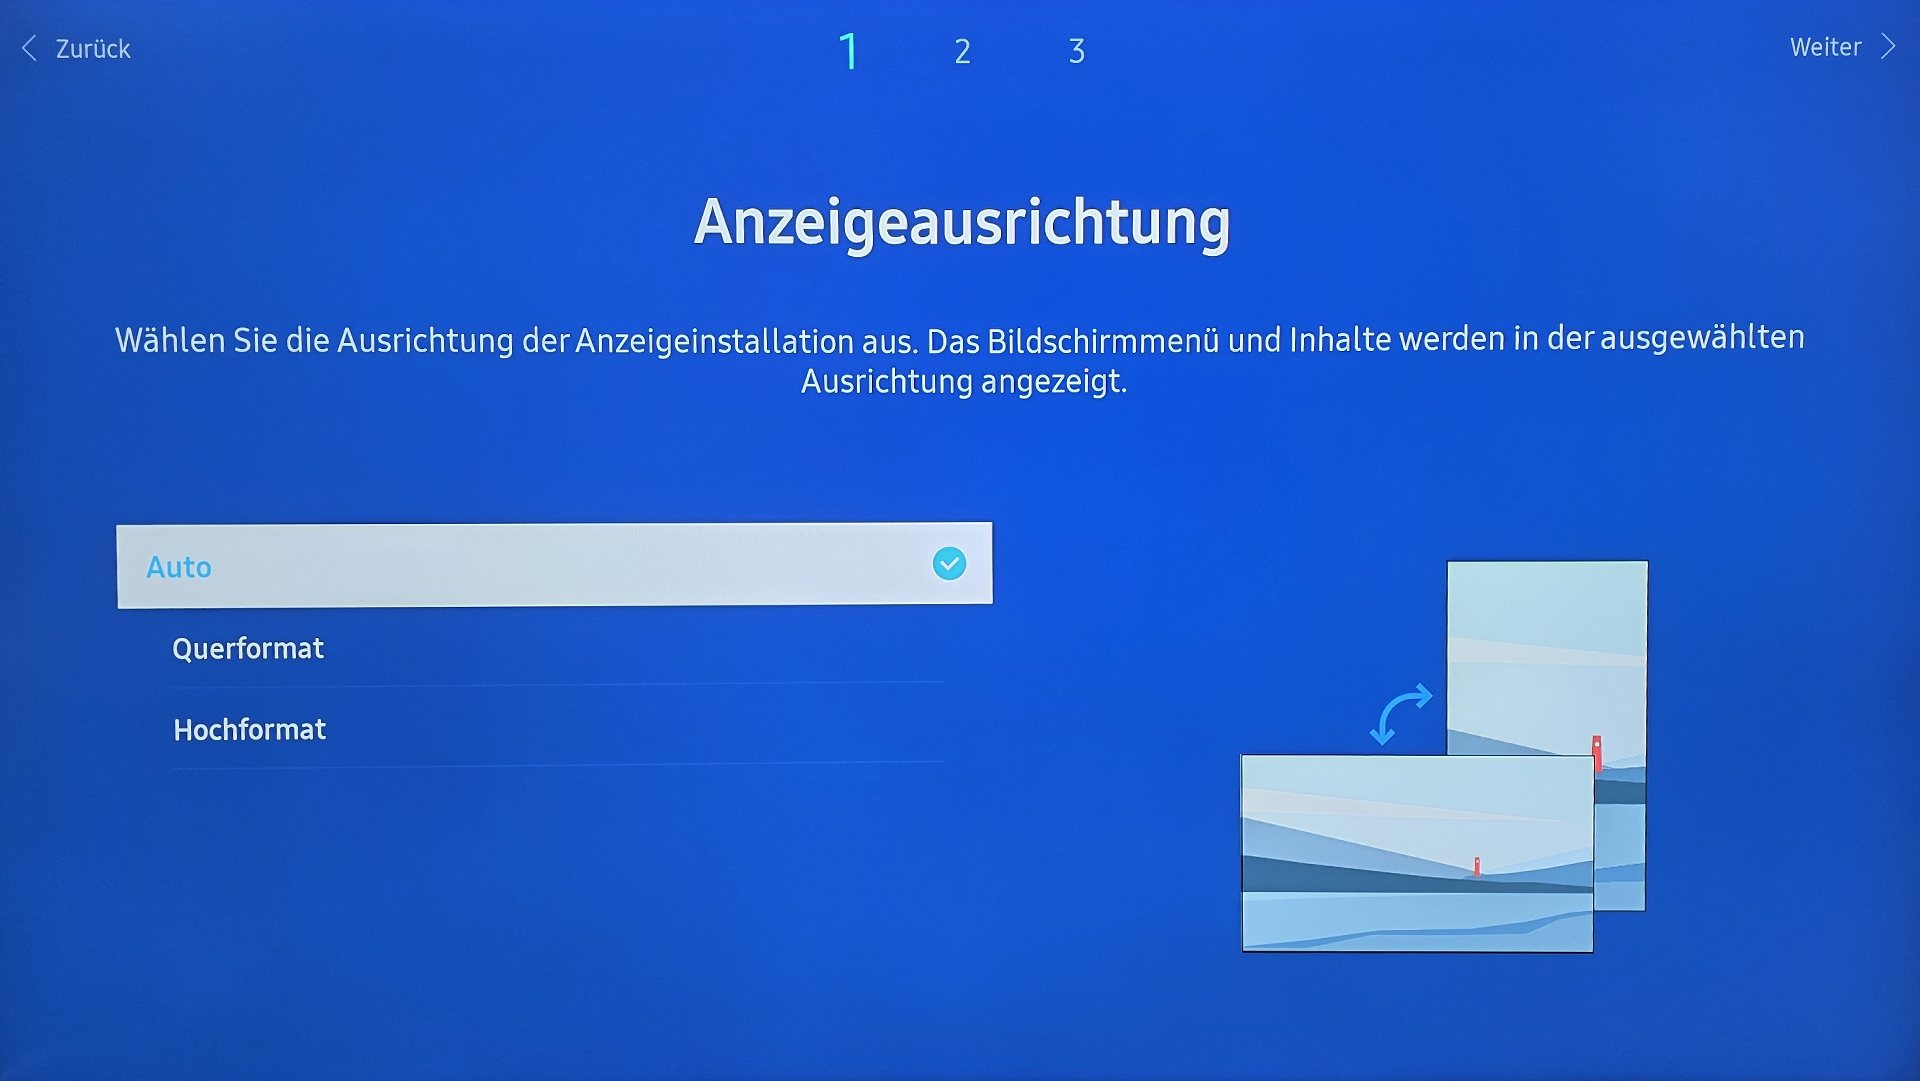
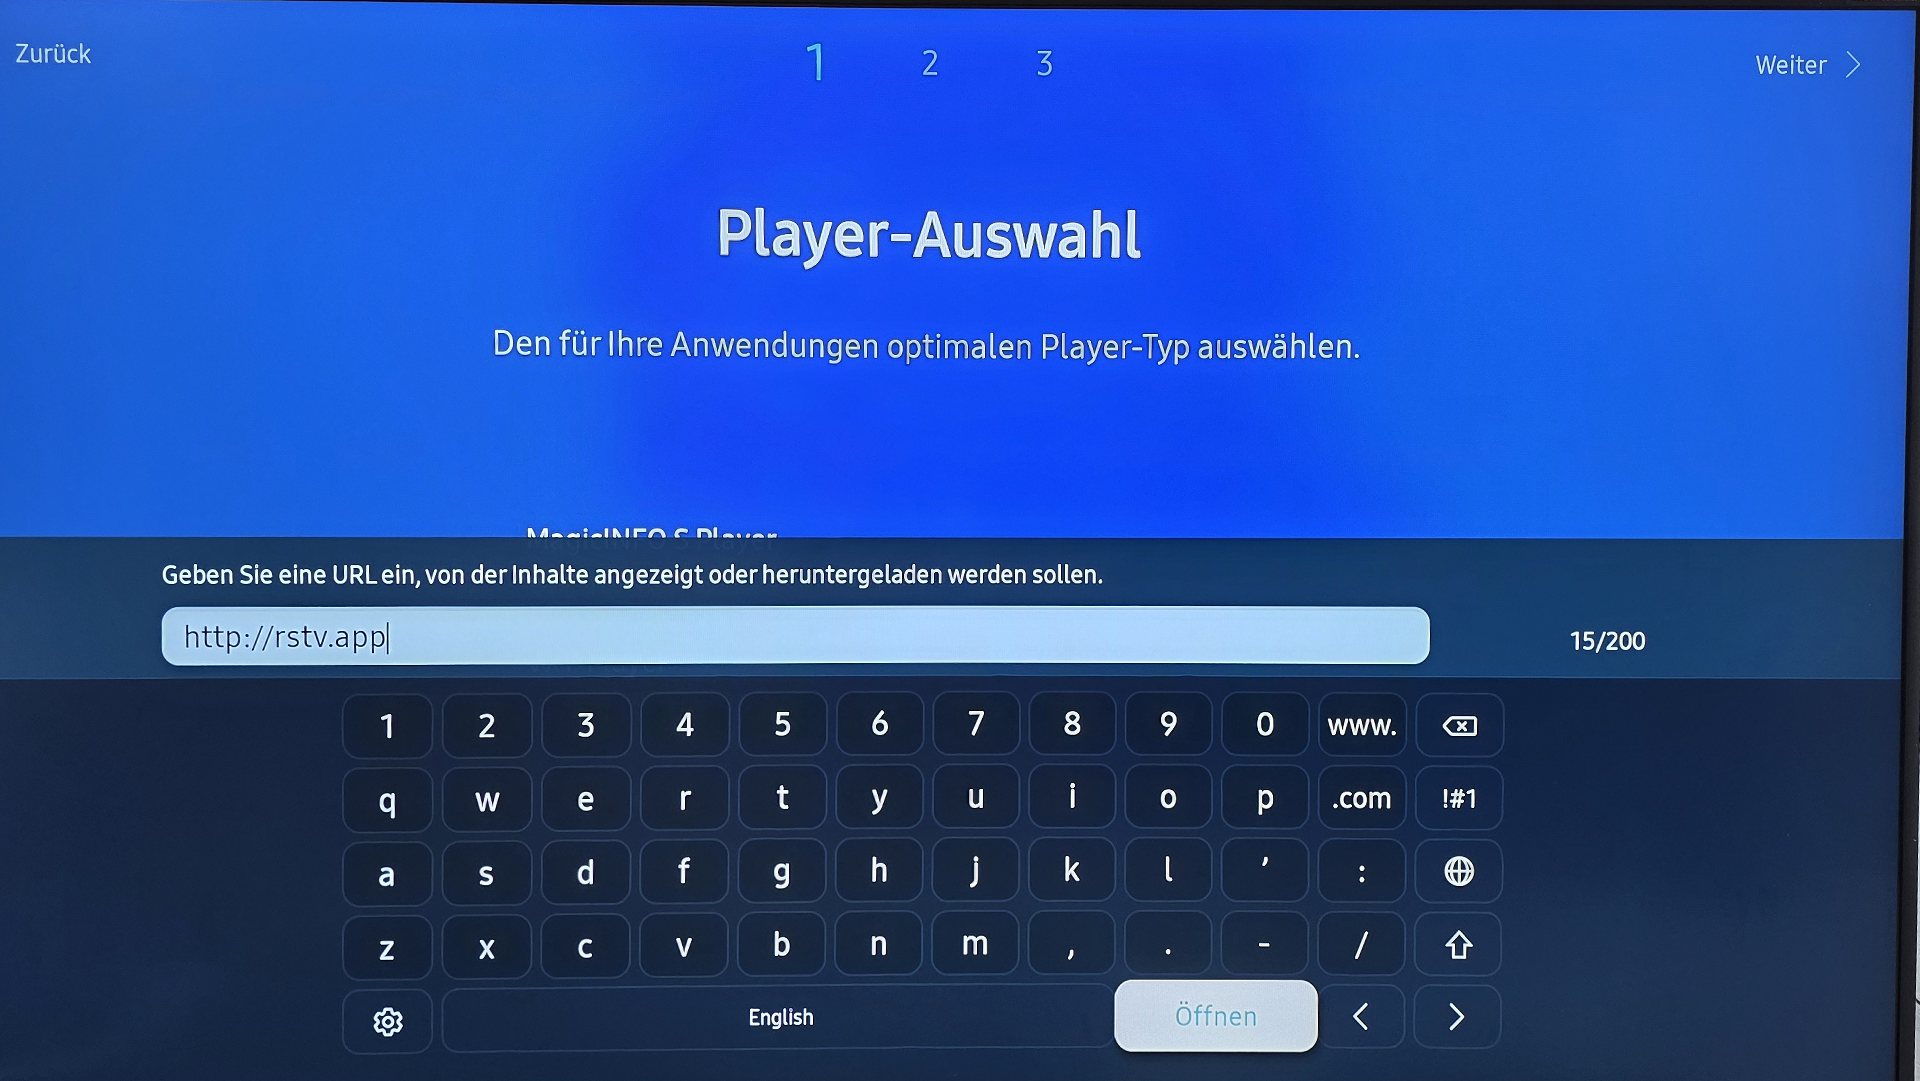
Player selection
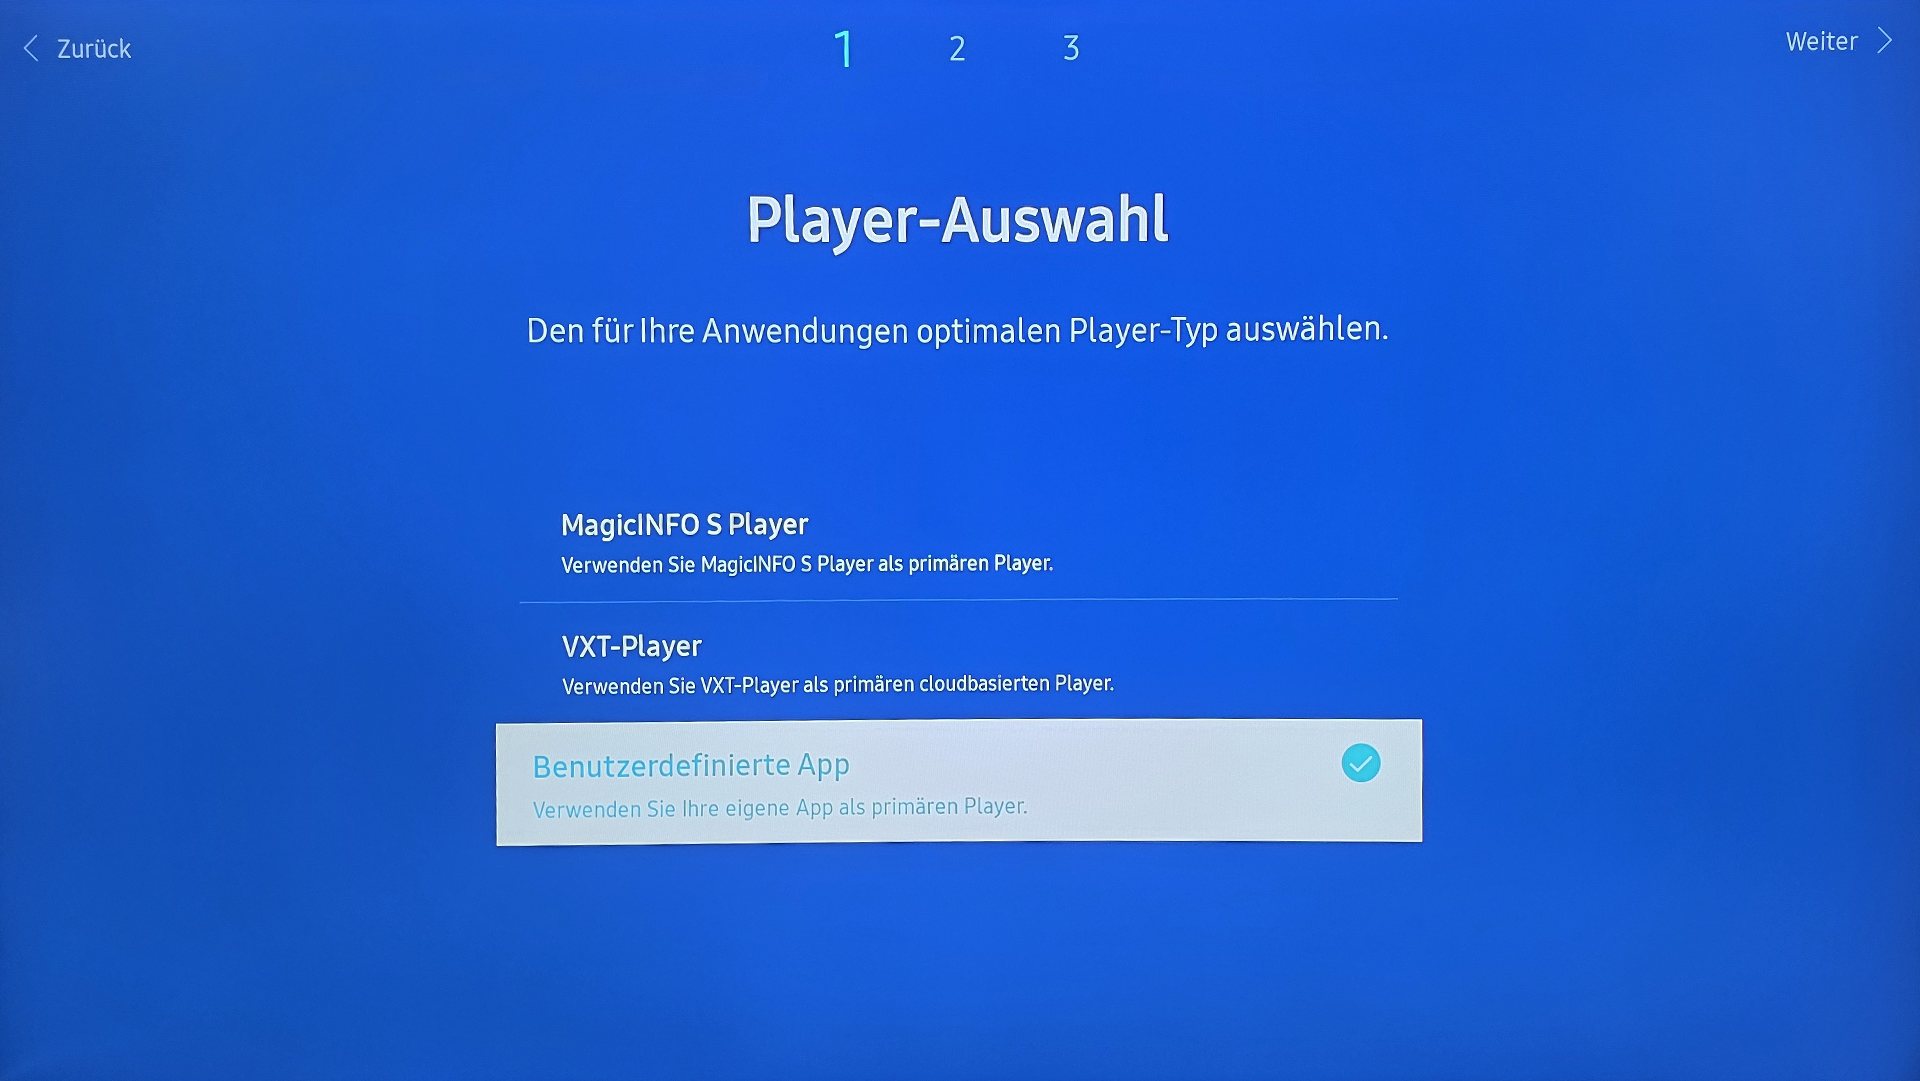
- Select the option [Benutzerdefinierte App] (Custom app) as the player type.
- In the text field that appears, enter the following URL: http://rstv.app or https://rstv.app The spelling must match exactly. This also applies to uppercase and lowercase letters as well as all other characters such as the colon and the two slashes.
- Click [Öffnen] (Open) and then [Weiter] (Next). Make sure that the selection is set to [Benutzerdefinierte App] (Custom app).
Using the left or right arrow key on the remote control, you can switch between the individual menu items at any time, for example to correct entries you have made.
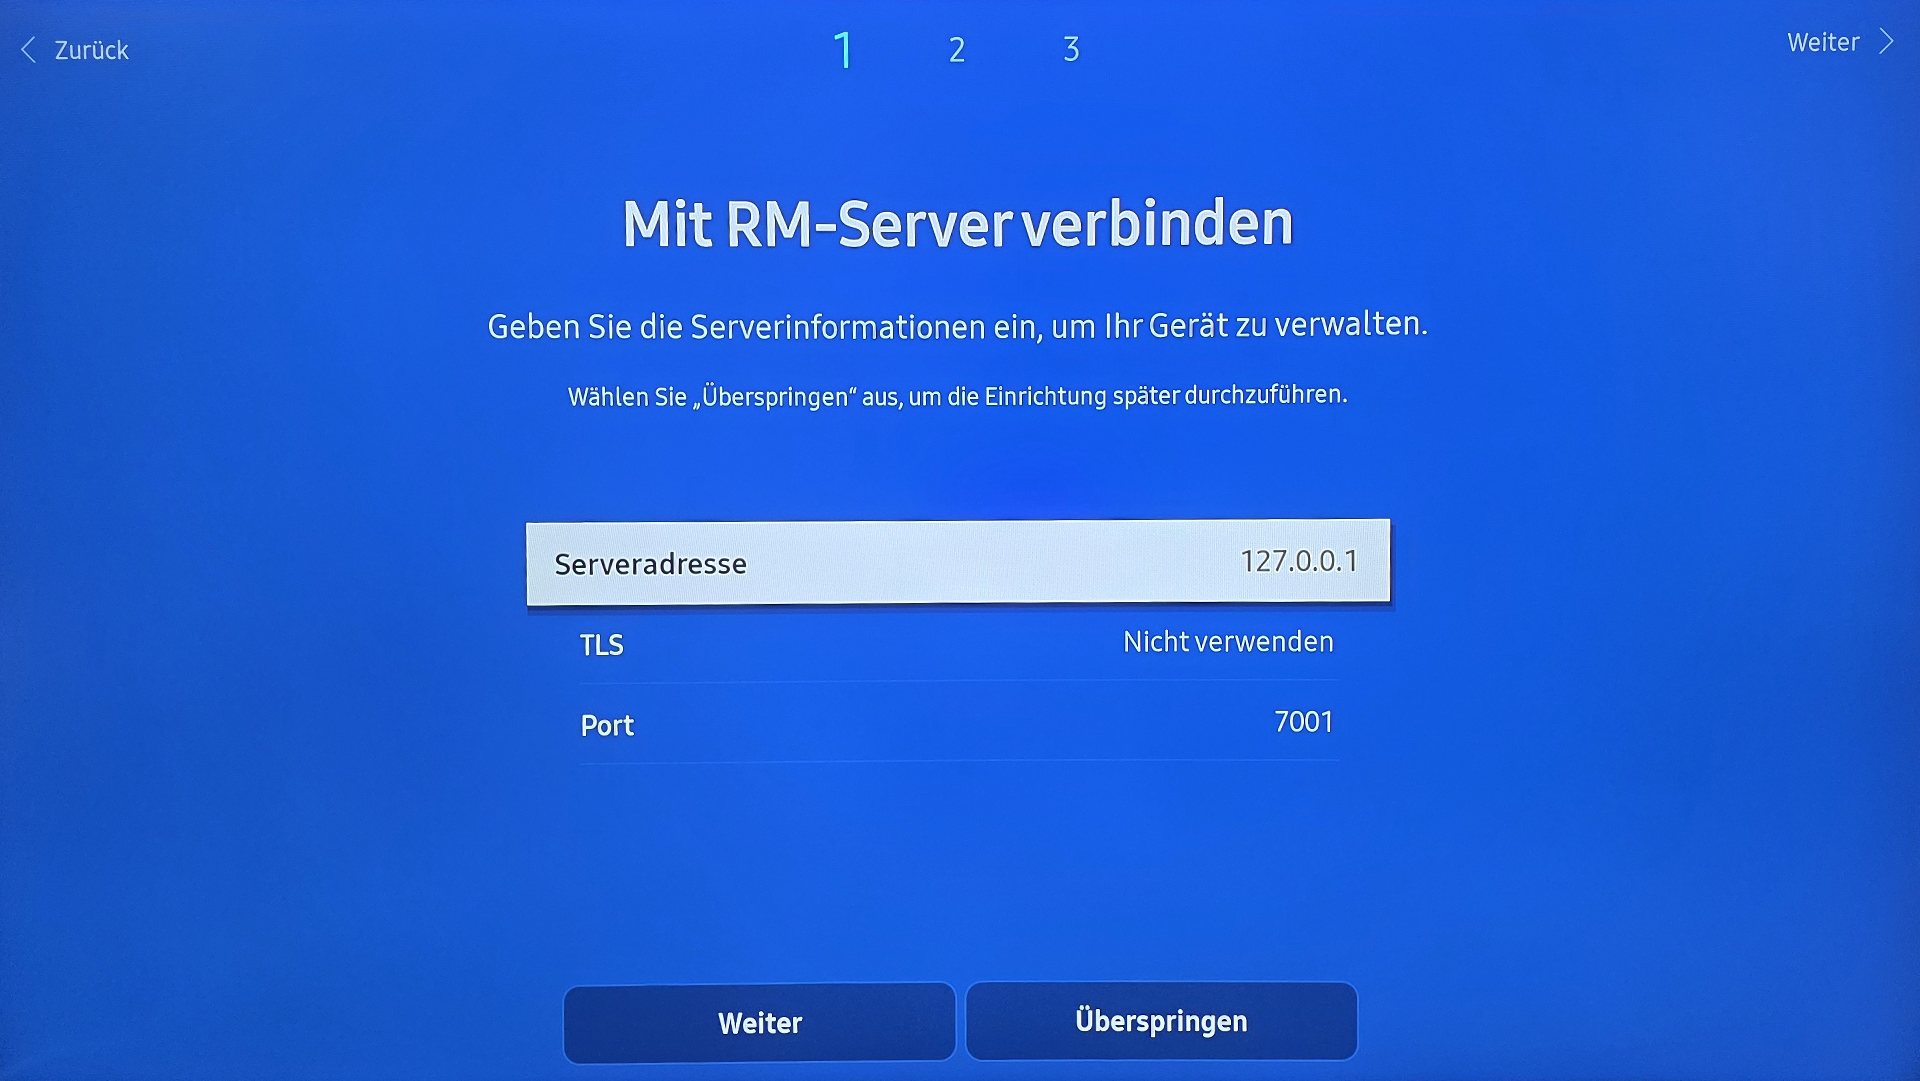
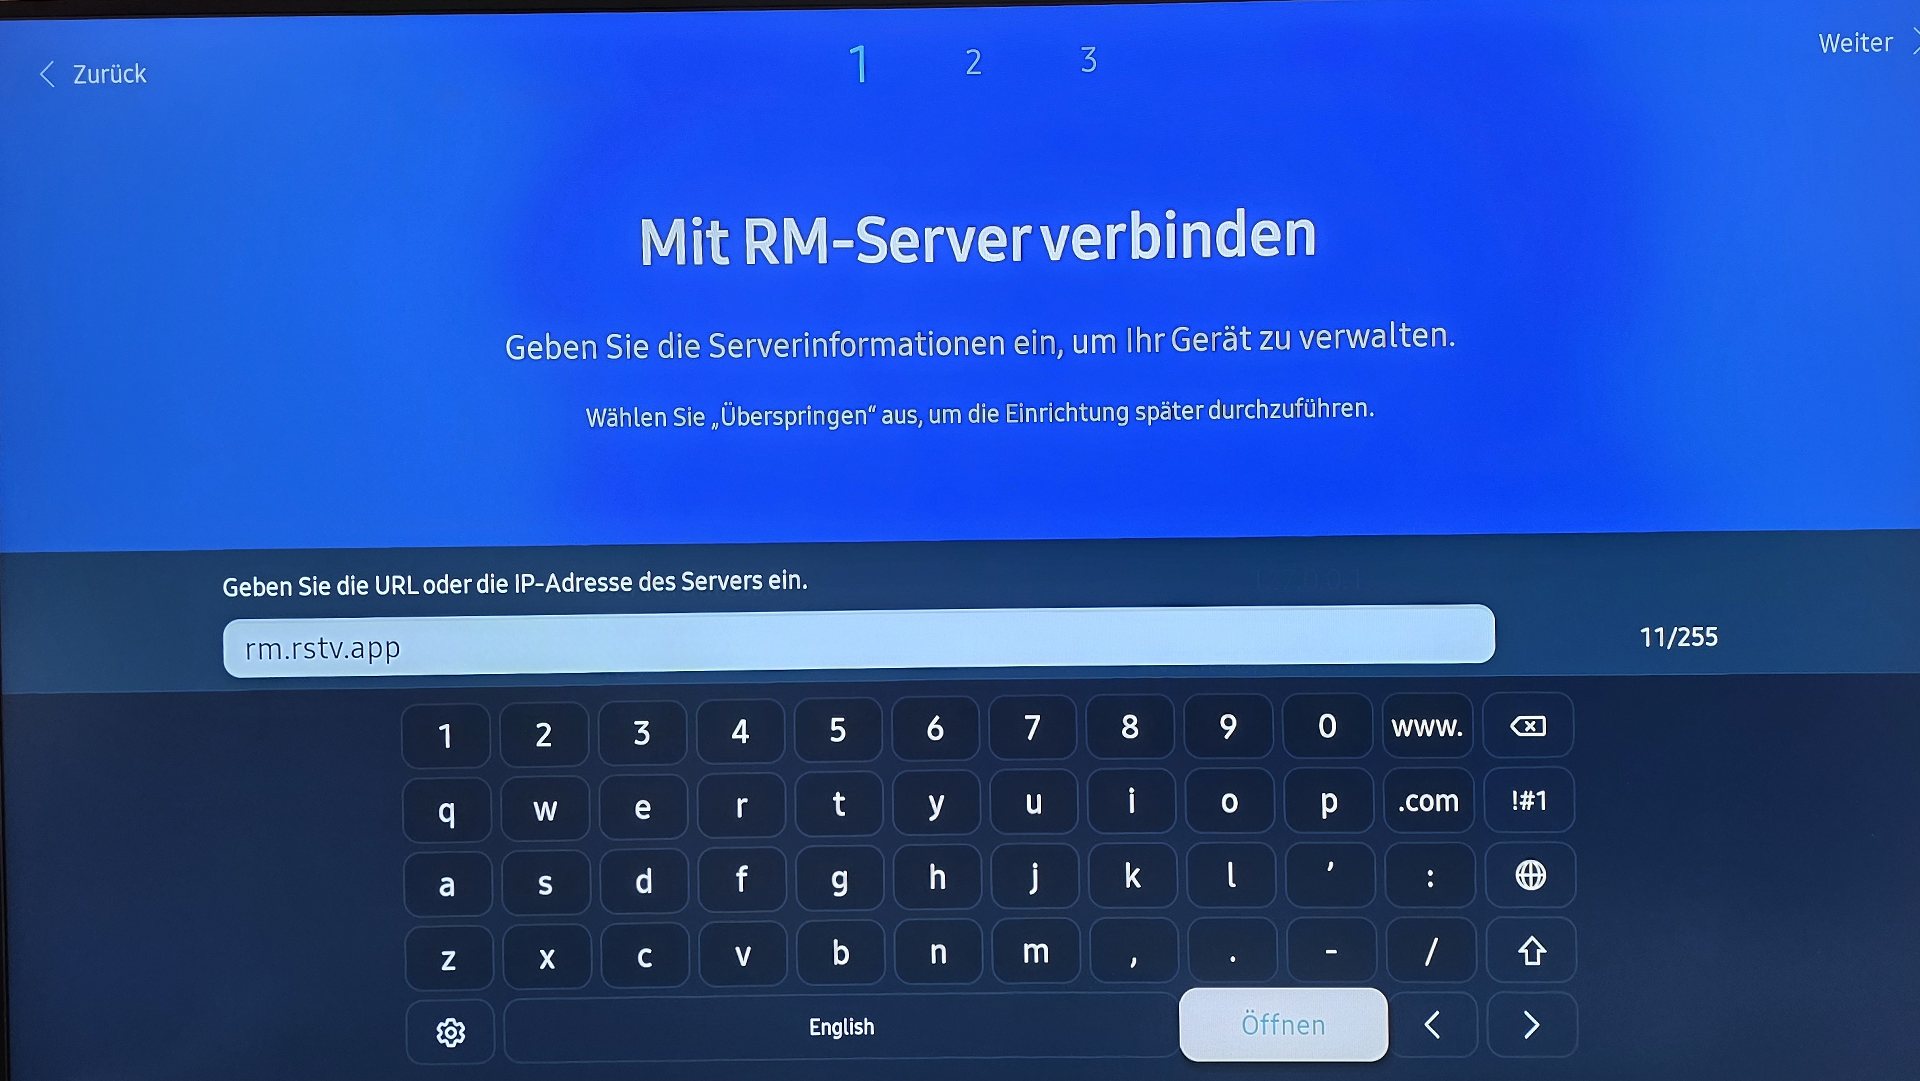
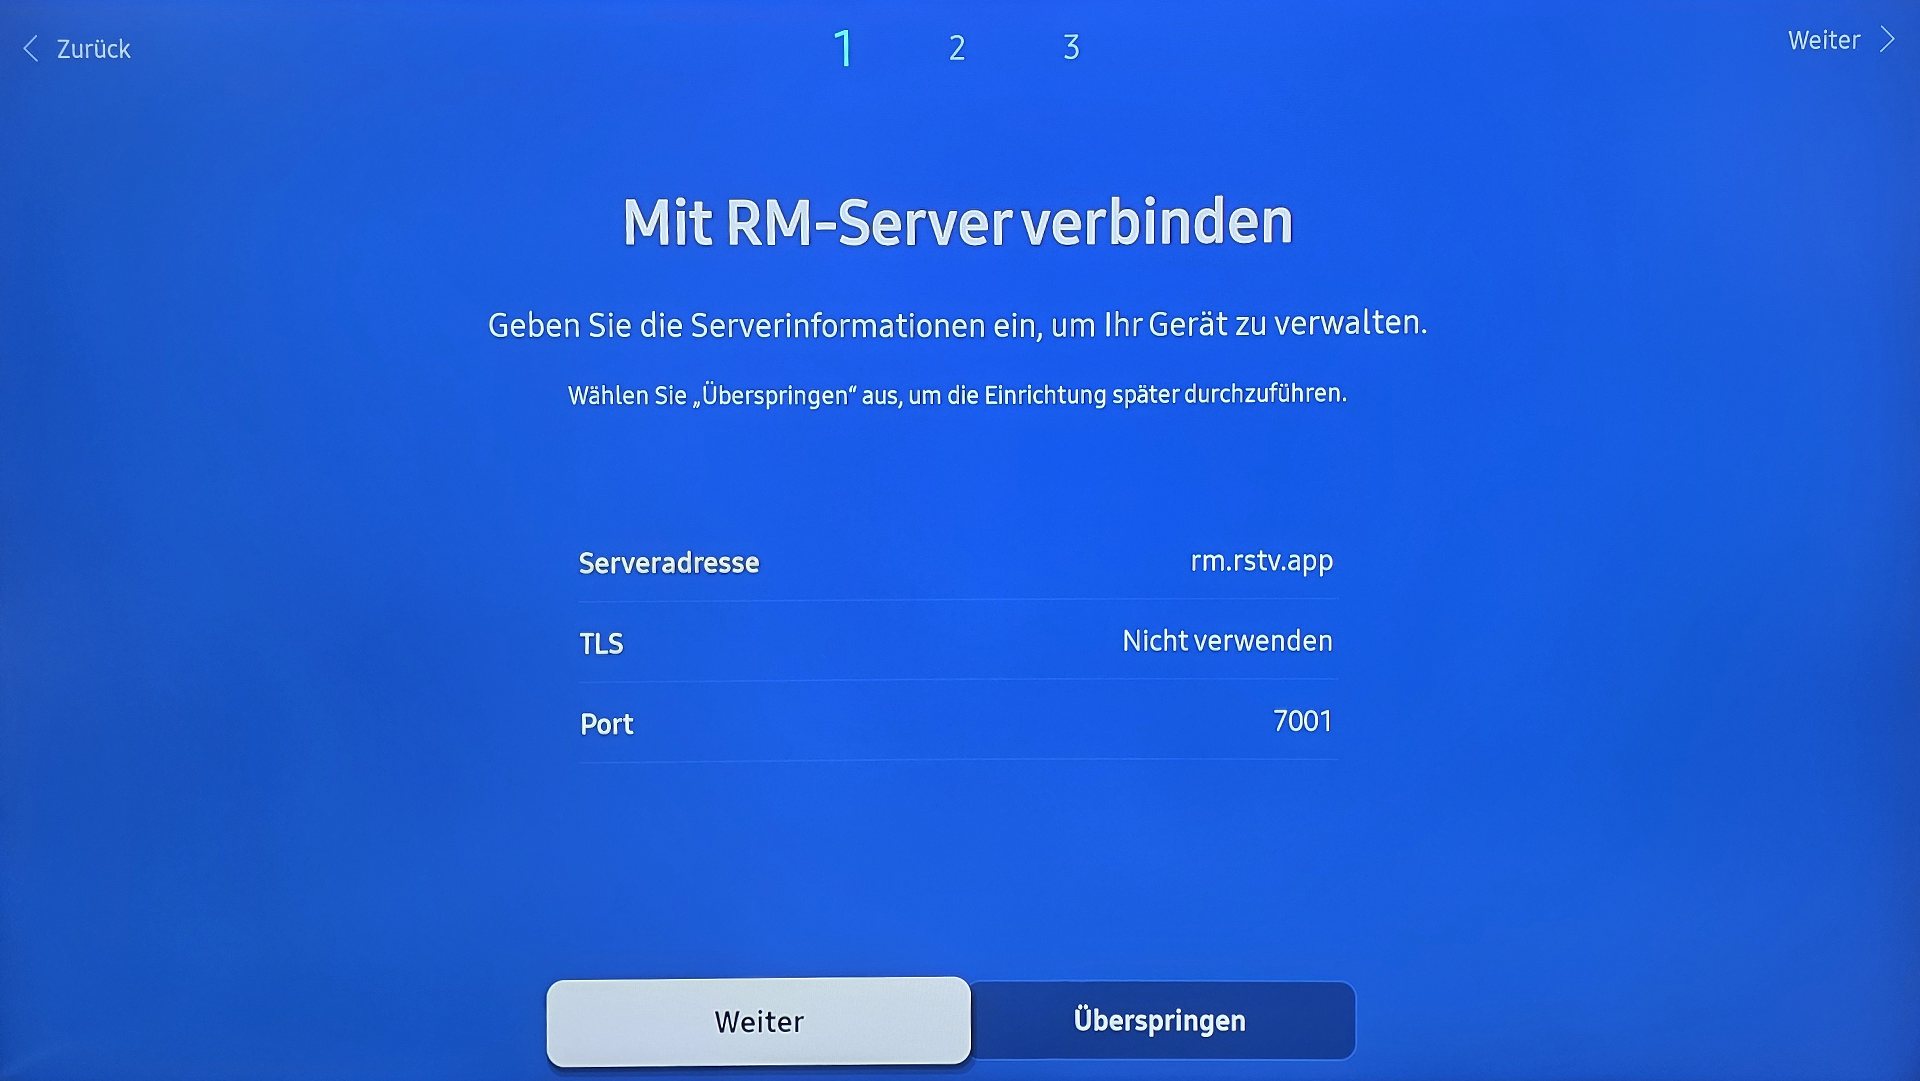
Connect to RM server
- Select [Serveradresse] (Server address).
- In the text field that appears, enter the following address: rm.rstv.app Pay attention to all characters here, including dots. The spelling must match exactly. This also applies to uppercase and lowercase letters as well as all other characters.
- For the TLS option, select [Nicht verwenden] (Do not use).
- Set the port to the value [7001].
Note that port 7001 „Outgoing" is open in your firewall. Depending on the configuration, a device-specific authorization may also be required.
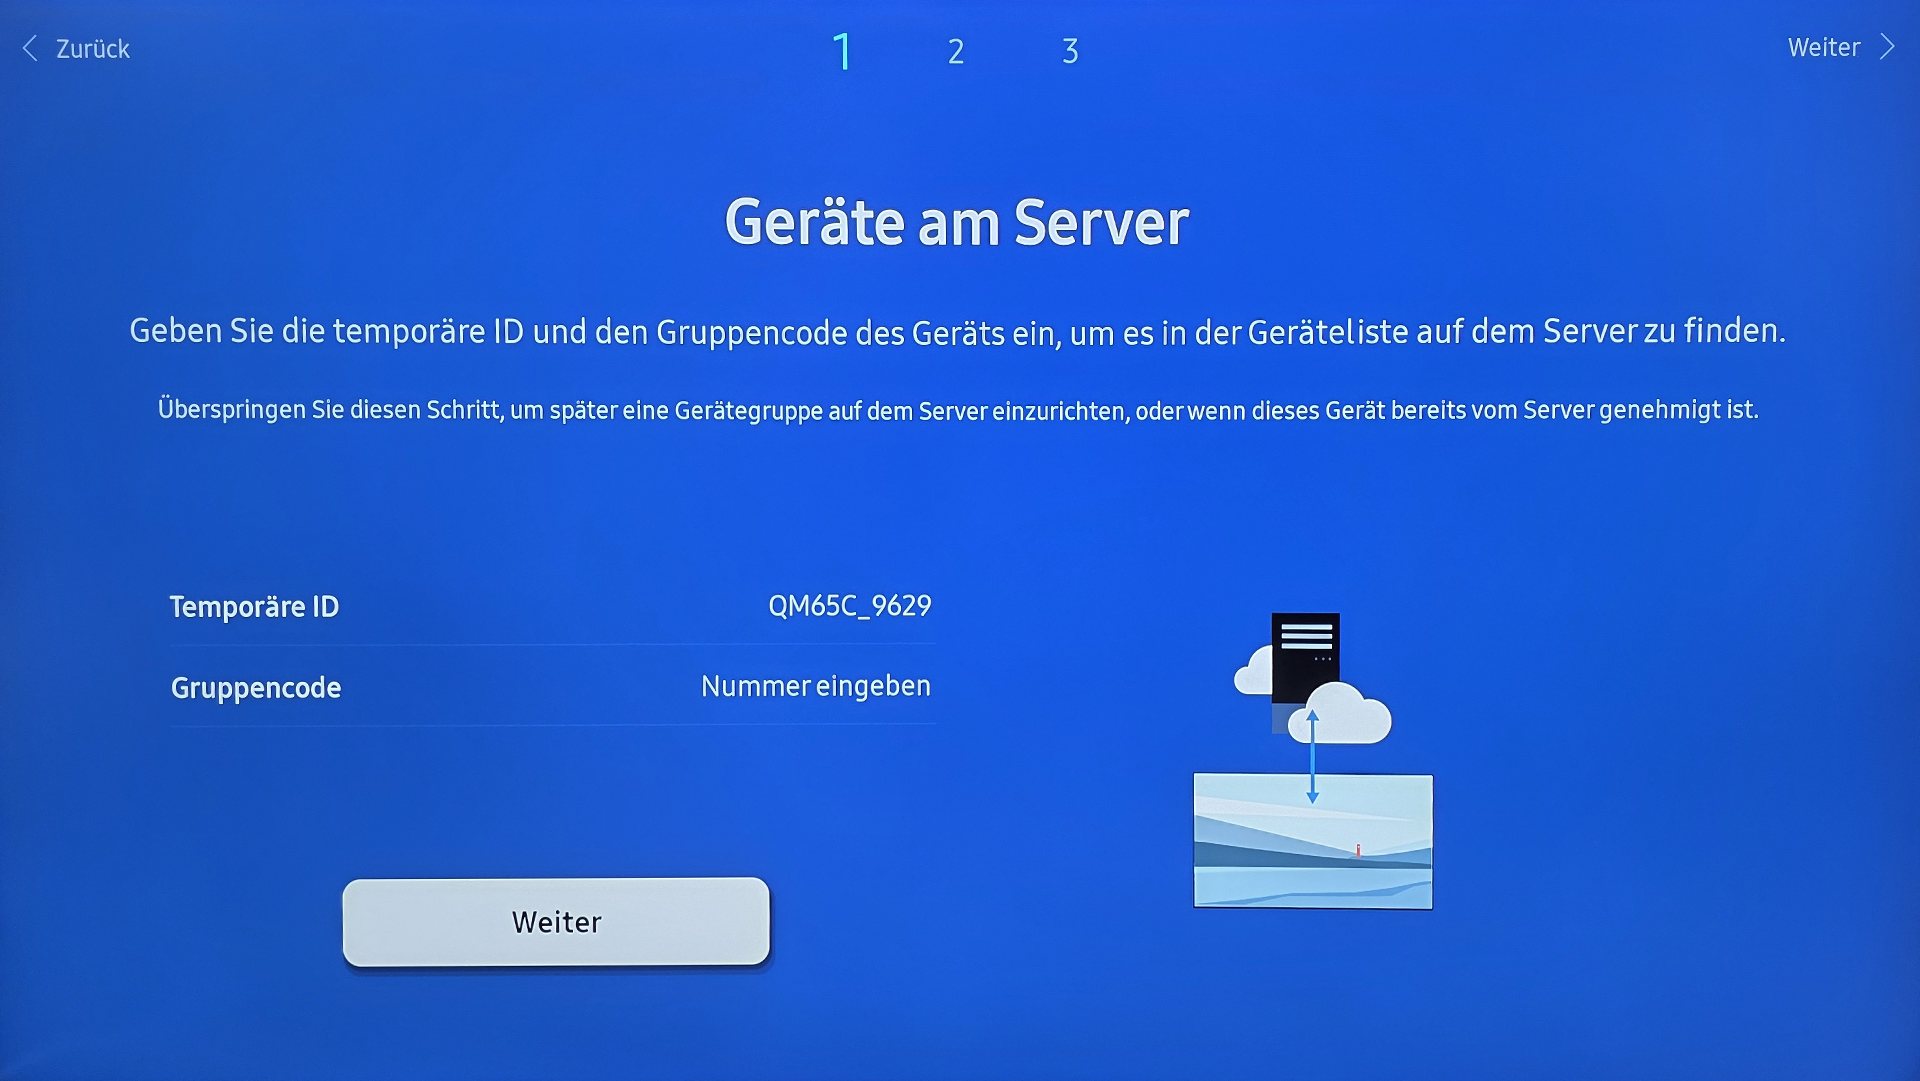
Devices on the server
- Confirm your entries here. Your device will have a different temporary ID than shown here. This ID is generated automatically and only serves to identify the device. Nothing needs to be changed in these settings for the app to work.
- Report the temporary ID. Please send us your temporary ID to booking@revolutionscreen.net. This allows us to clearly assign your display to your customer account.
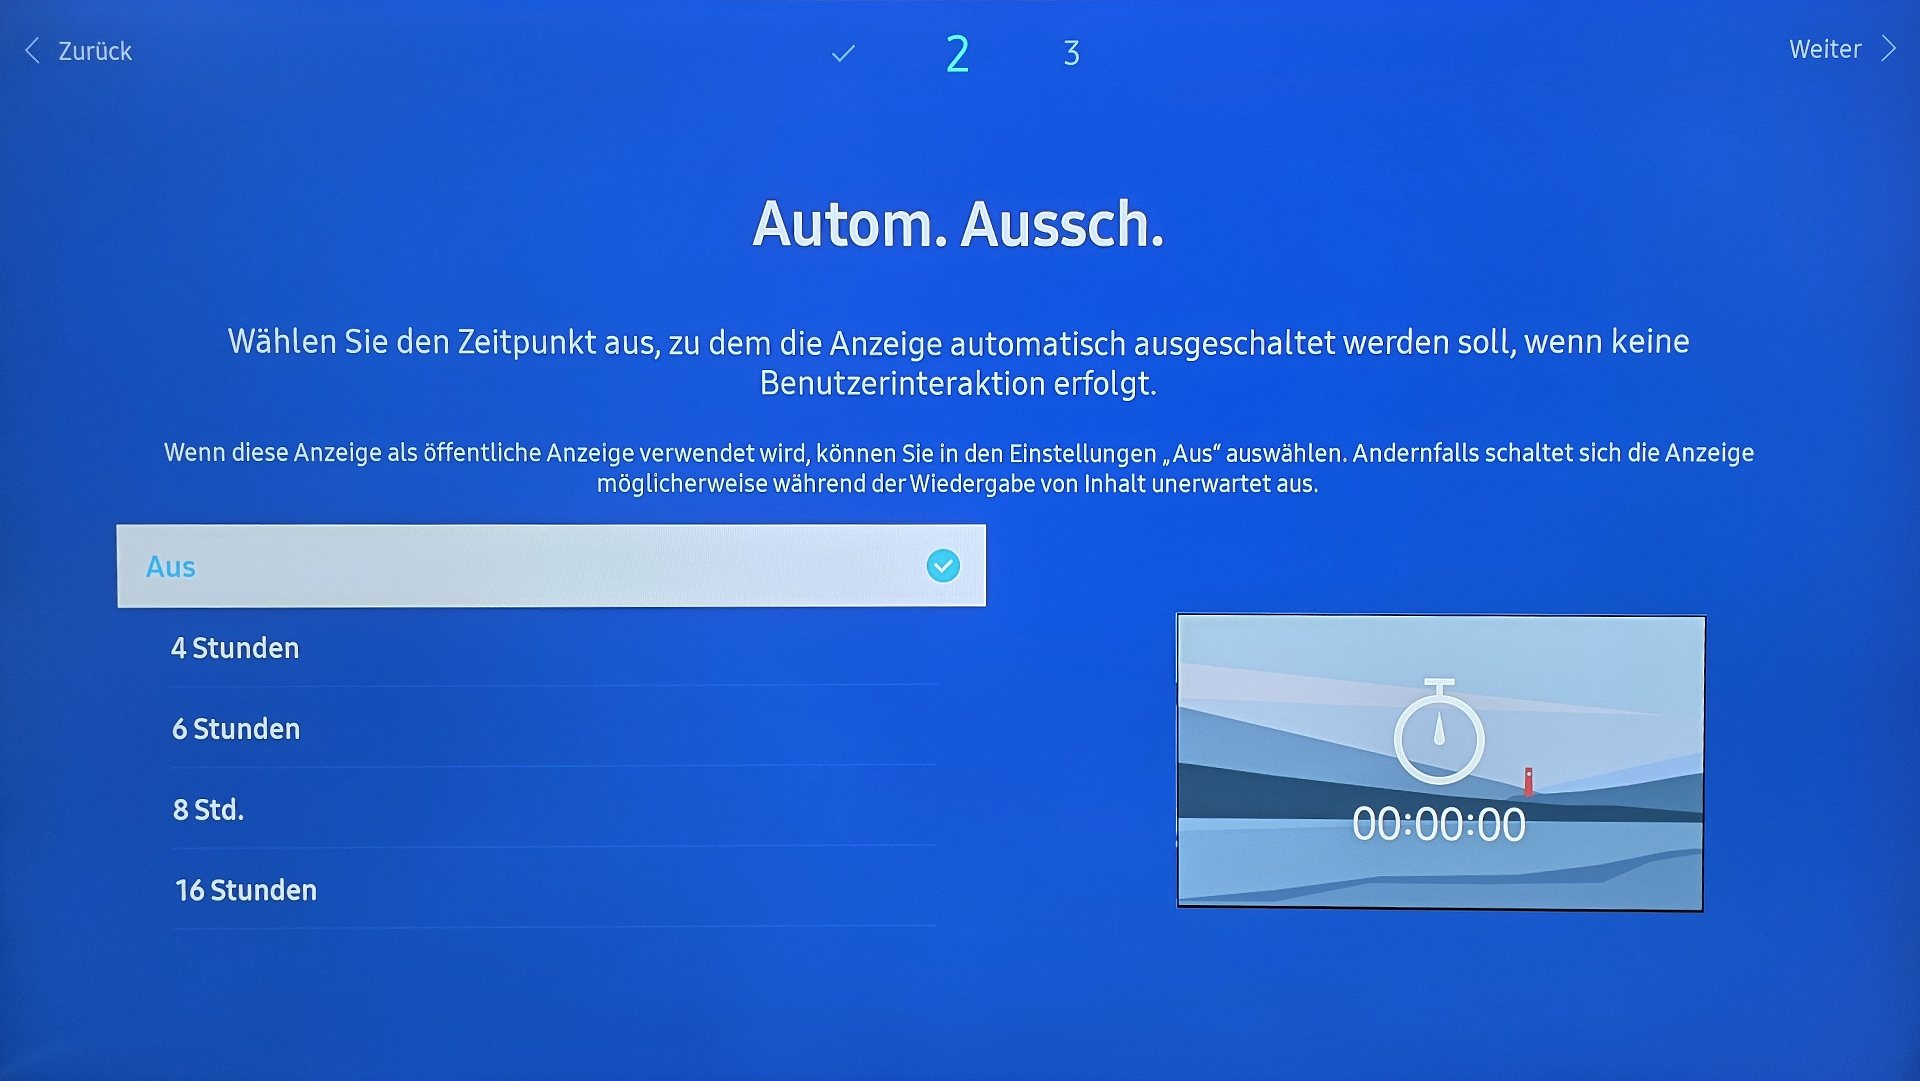
Auto power off
Select [Aus] (Off) and click Next.
Since switching the display on or off is controlled by a schedule, this function is not needed in these settings.
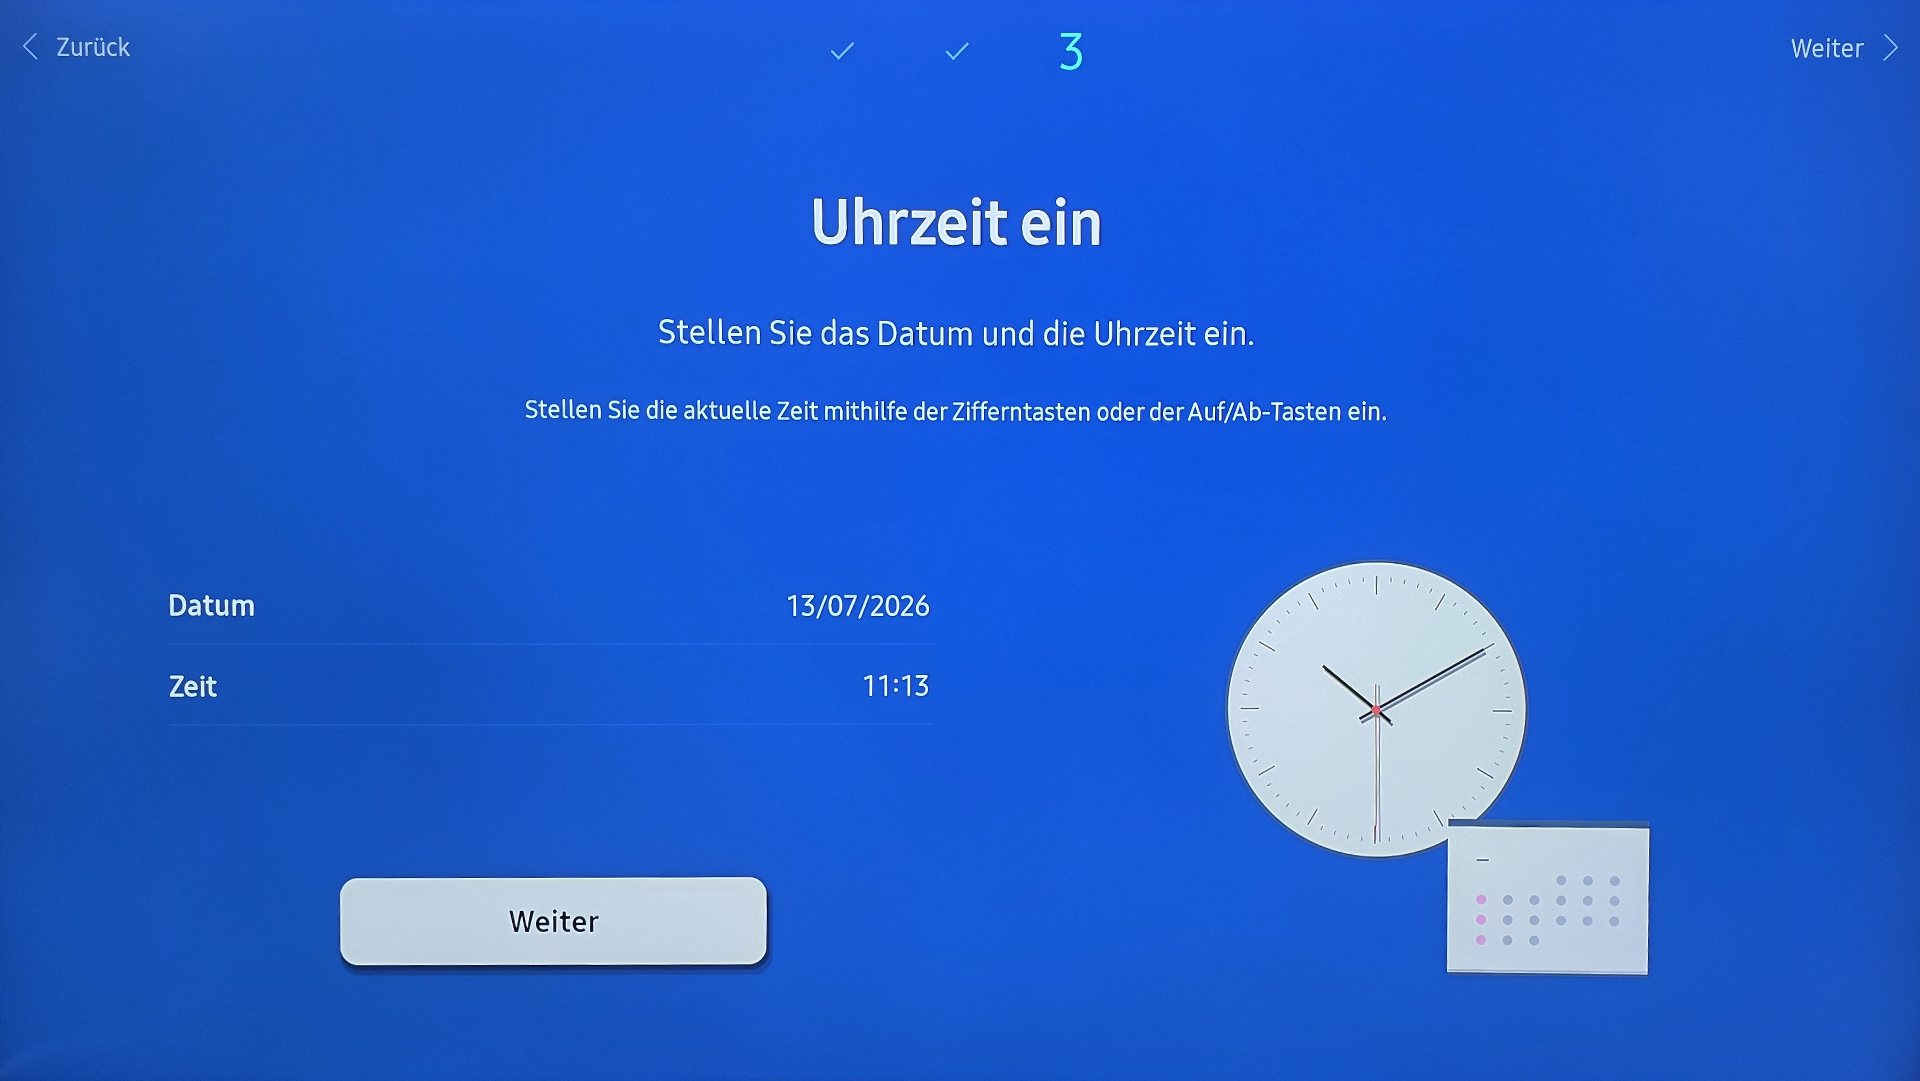
Time on
Set the current date and time for the device.
You can usually skip this step, as the device synchronizes itself with world time after the first connection to the internet.
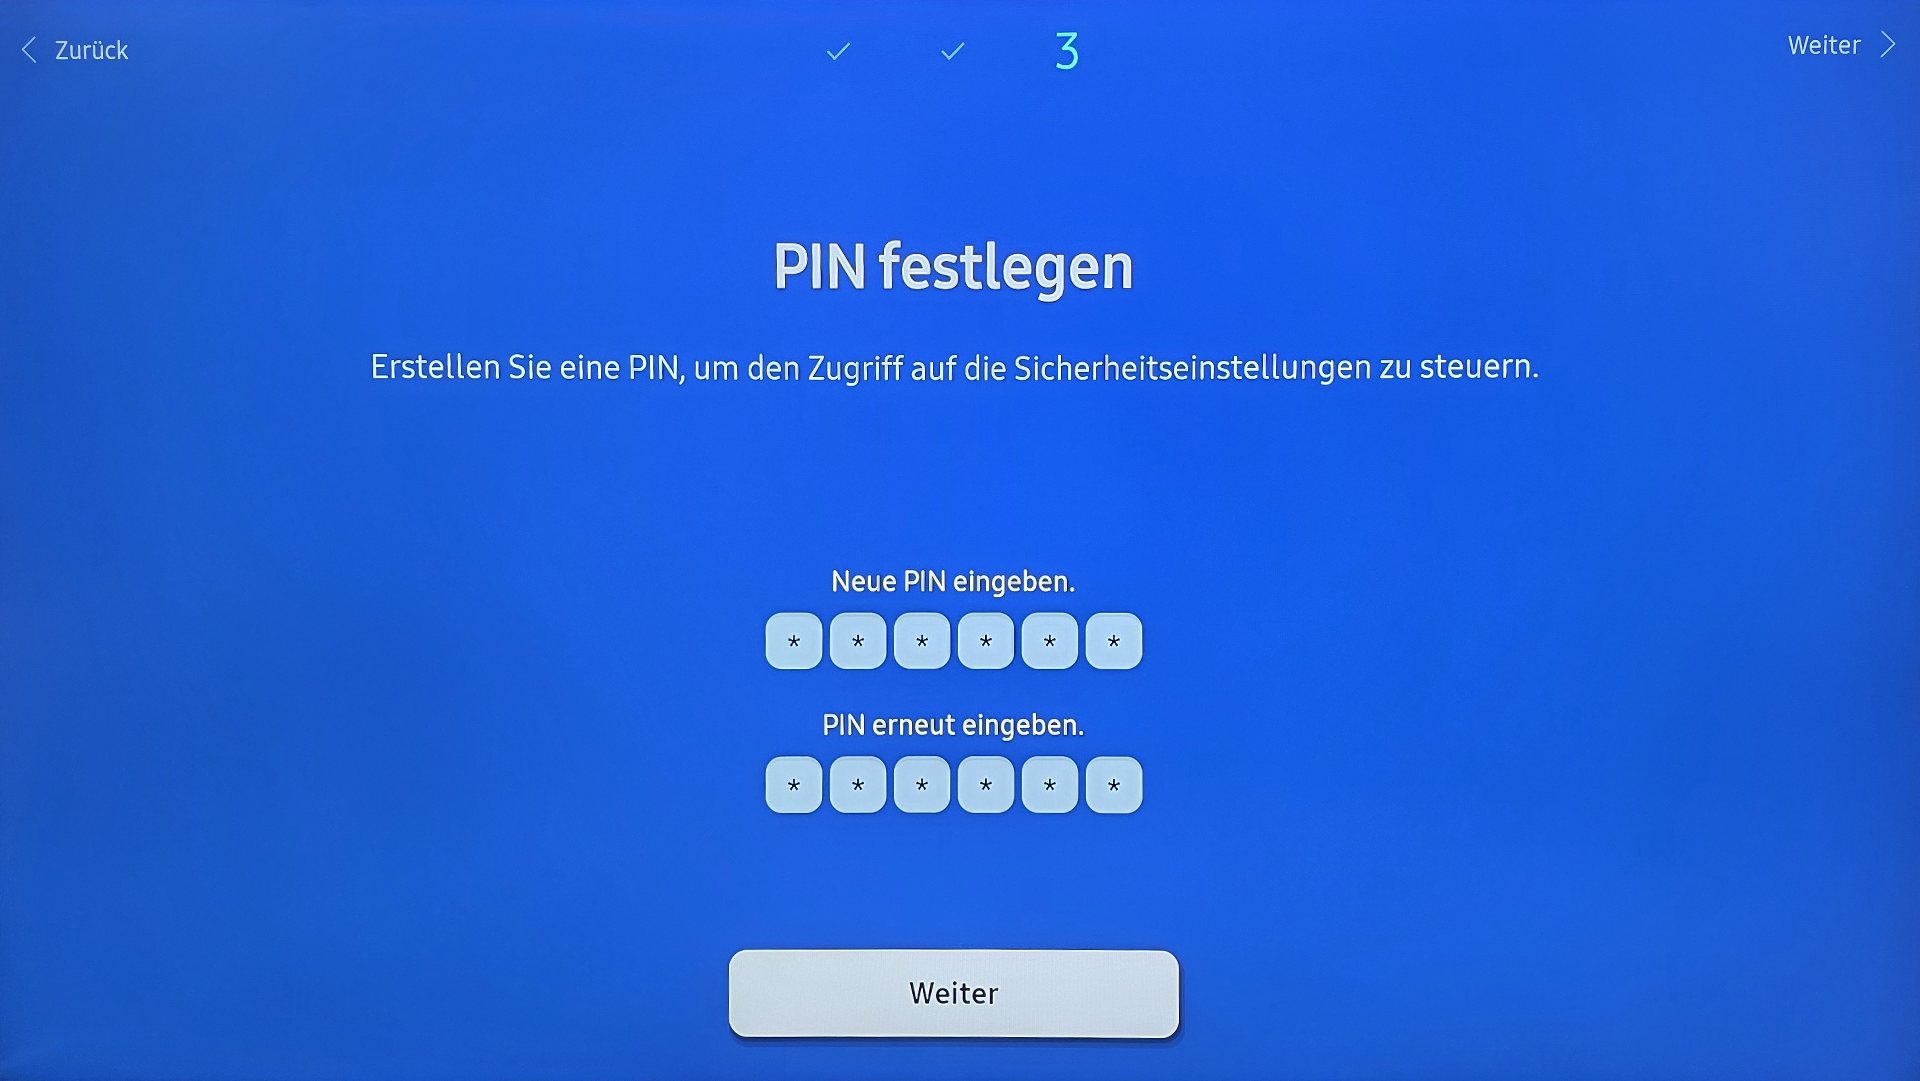
Set PIN
Create a PIN.
We recommend filling in the PIN with ZERO (the number).
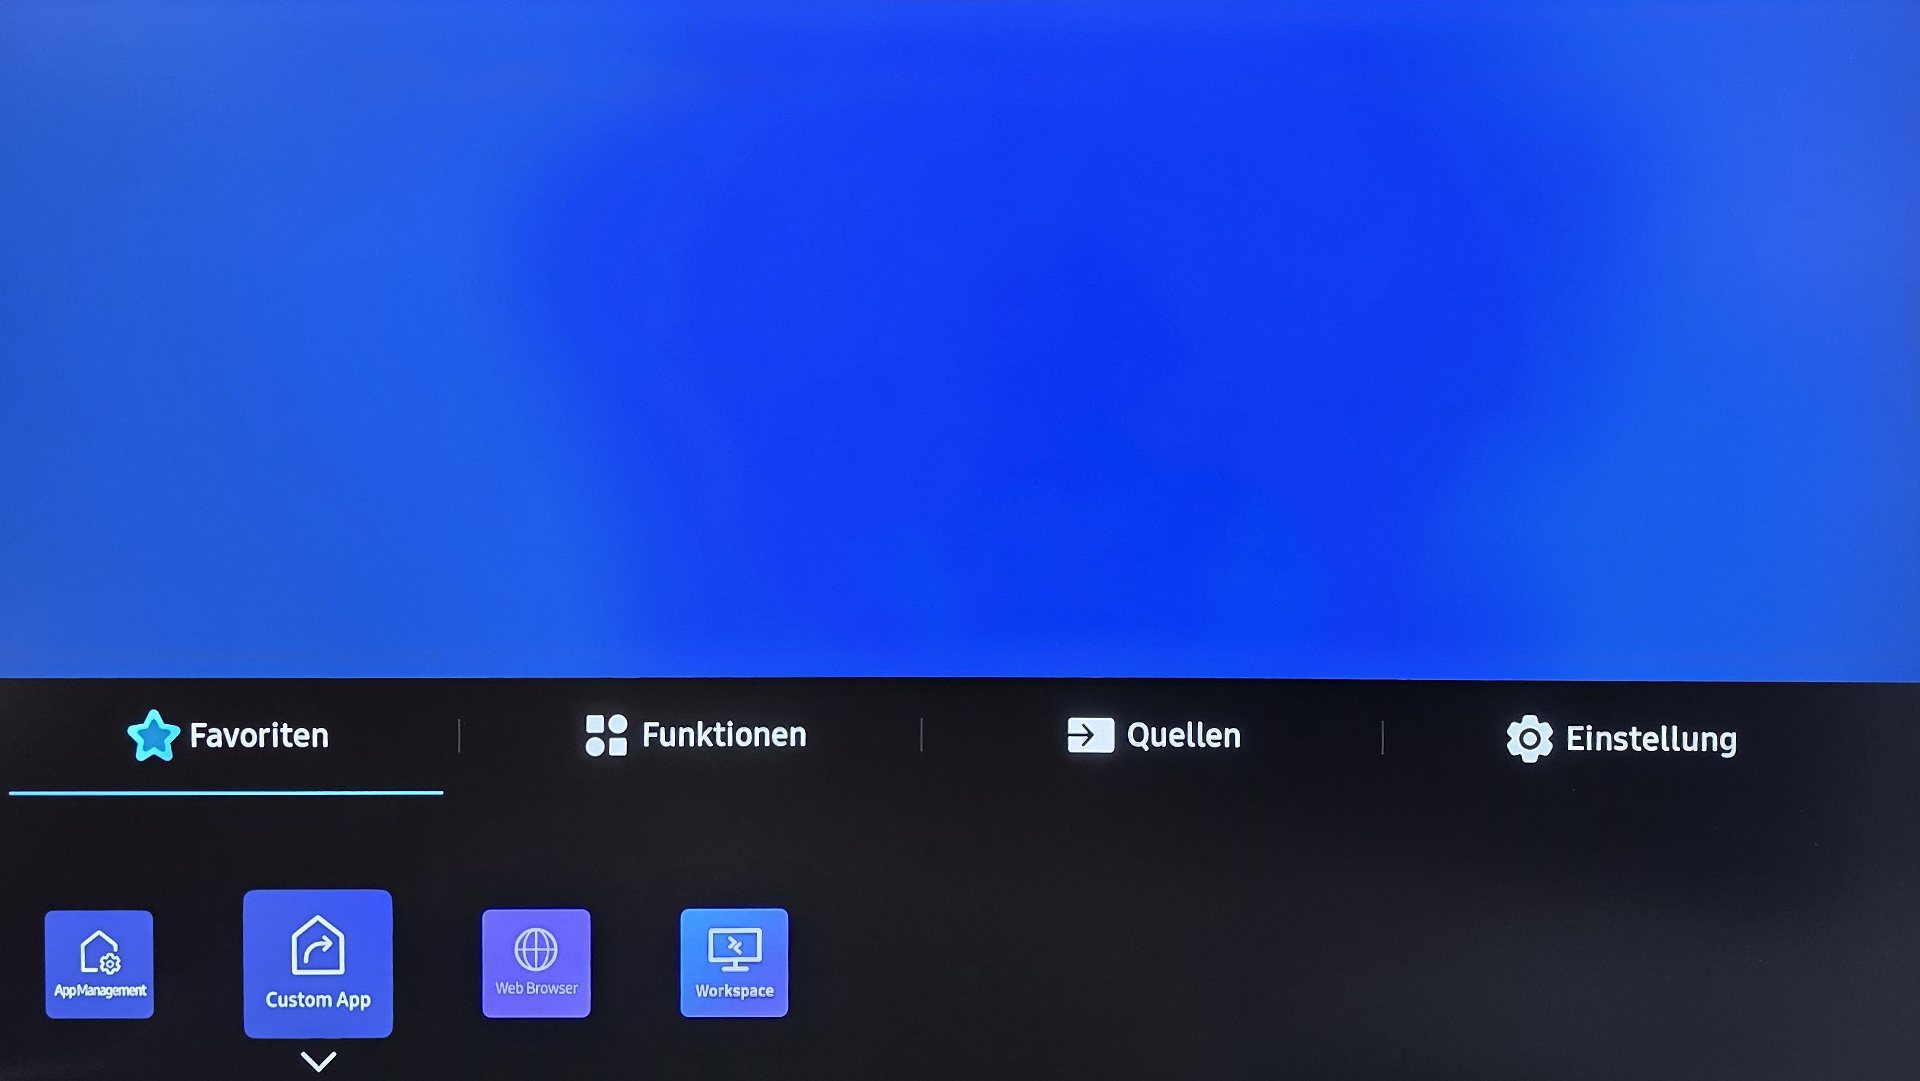
Home Button
After completing the wizard, the home screen appears. You can reach it at any time via the [HOME] button on the remote control. Under [Favoriten] (Favourites) you will find the [Custom App] icon — this starts revolutionSCREEN.
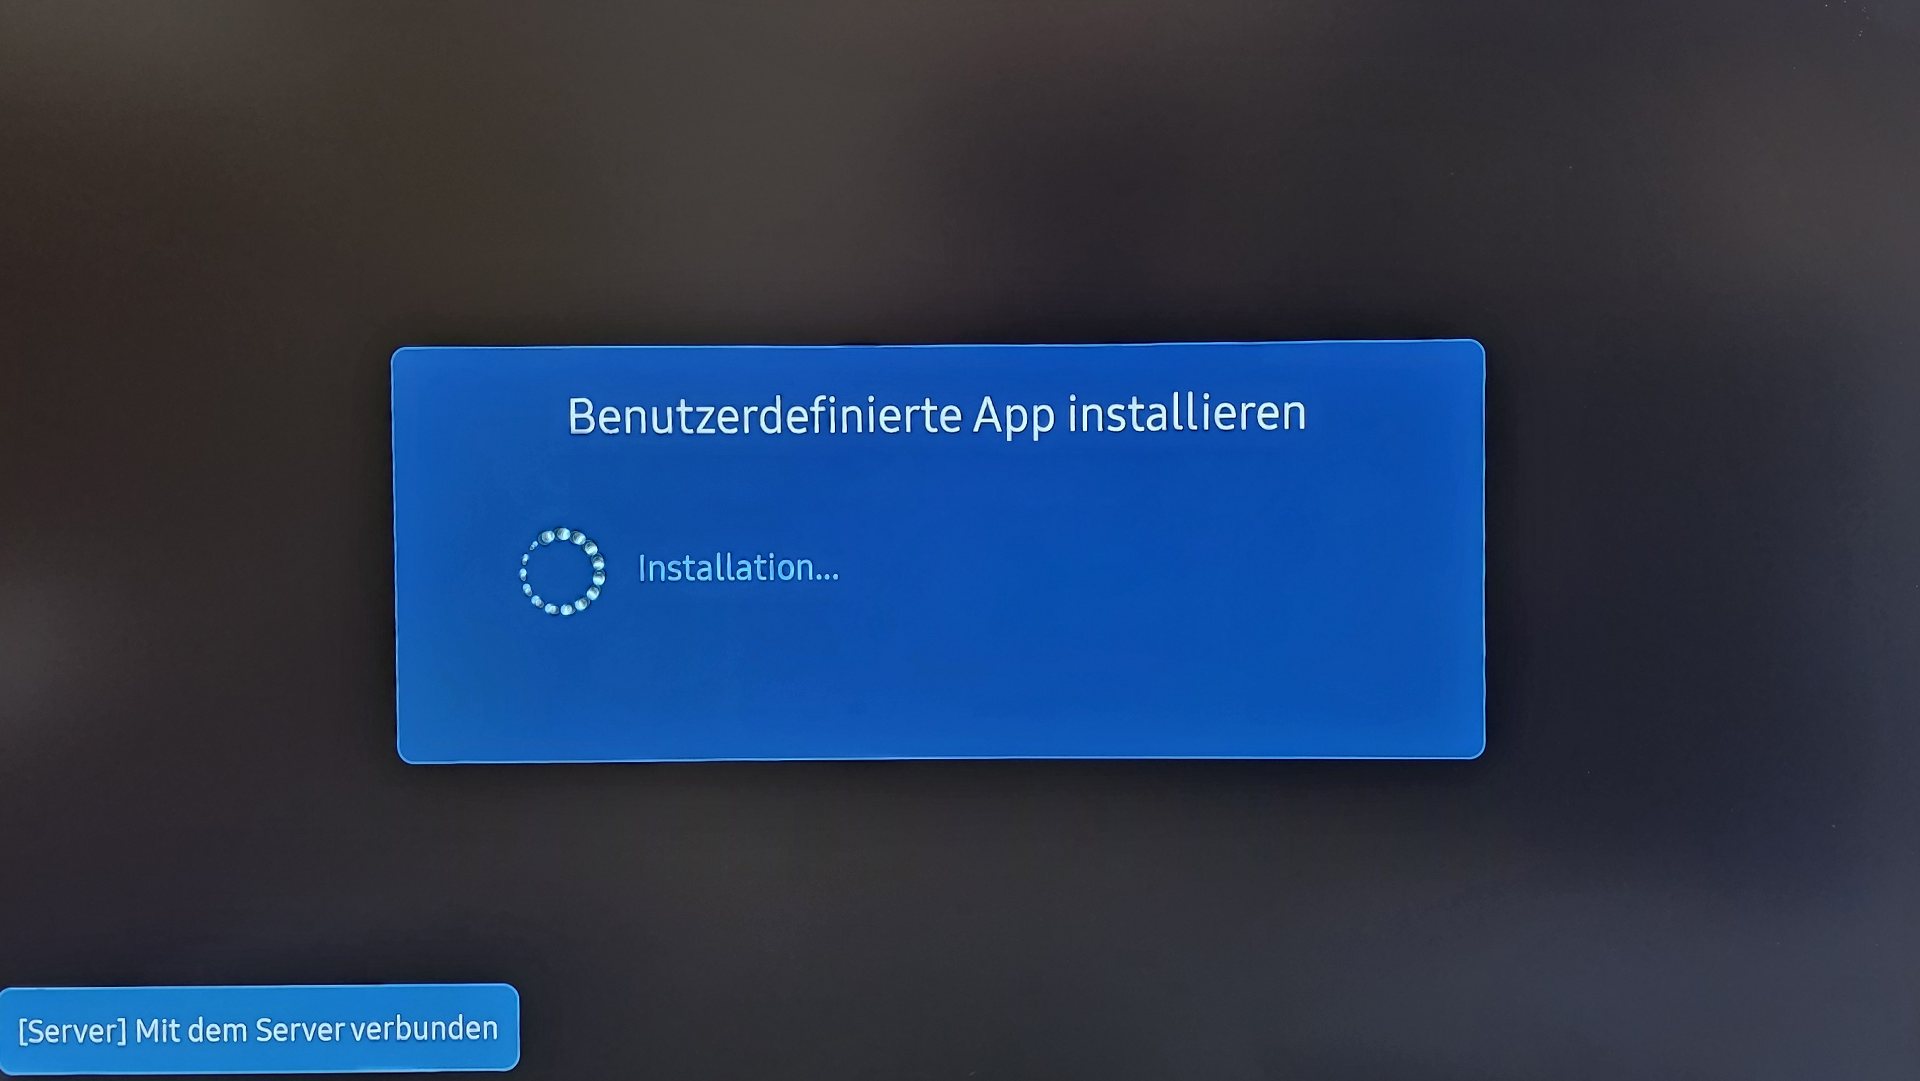
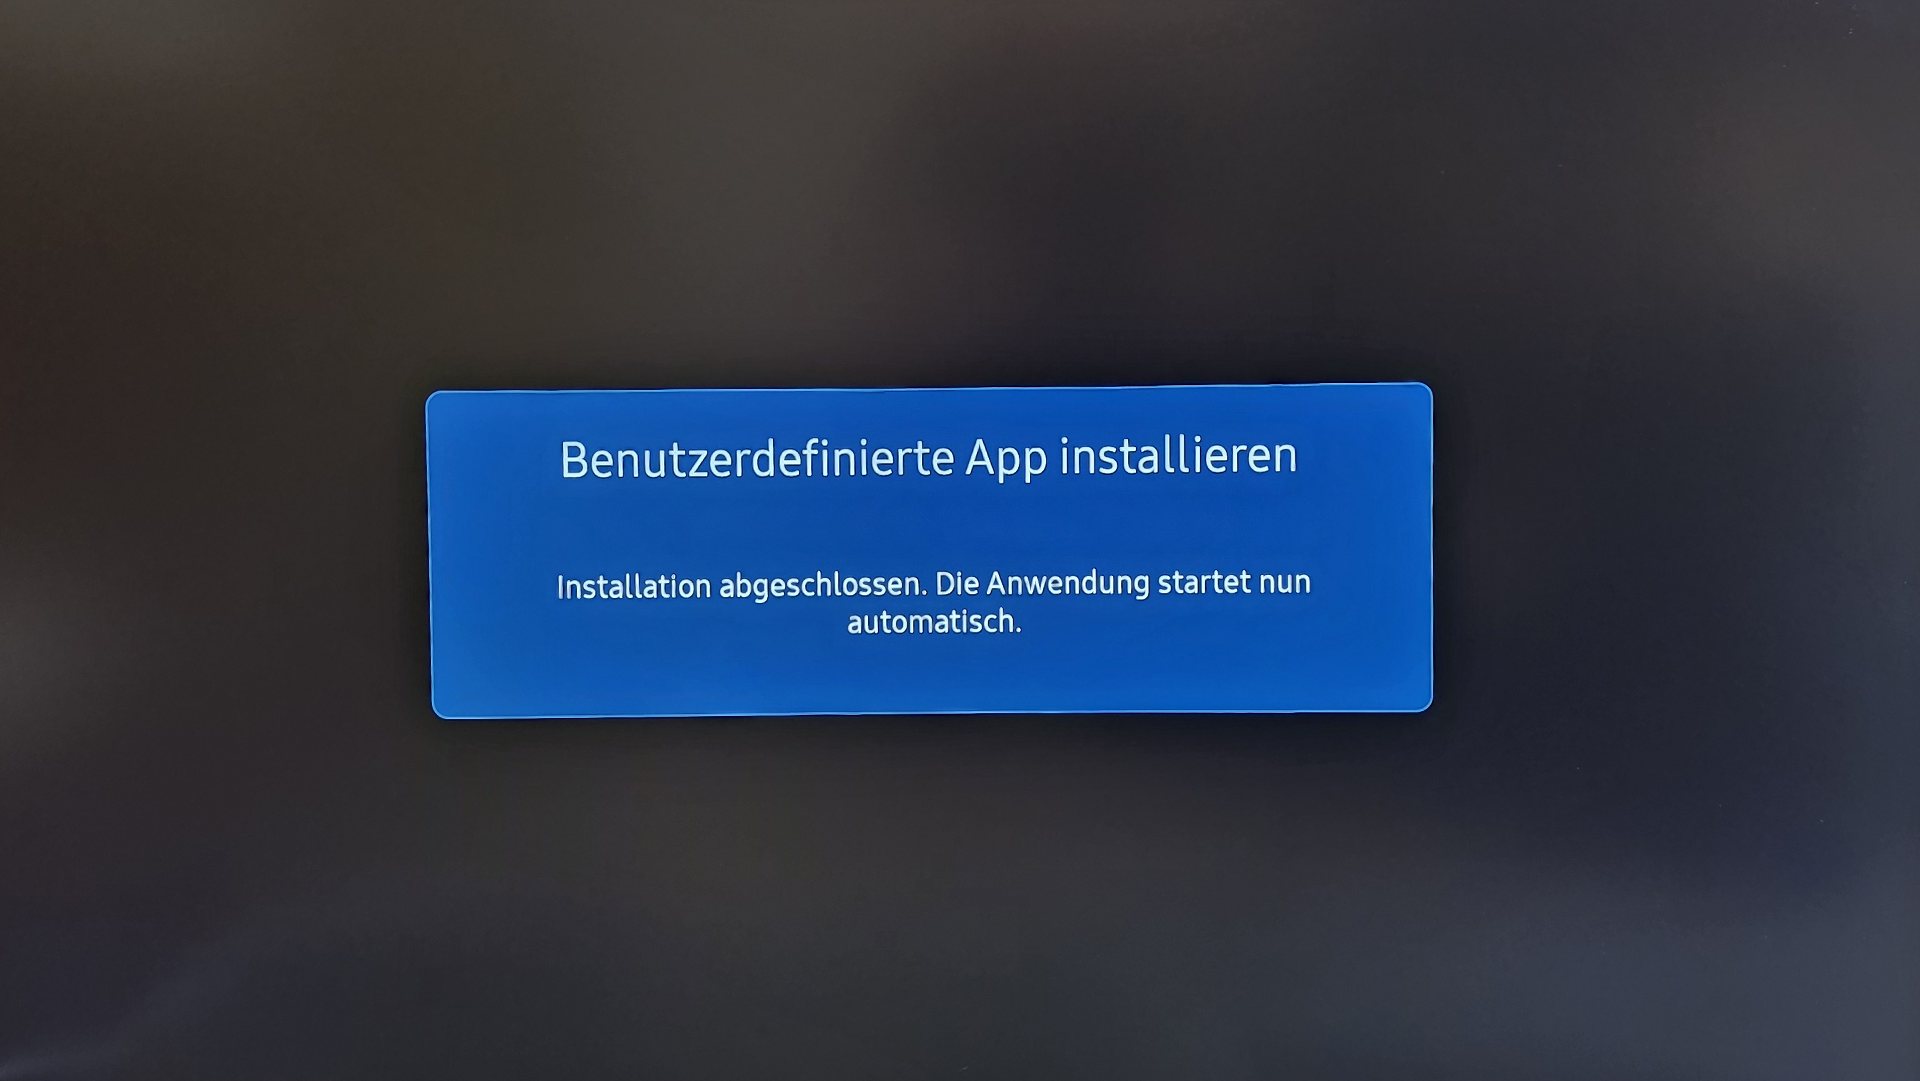
Install custom app
The display automatically downloads and installs the revolutionSCREEN app. Wait until the message „Installation abgeschlossen" (Installation complete) appears — the application then starts by itself.
From Tizen 7.0 onwards, this step runs automatically. If the app does not start by itself, use the [ENTER] key on the home screen to select the [Custom App] icon.
Screen Code
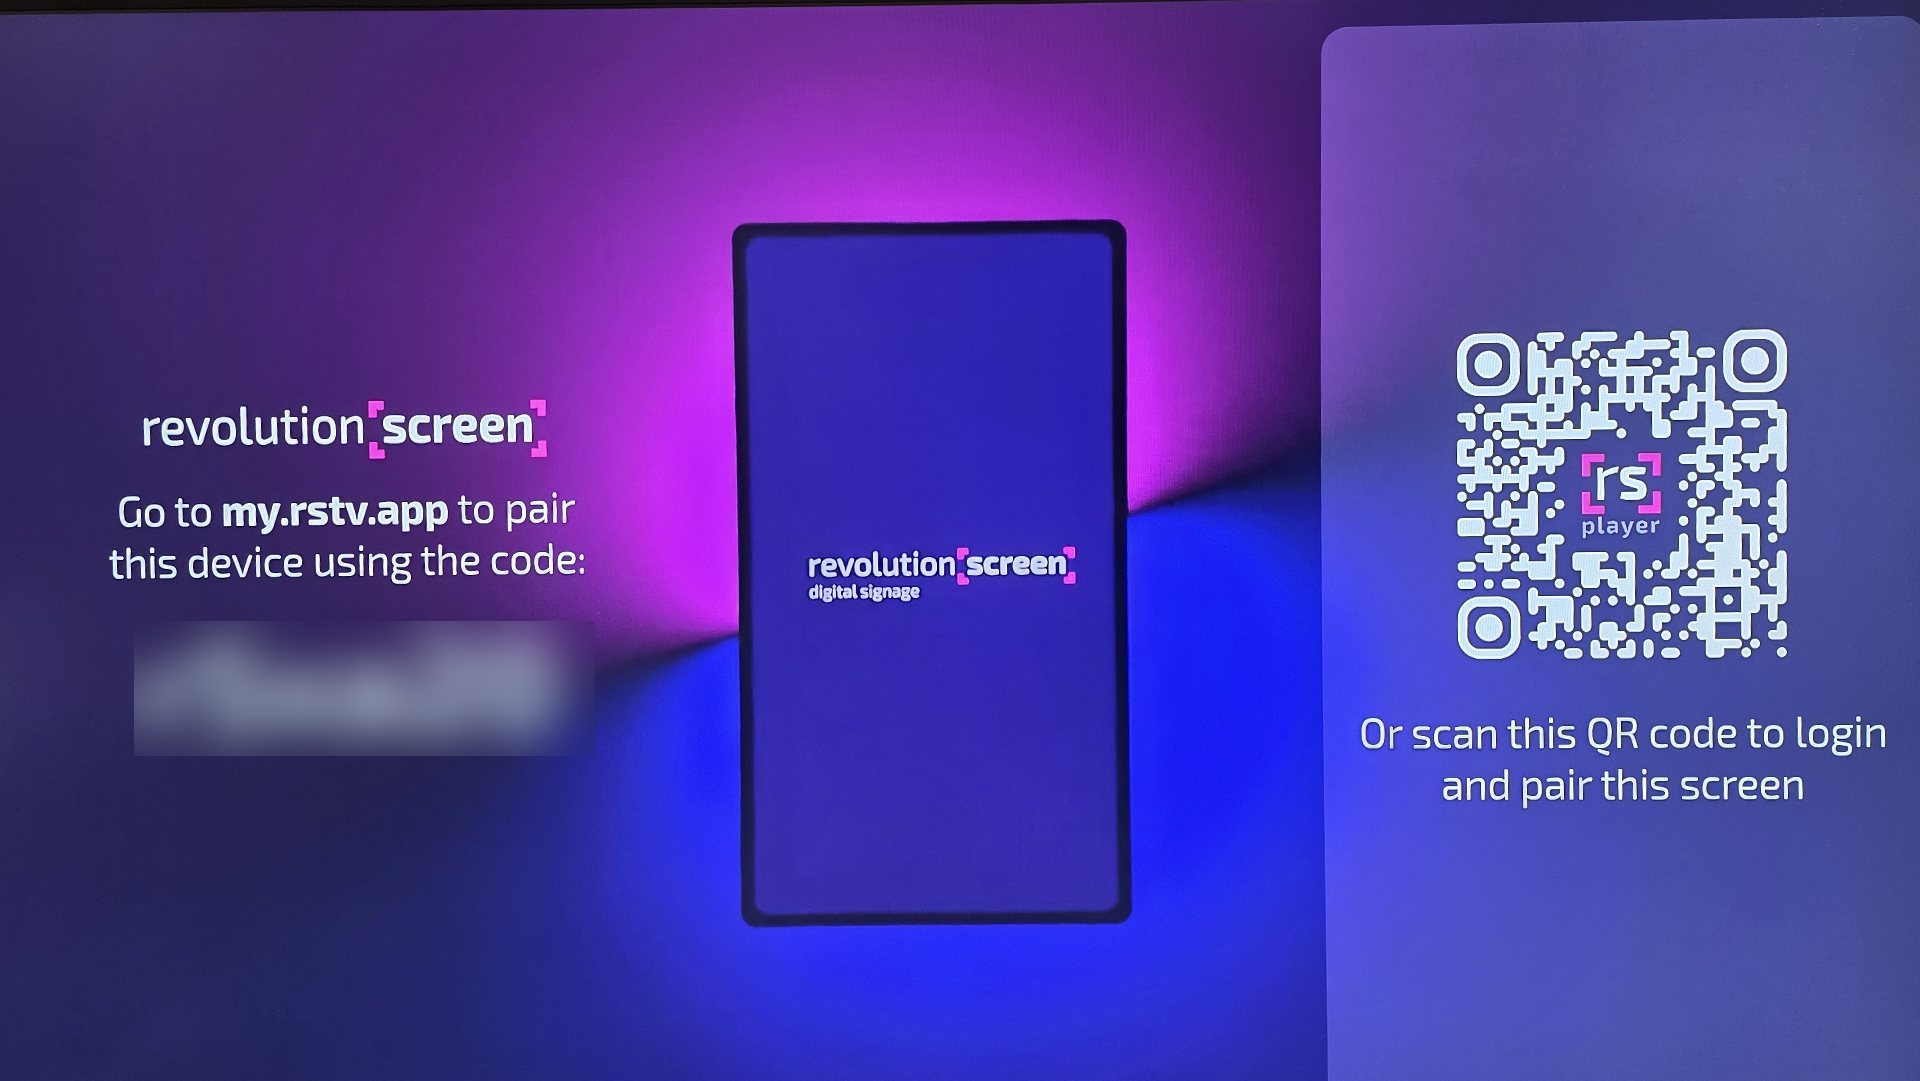
The unique 6-digit code appears on the screen.
You have two options to pair your display.
Scan QR-Code
Scan the QR-Code with your mobile phone camera. The display is then automatically paired in your account. If you do not yet have a revolutionSCREEN account or are not registered, you will be directed to the corresponding page.
Pairing-Code
As an alternative, the six-digit code is available to you. Register if you do not yet have an account on revolutionSCREEN. Log in to your Dashboard and follow the next steps in this guide.
Log in
- Enter the link «my.rstv.app» in your browser.
- Log in with your email address and password.

Register (if you do not have an account)
- Enter the link «my.rstv.app/register» in your browser.
- Fill in all fields with your details.
- Confirm your registration with the confirmation email sent to the email address you provided.

Dashboard
- On the right, click the [SCREEN] icon,
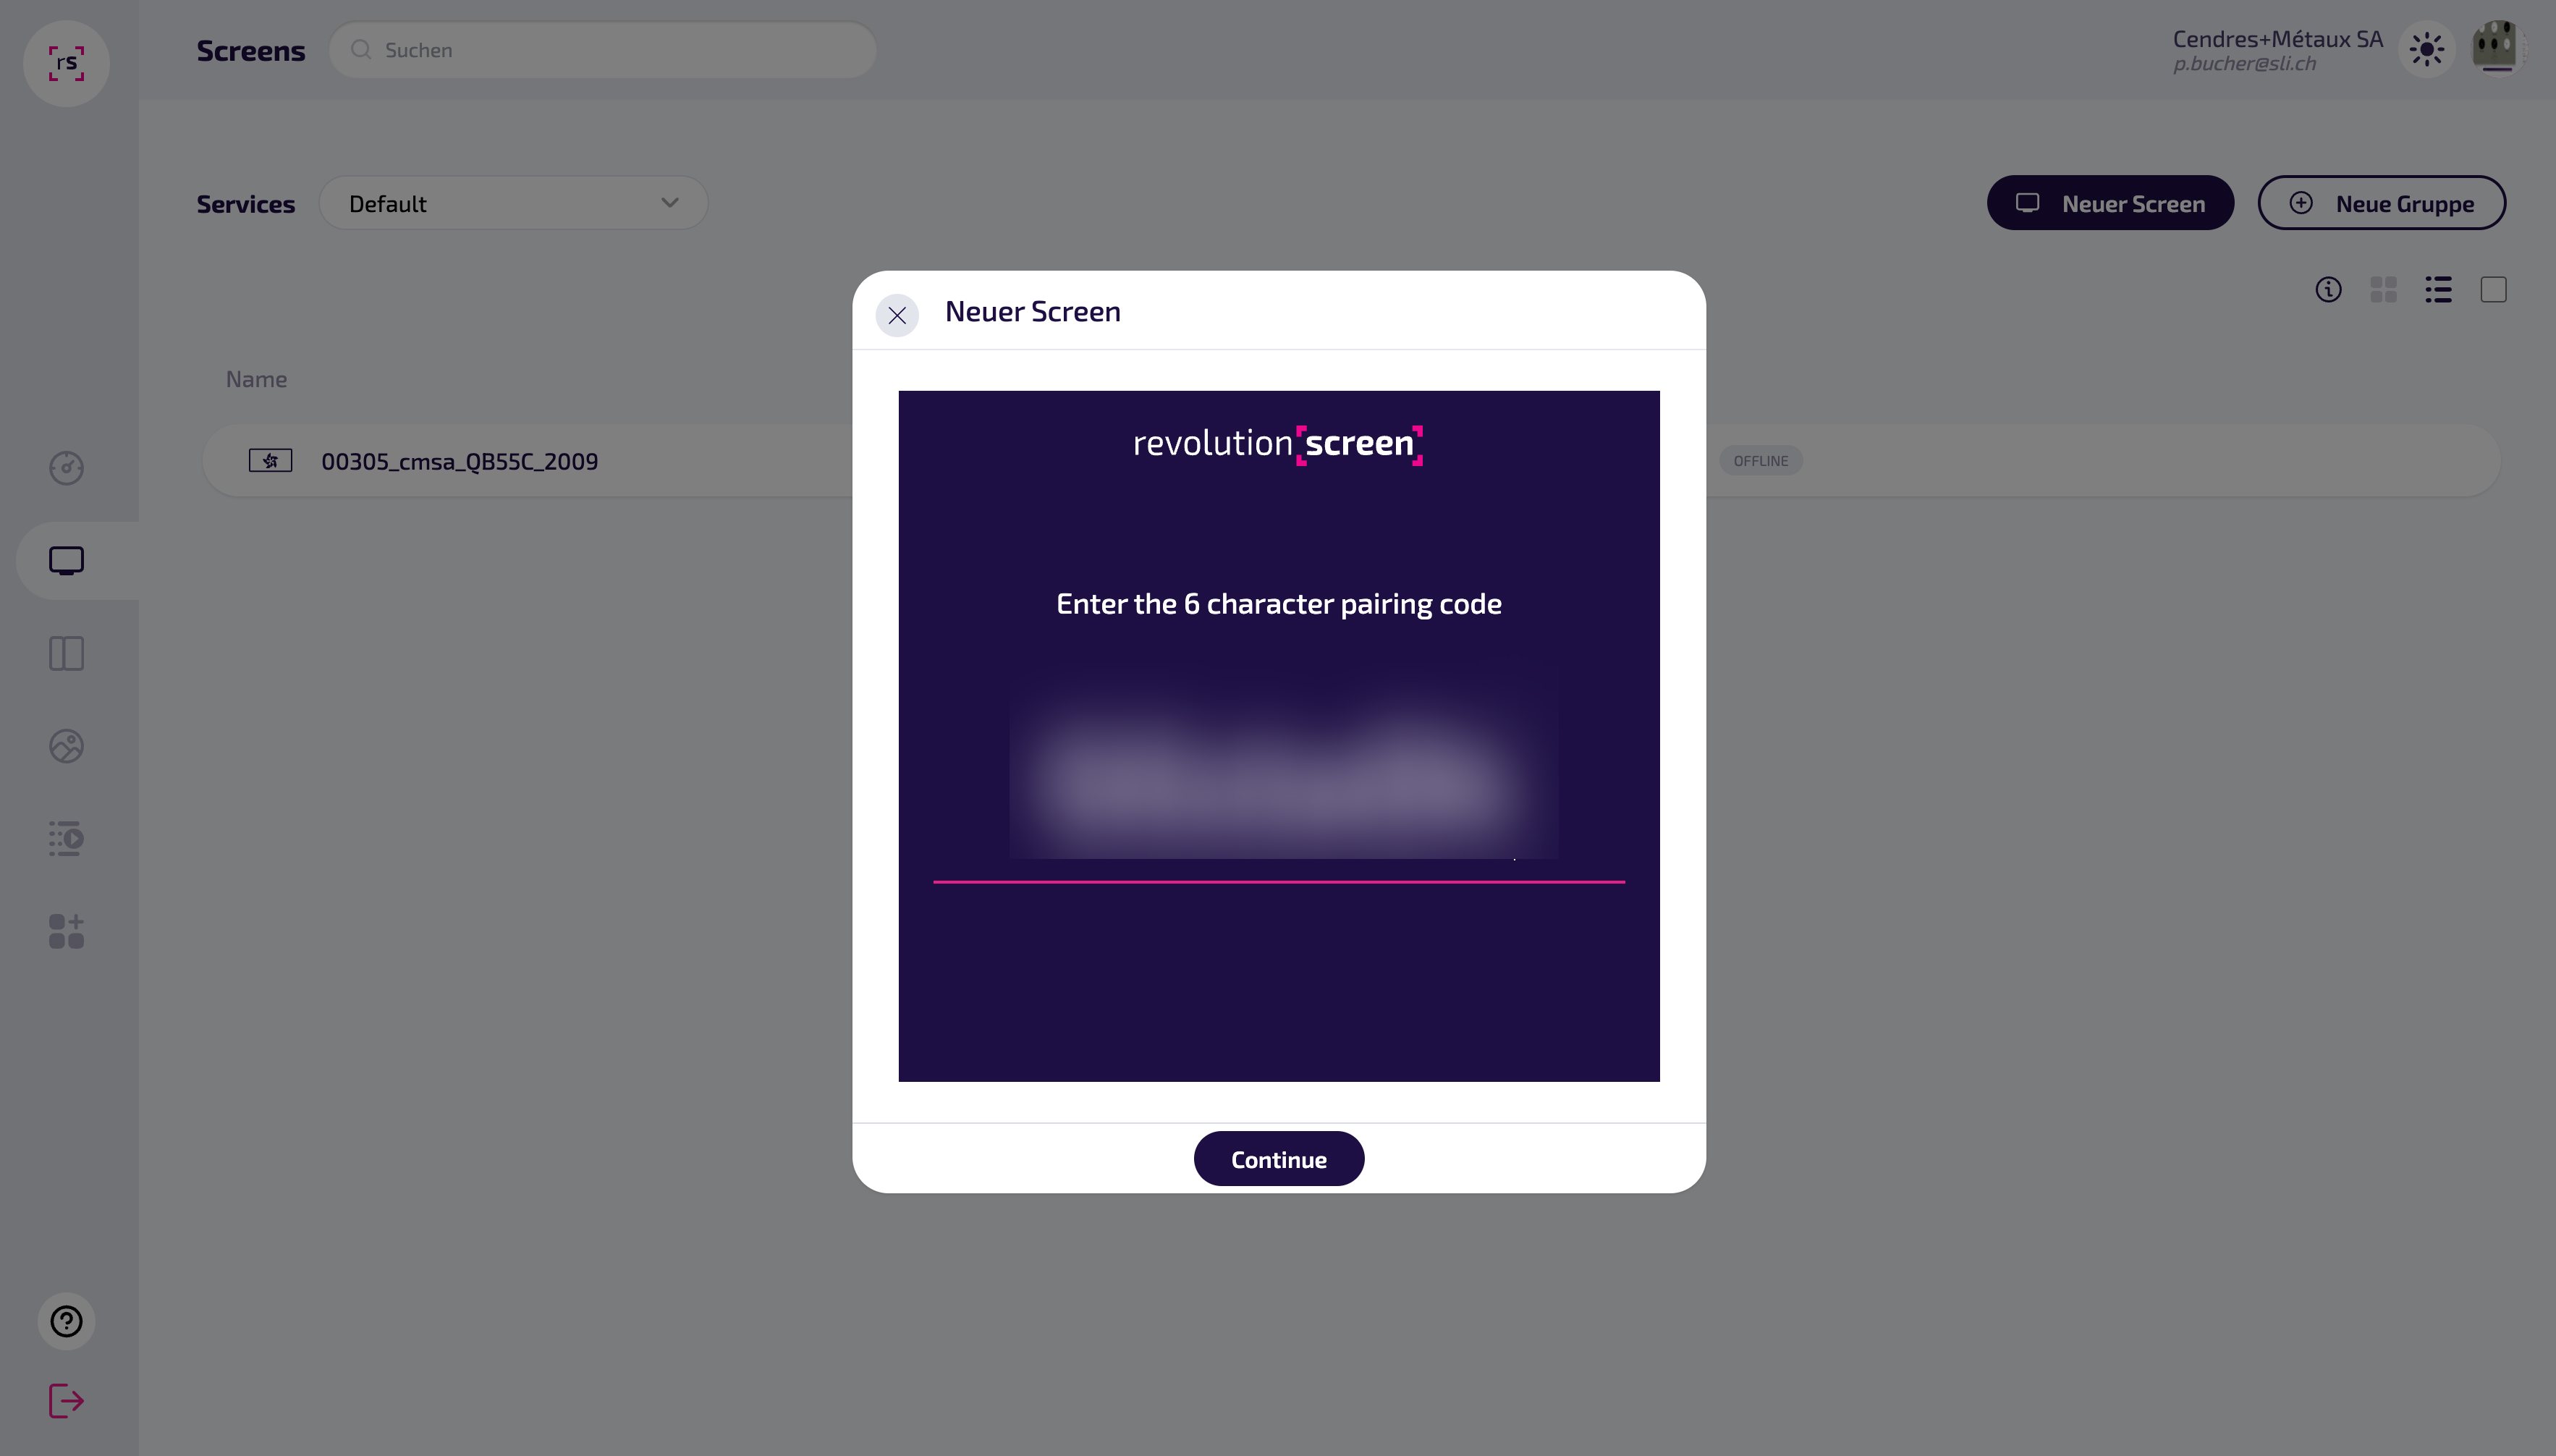
- then the [Neuer Screen] (New Screen) button.

Screen Code & pair
- The unique 6-digit code appears on the screen.
- Enter the 6-digit code from the screen into the pop-up window.
Ready to go
- After successful entry, the display appears in your Dashboard.
- Give your display a unique name and link your content.
