World Clock
With the «World Clock» app you can display up to six times from different locations side by side on the screen.
Purpose
Ideal for companies with locations, customers or partners in multiple time zones: the local time of each location is visible at a glance.
Use cases
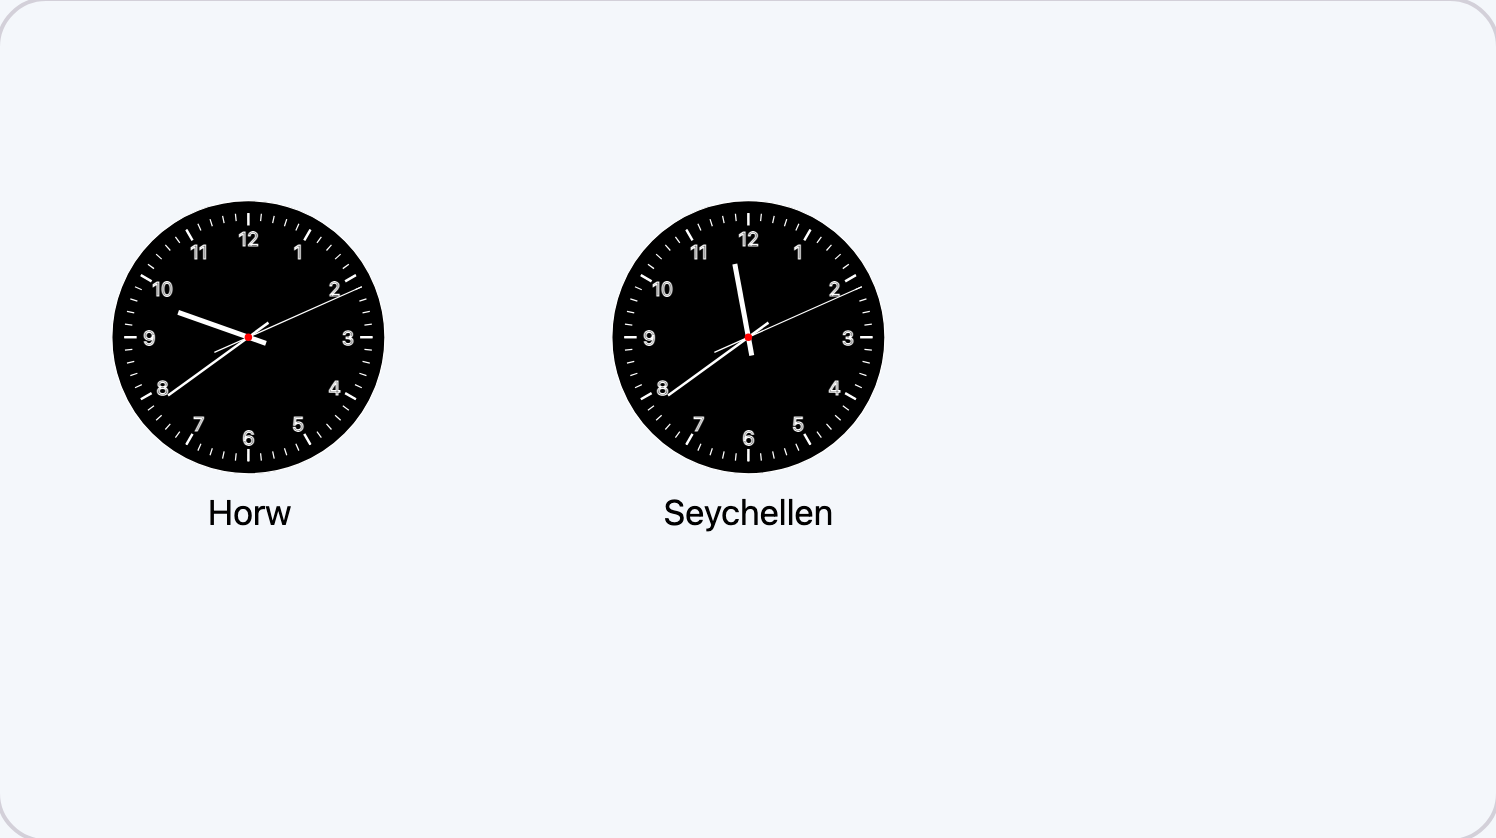
This is how World Clock looks on the screen, examples from real use:
Requirements
- An active revolutionSCREEN account with access to my.rstv.app.
- No external source needed.
- At least one configured screen.
Install the app
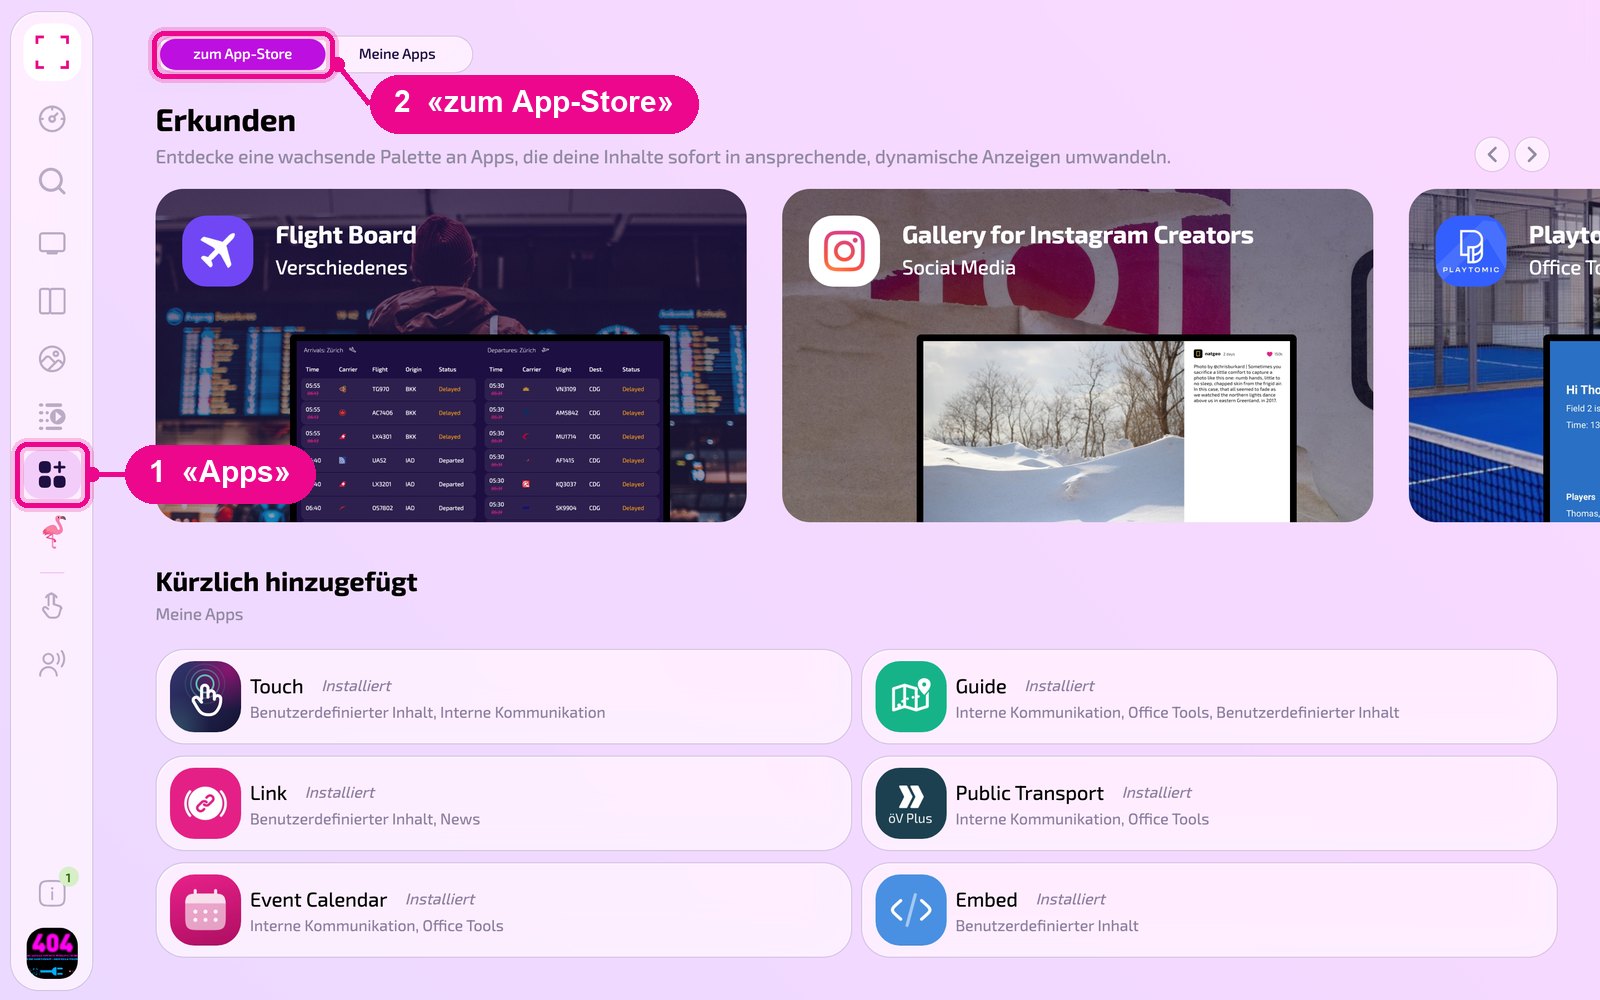
In the left sidebar, click «Apps» and then «zum App-Store» (to the app store) at the top.
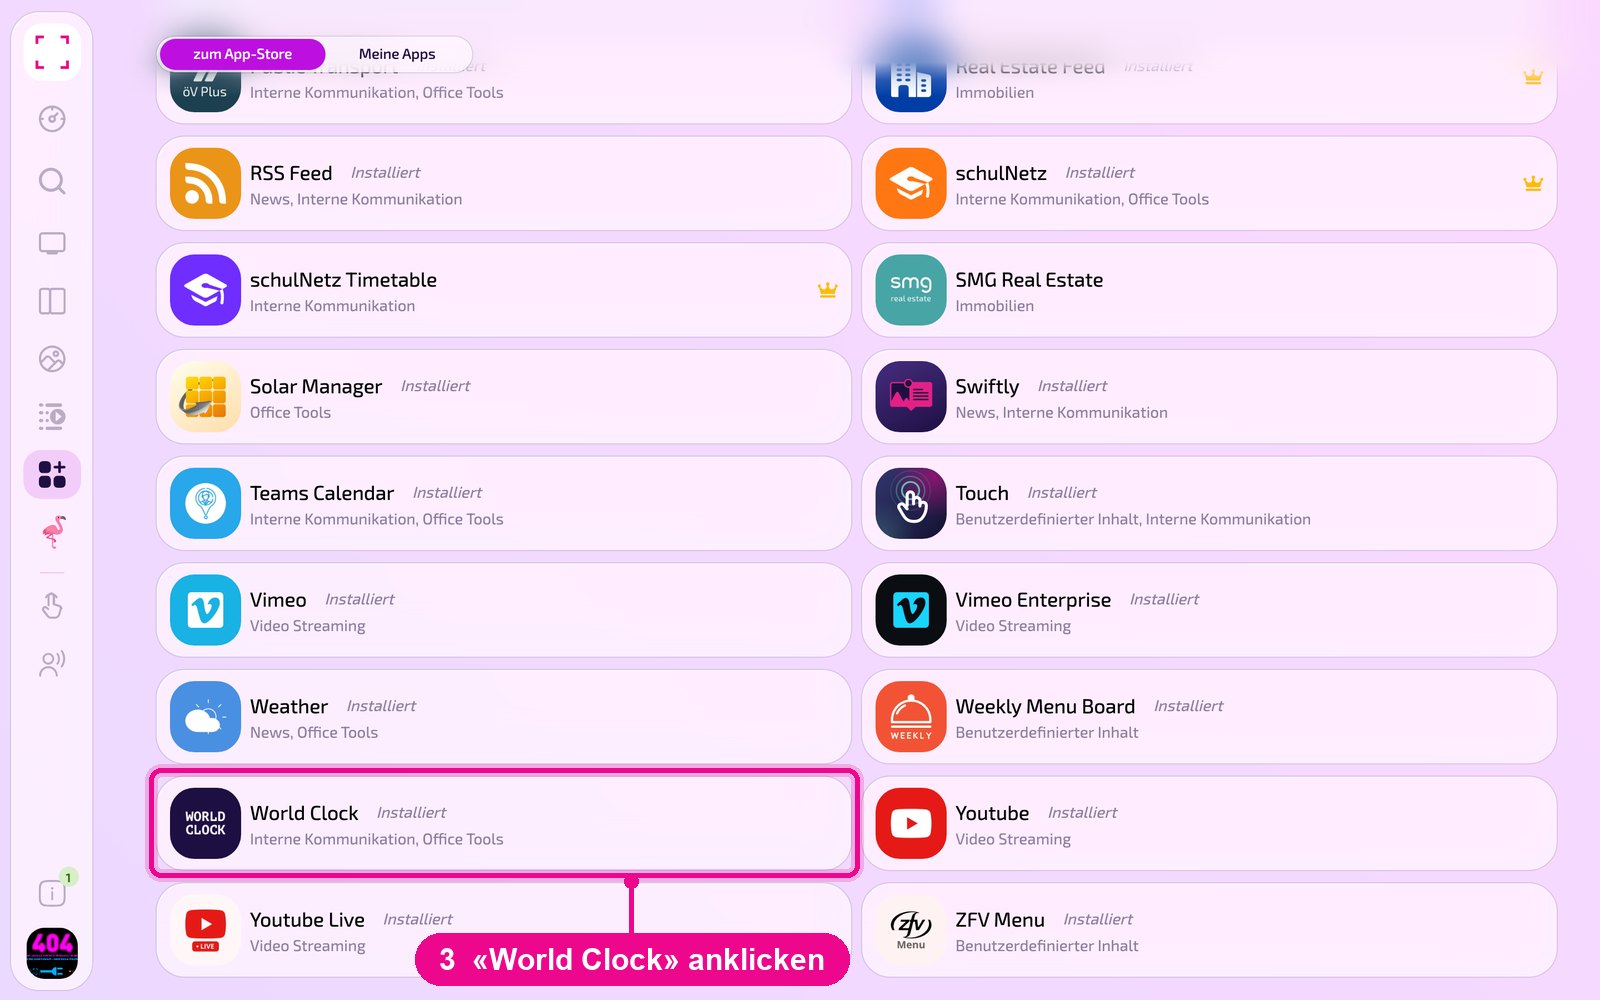
Scroll to the «Alle» (all) list and click the «World Clock» tile. Use the category buttons to narrow down the list.
The app's detail view opens. If it is not yet installed, first click «Installiere» (install). Then click «Neue Instanz» (new instance). «App Guide» opens a quick guide.
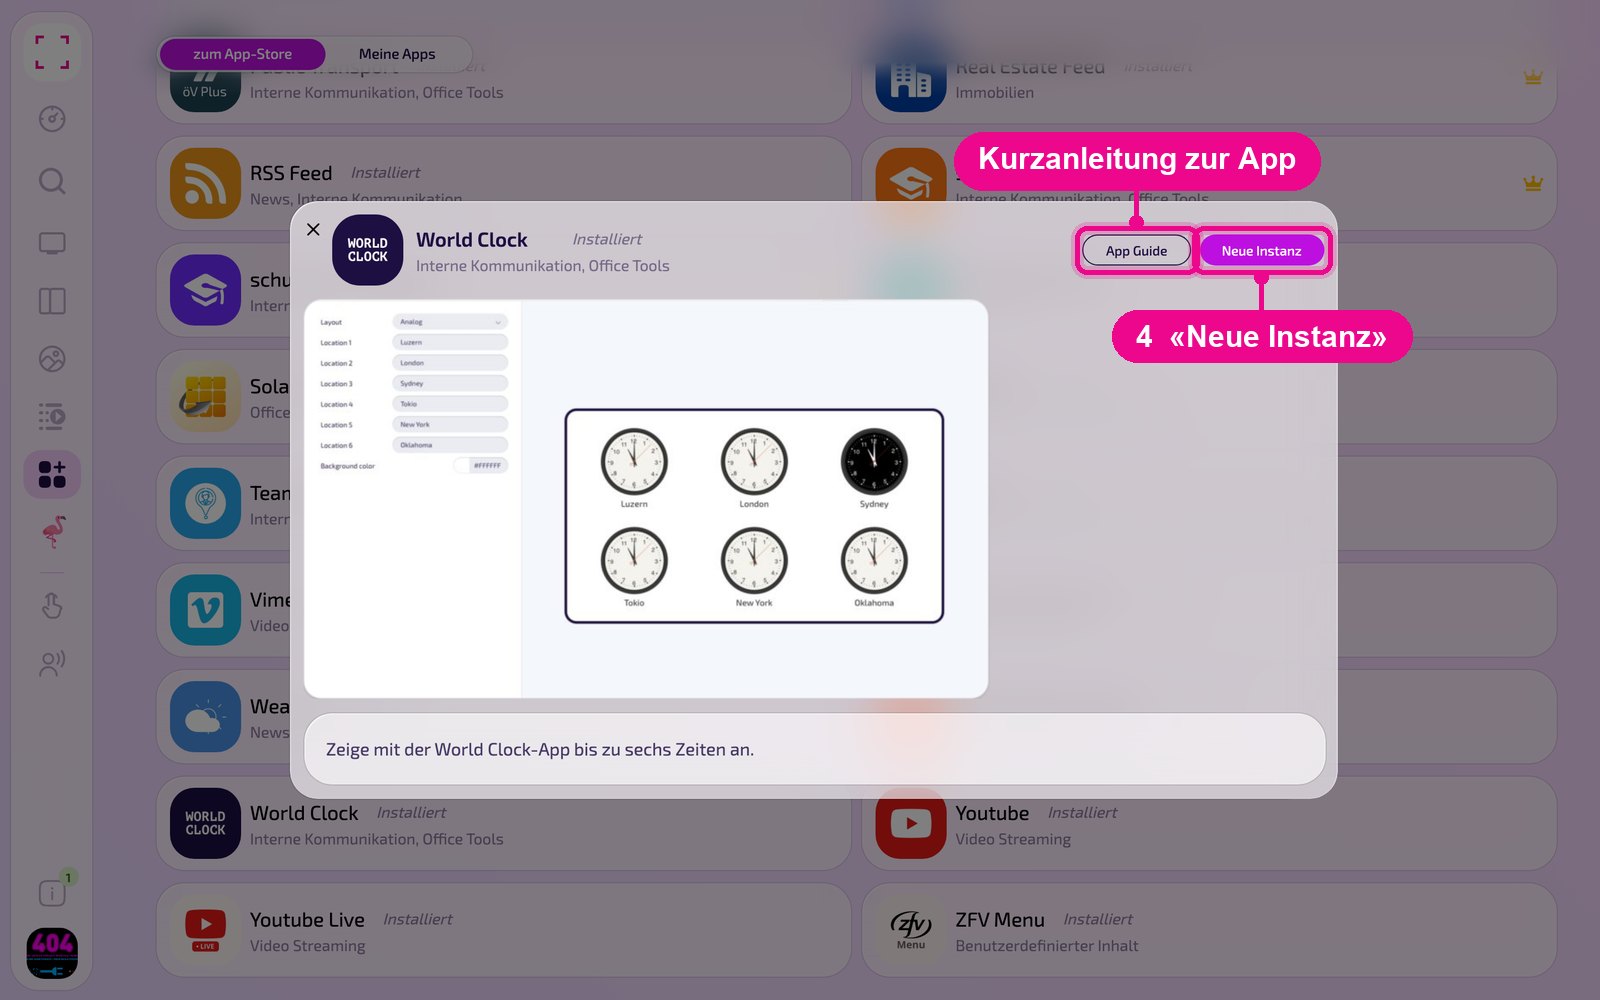
An instance is a separate configuration of the app, e.g. one gallery for the reception and another for the canteen. You can create as many instances as you like and use each one individually on screens, in Playlists or Layouts.
Create a new instance
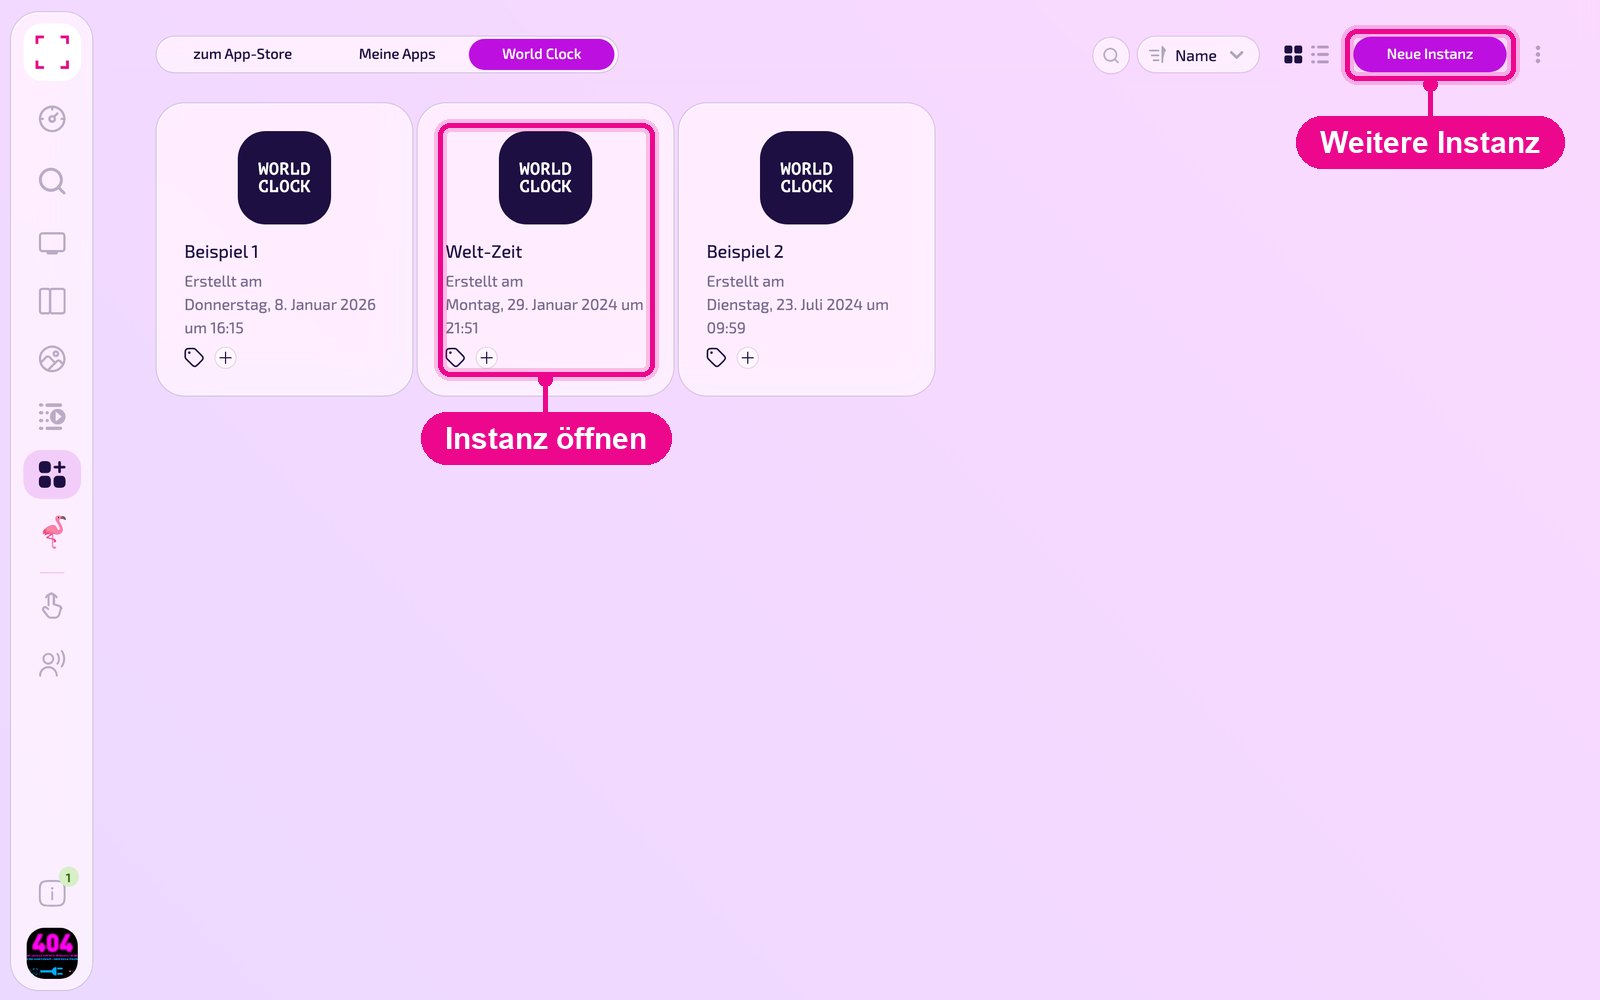
Under «Apps › Meine Apps» (my apps) you see all instances of the app as tiles. Use «Neue Instanz» (new instance) at the top right to create another one, or click a tile to open an existing one.
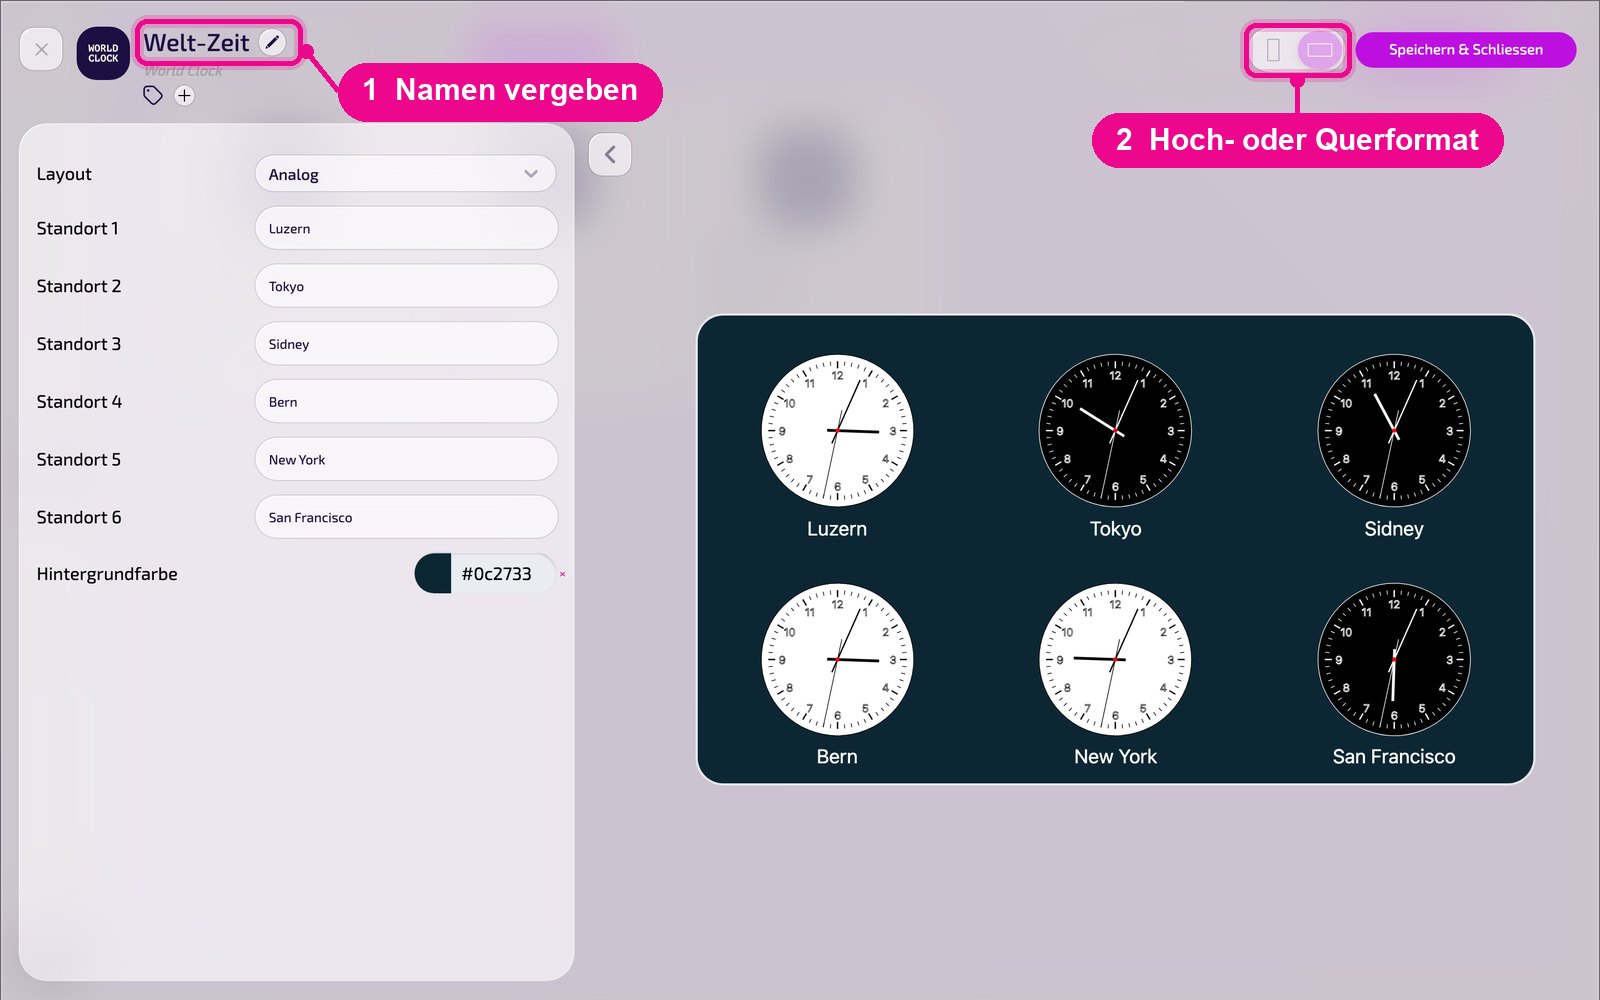
In the editor, hover over the title and click the pencil to give the instance a name. A new instance shows «Kein Name angegeben» (no name given) in red until then. At the top right you choose whether the preview appears in portrait or landscape format.
Configuration in detail
All settings are on the left, and on the right you immediately see in the live preview how the instance looks on the screen. Use the arrow next to the card to collapse the settings.
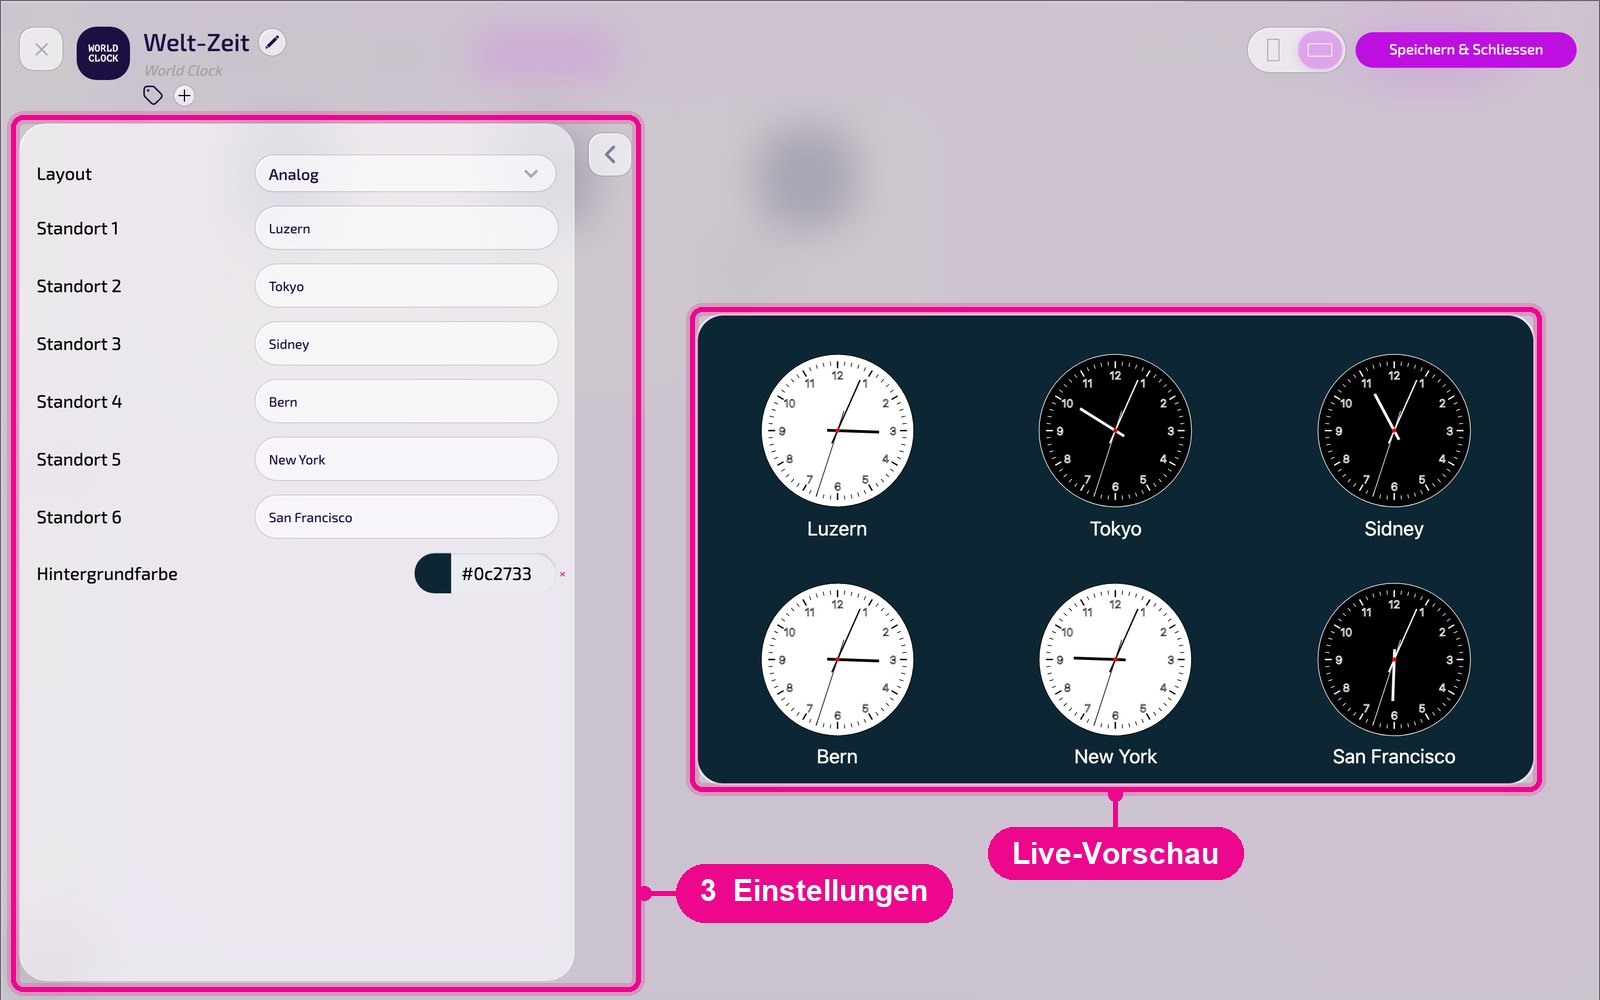
- Layout: display of the clocks, e.g. «Analog».
- Standort 1 to Standort 6: one location each, e.g. «Luzern», «Tokyo» or «New York». The name appears below the clock.
- Hintergrundfarbe (background color): color behind the clocks. Use × to reset it.
Save & play out on the screen
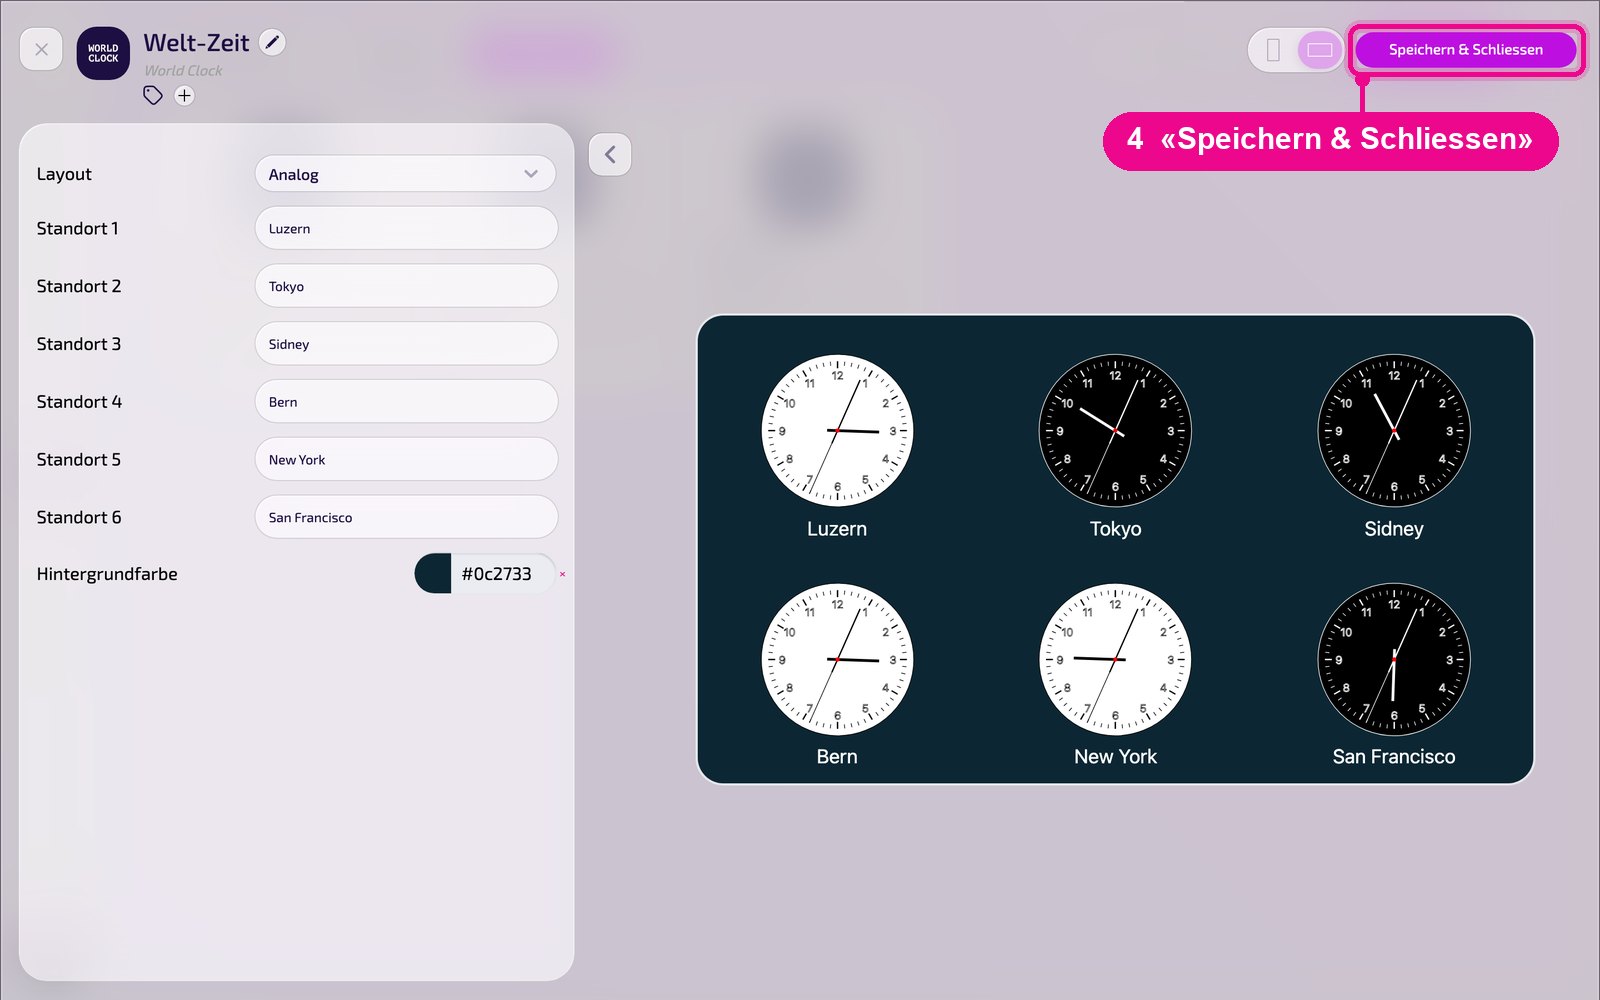
Save the instance at the top right with «Speichern & Schliessen» (save & close).
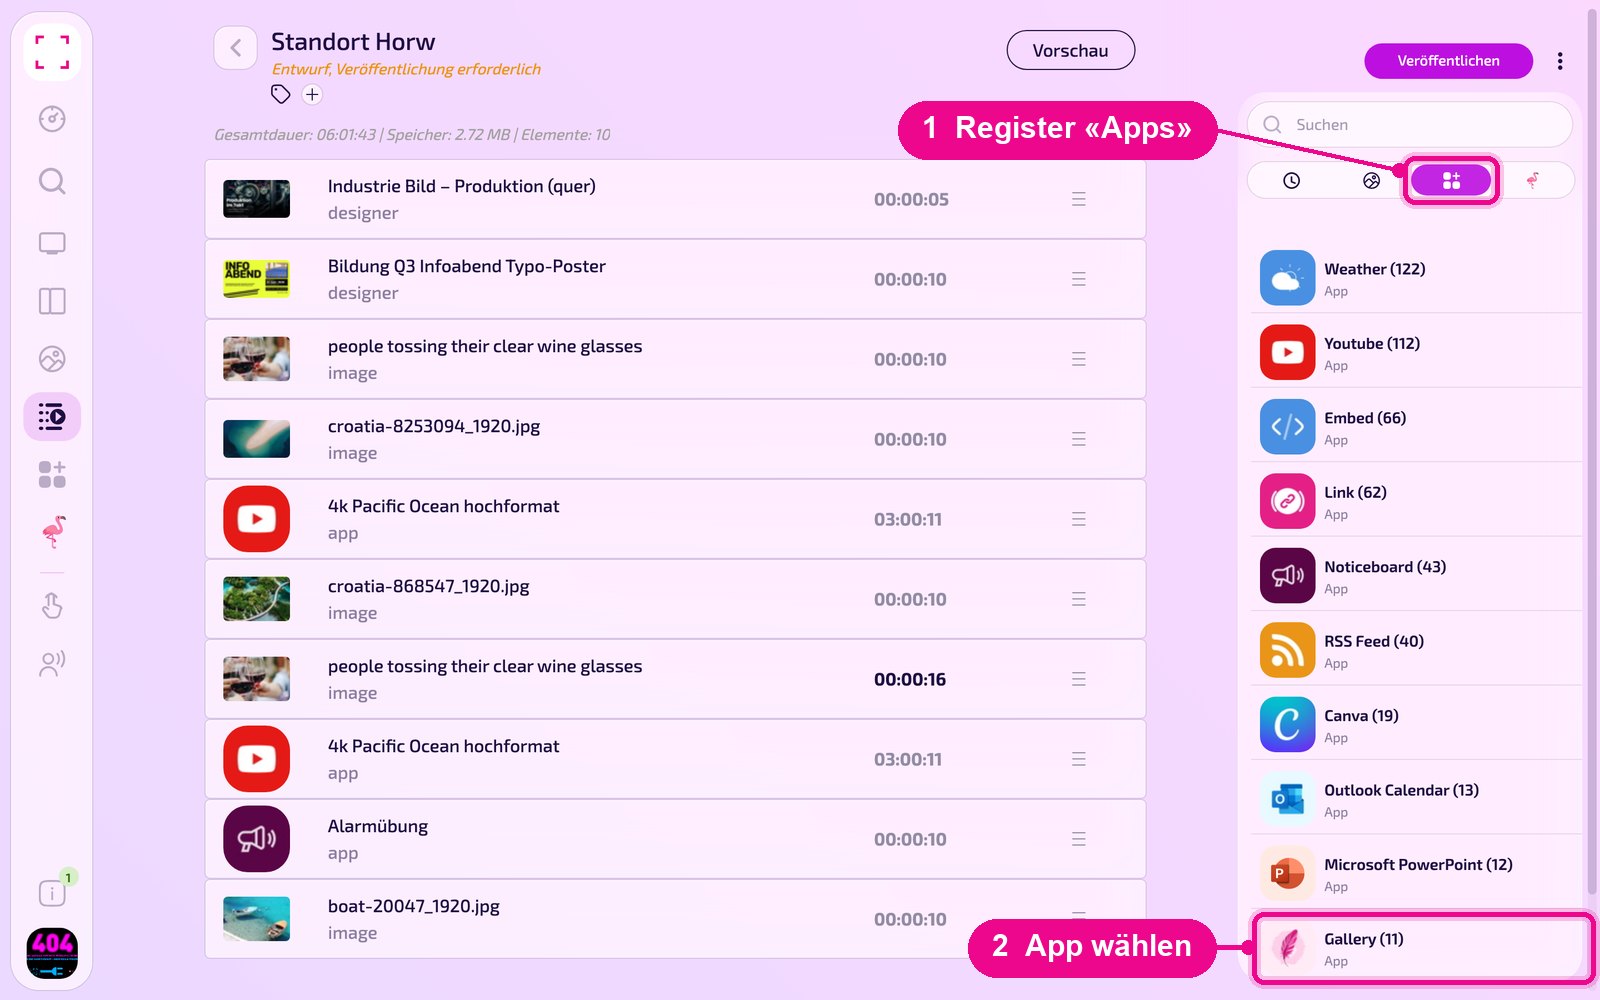
Add to a Playlist: Open the Playlist, select the «Apps» tab on the right, click the app and then the instance. The instance is added immediately.
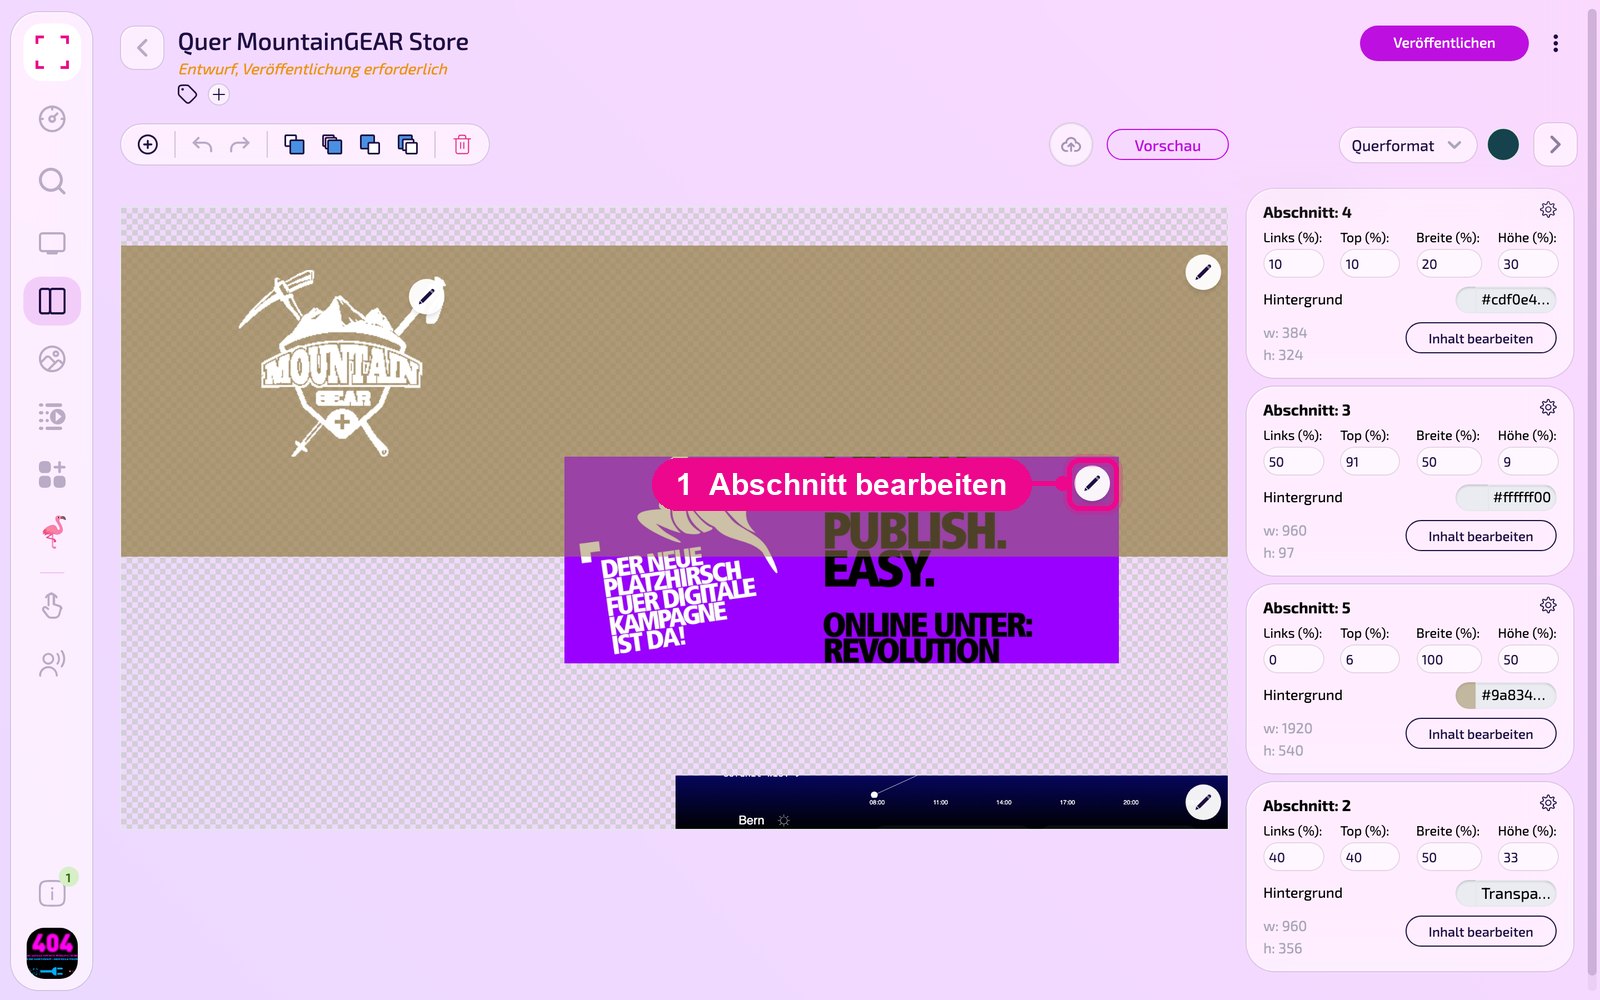
Add to a Layout: Open the Layout and click the pencil on the desired section.
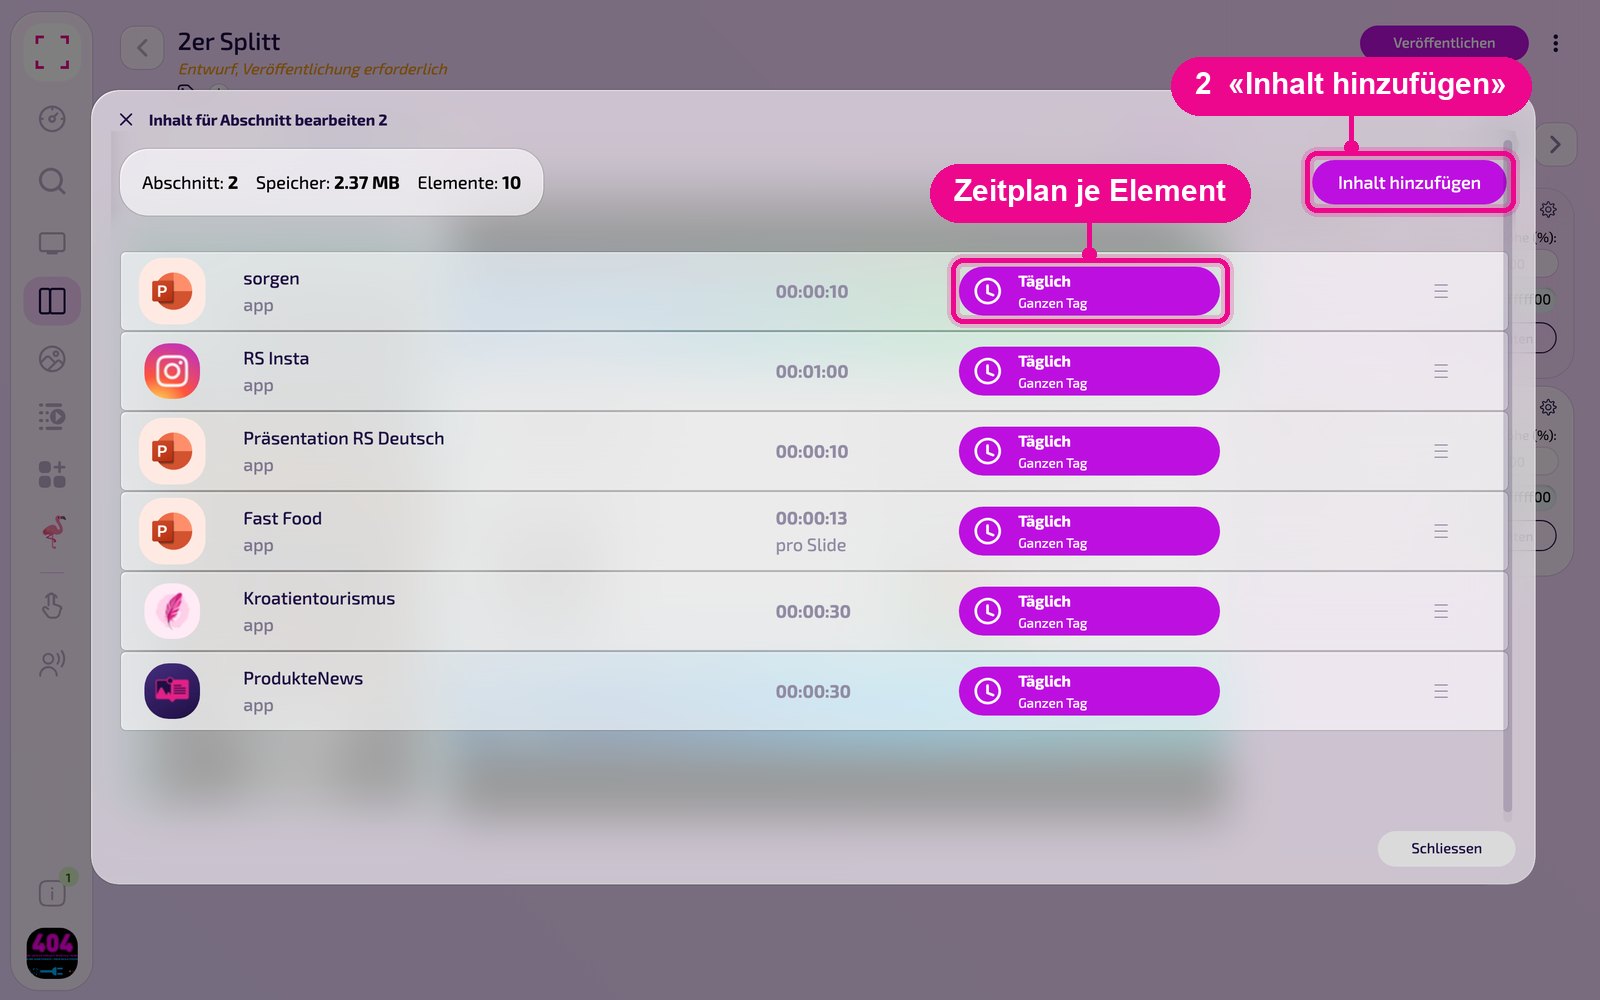
In the «Inhalt für Abschnitt bearbeiten» (edit content for section) window, add the instance with «Inhalt hinzufügen» (add content). On the right of each element, set the schedule via «Täglich» (daily).
Then click «Veröffentlichen» (publish) in the Playlist or Layout. As long as it still says «Entwurf, Veröffentlichung erforderlich» (draft, publishing required), the screen still shows the old version.
Tips & troubleshooting
Wrong time
Check the location in the «Standort» field, ideally a larger city in the desired time zone.
Different display
Choose a different display under «Layout».
Hard to read
Choose a background color with sufficient contrast to the clocks.
Content does not appear
Check whether the Playlist or Layout is published and assigned to the correct screen, and whether the Player is online.