Real Estate Feed
With the «Real Estate Feed» app you automatically play out real estate listings from an object feed of your data source on the screen.
Purpose
Show your properties in the shop window or at reception directly from your data source, with a selectable theme and your own sorting. New or changed objects appear automatically.
Applications
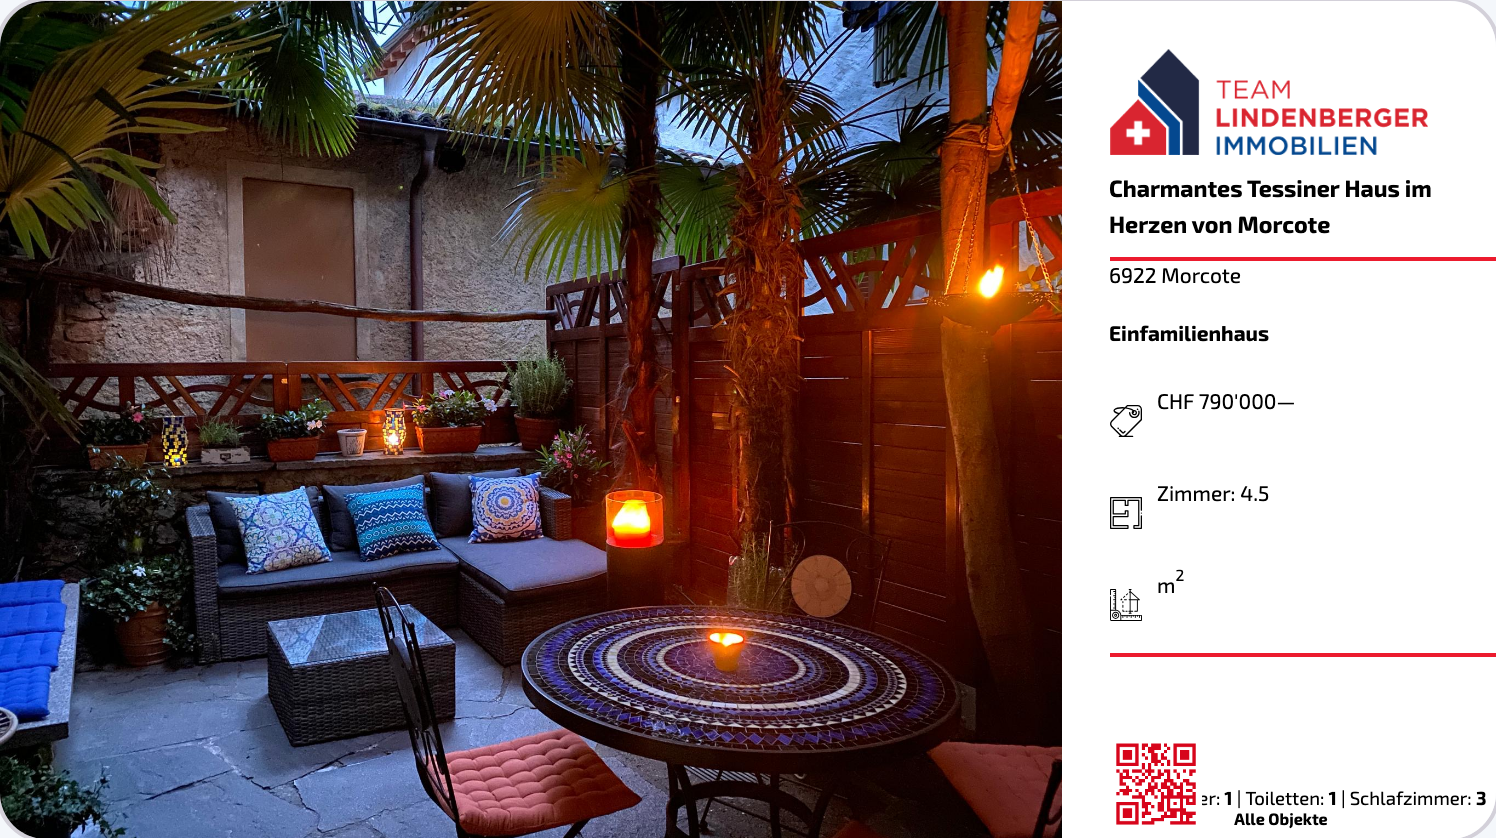
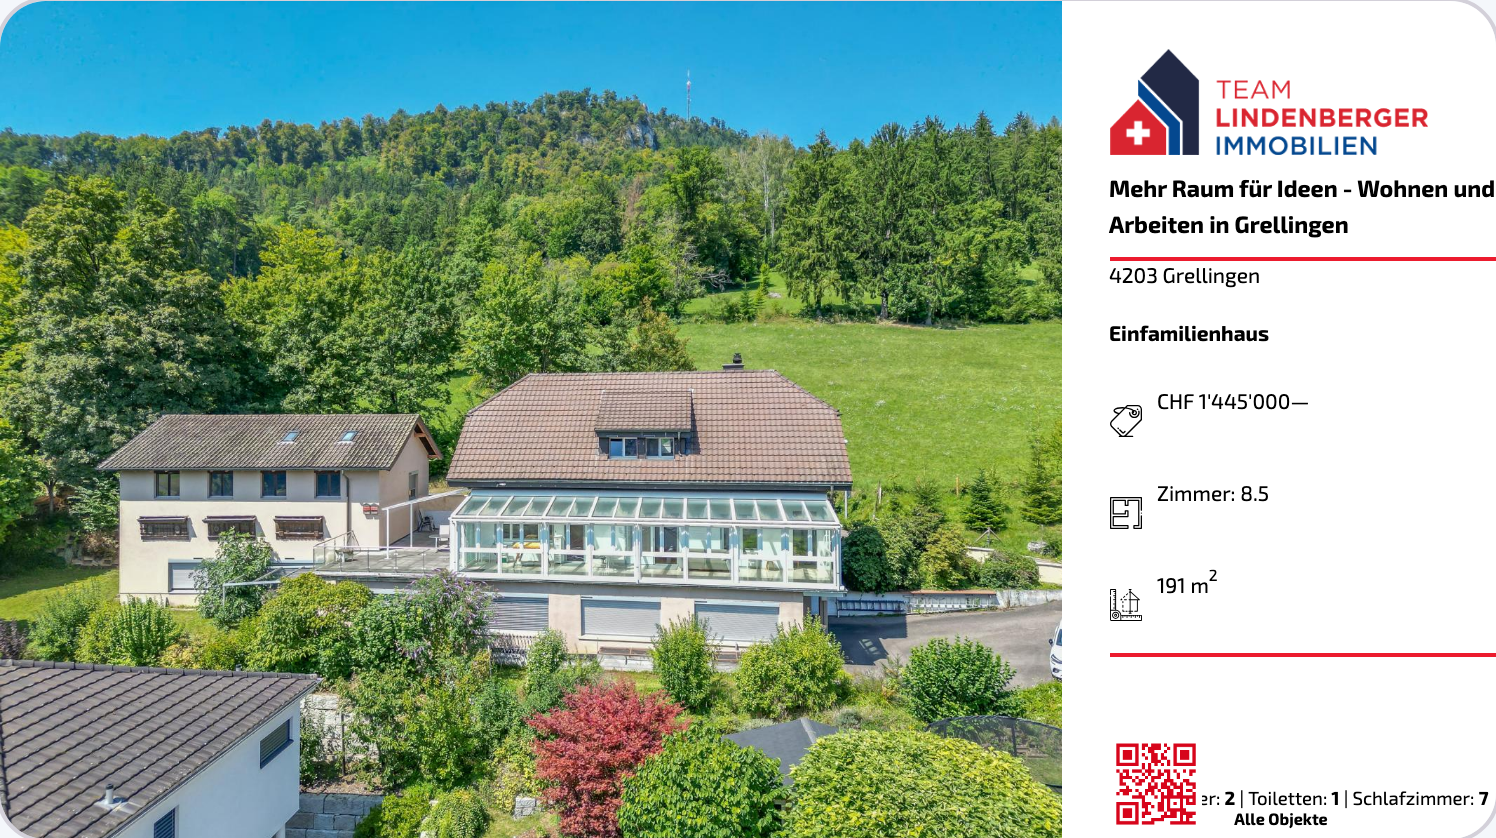
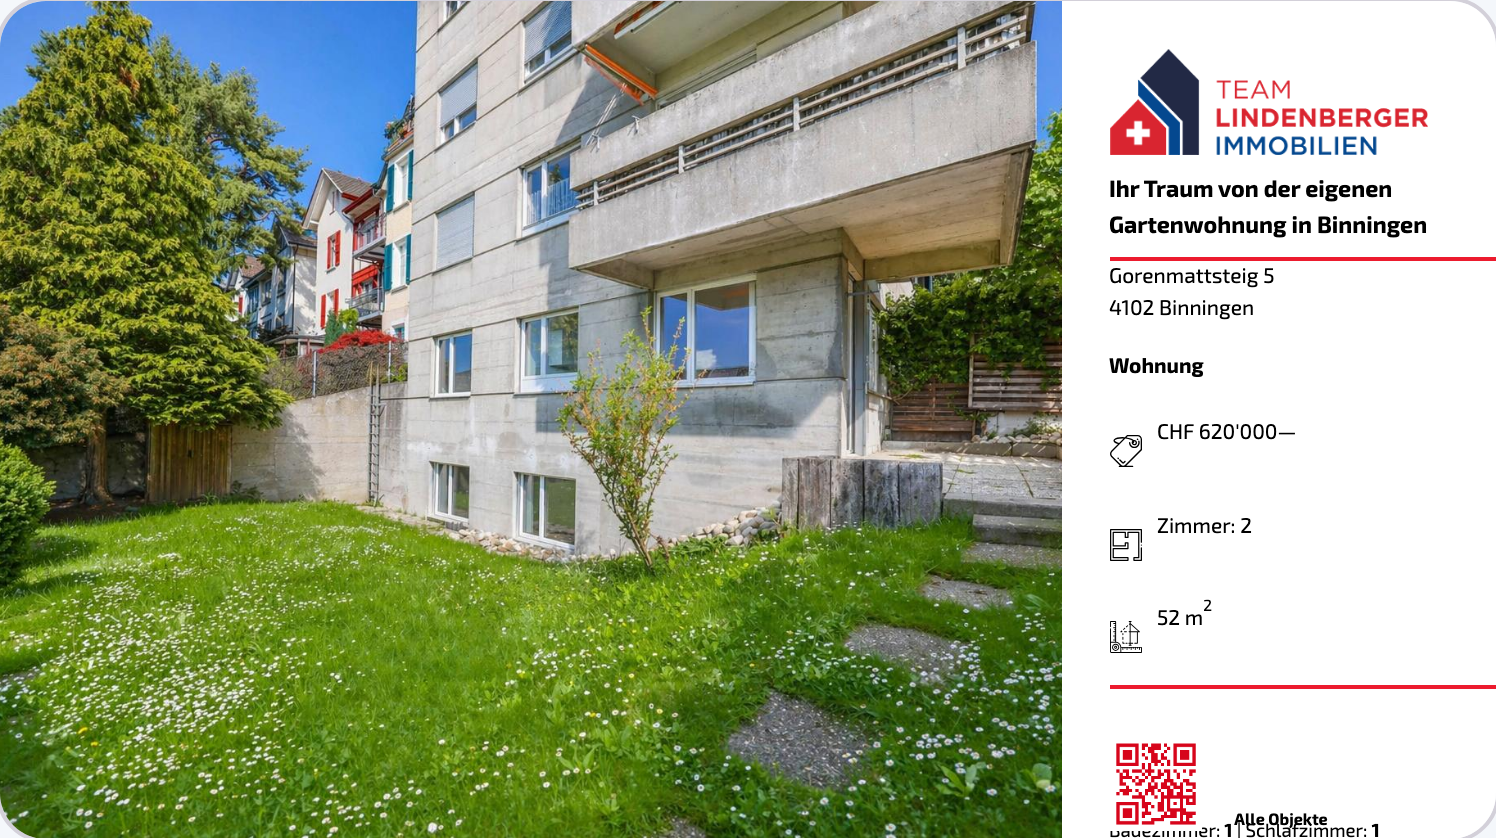
This is what Real Estate Feed looks like on the screen, examples from actual use:
Requirements
- An active revolutionSCREEN account with access to my.rstv.app.
- Real Estate Feed is a premium app (crown in the Appstore) and must be enabled for your account.
- The address (URL) of your real estate feed, e.g. from your broker software.
- At least one configured screen.
Install the app
In the sidebar on the left, click «Apps» and at the top on «zum App-Store» (to the Appstore).
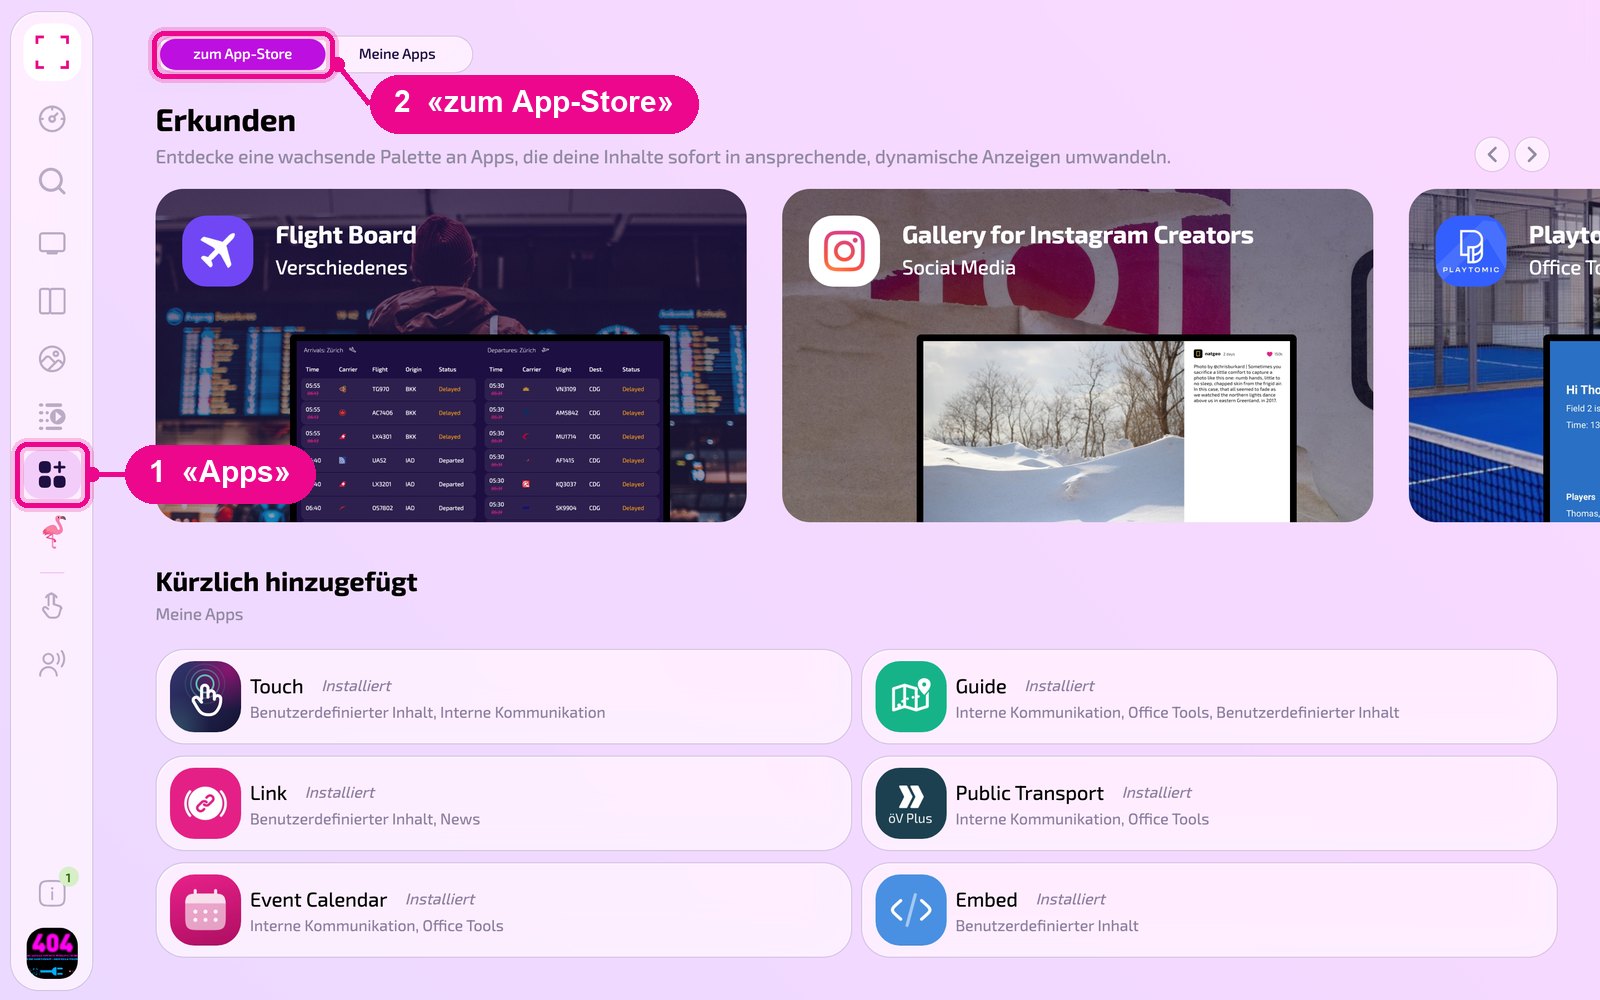
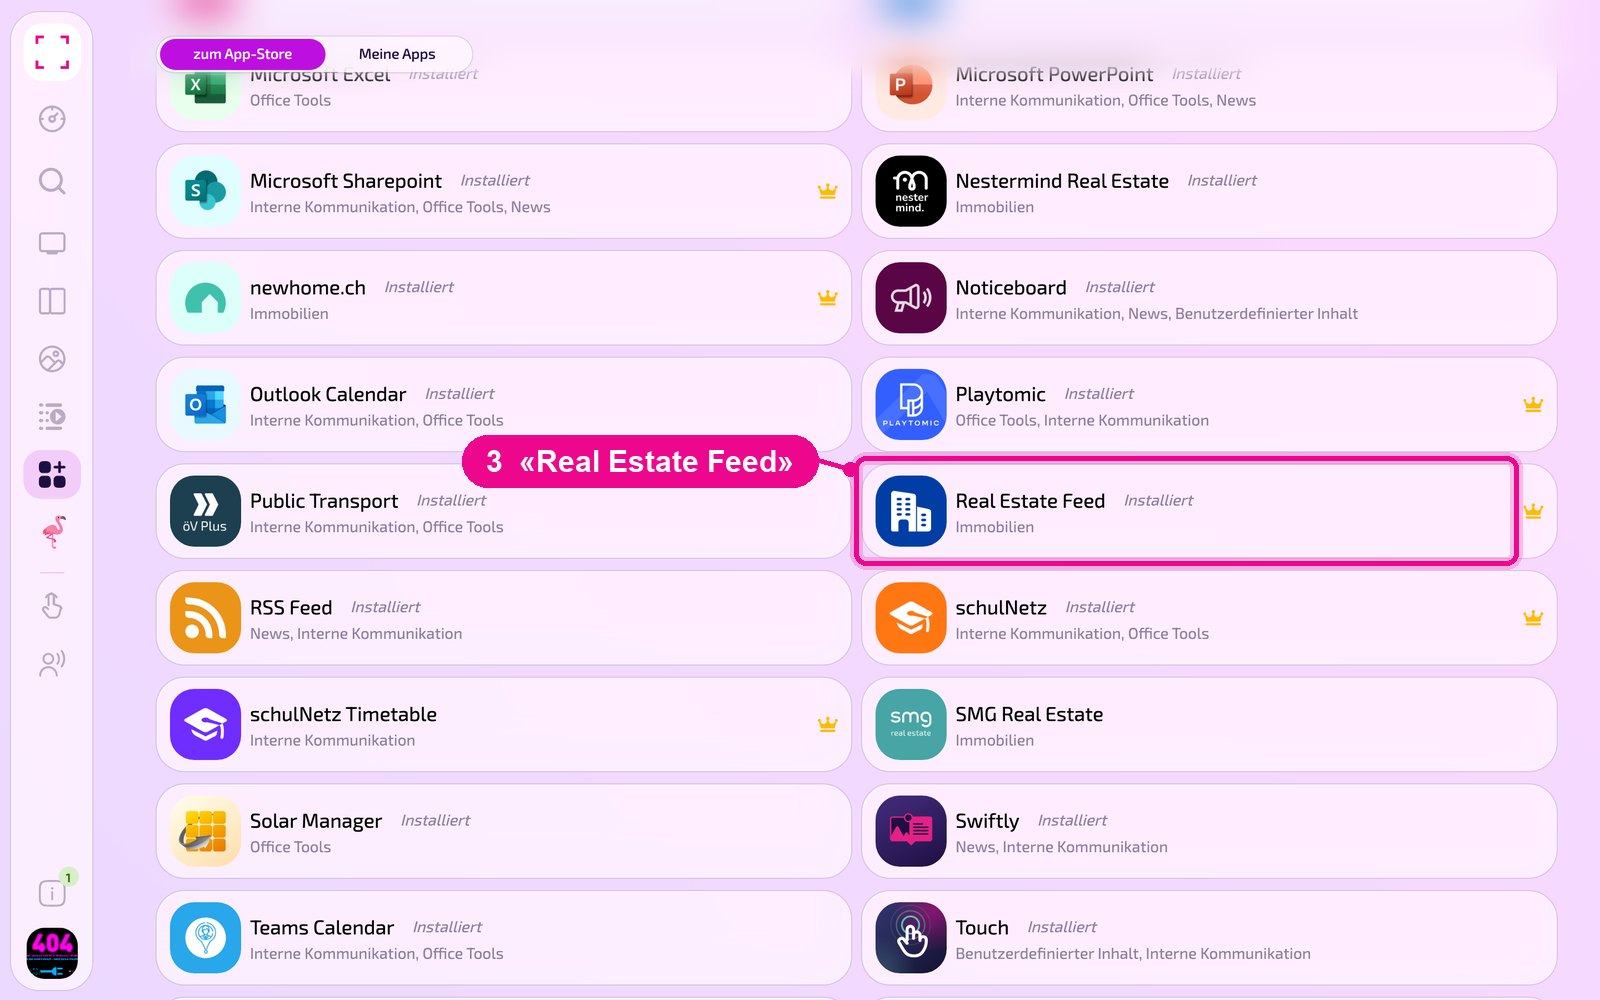
Scroll to the «Alle» (All) list and click the «Real Estate Feed» tile. Use the category buttons to narrow down the list.
The app's detail view opens. If it isn't installed yet, first click «Installiere» (Install). Then click «Neue Instanz» (New instance). «App Guide» opens a quick guide.
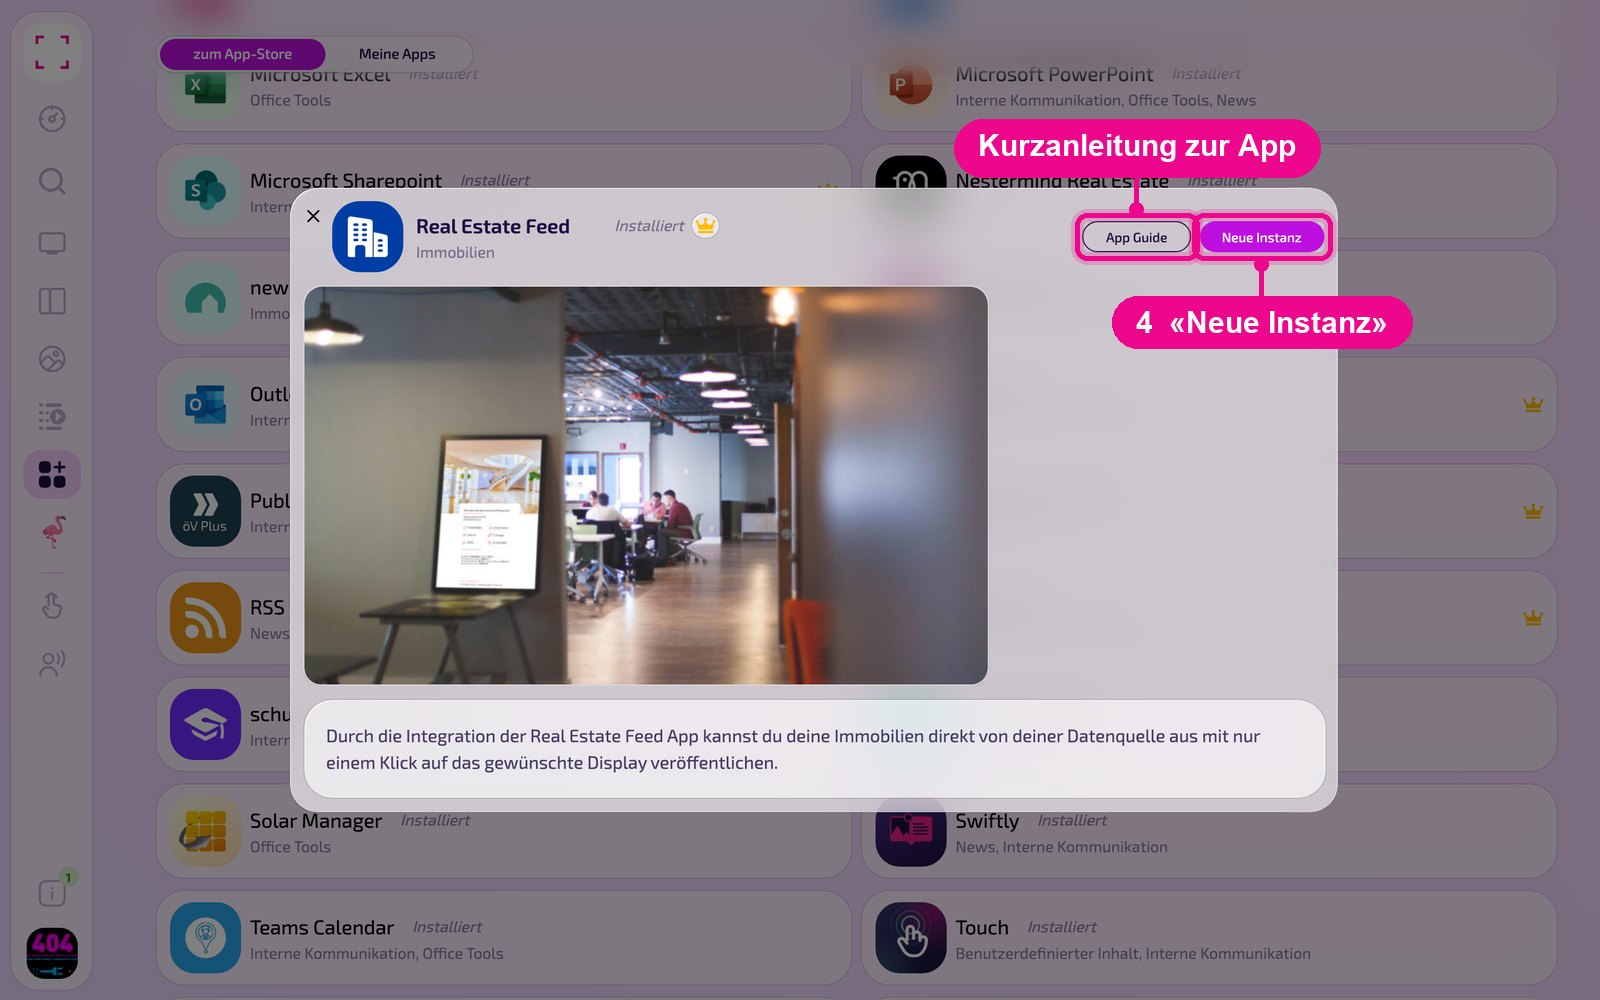
An instance is a separate configuration of the app, e.g. one gallery for reception and another for the cafeteria. You can create as many instances as you like and use each one individually on screens, in playlists or layouts.
Create a new instance
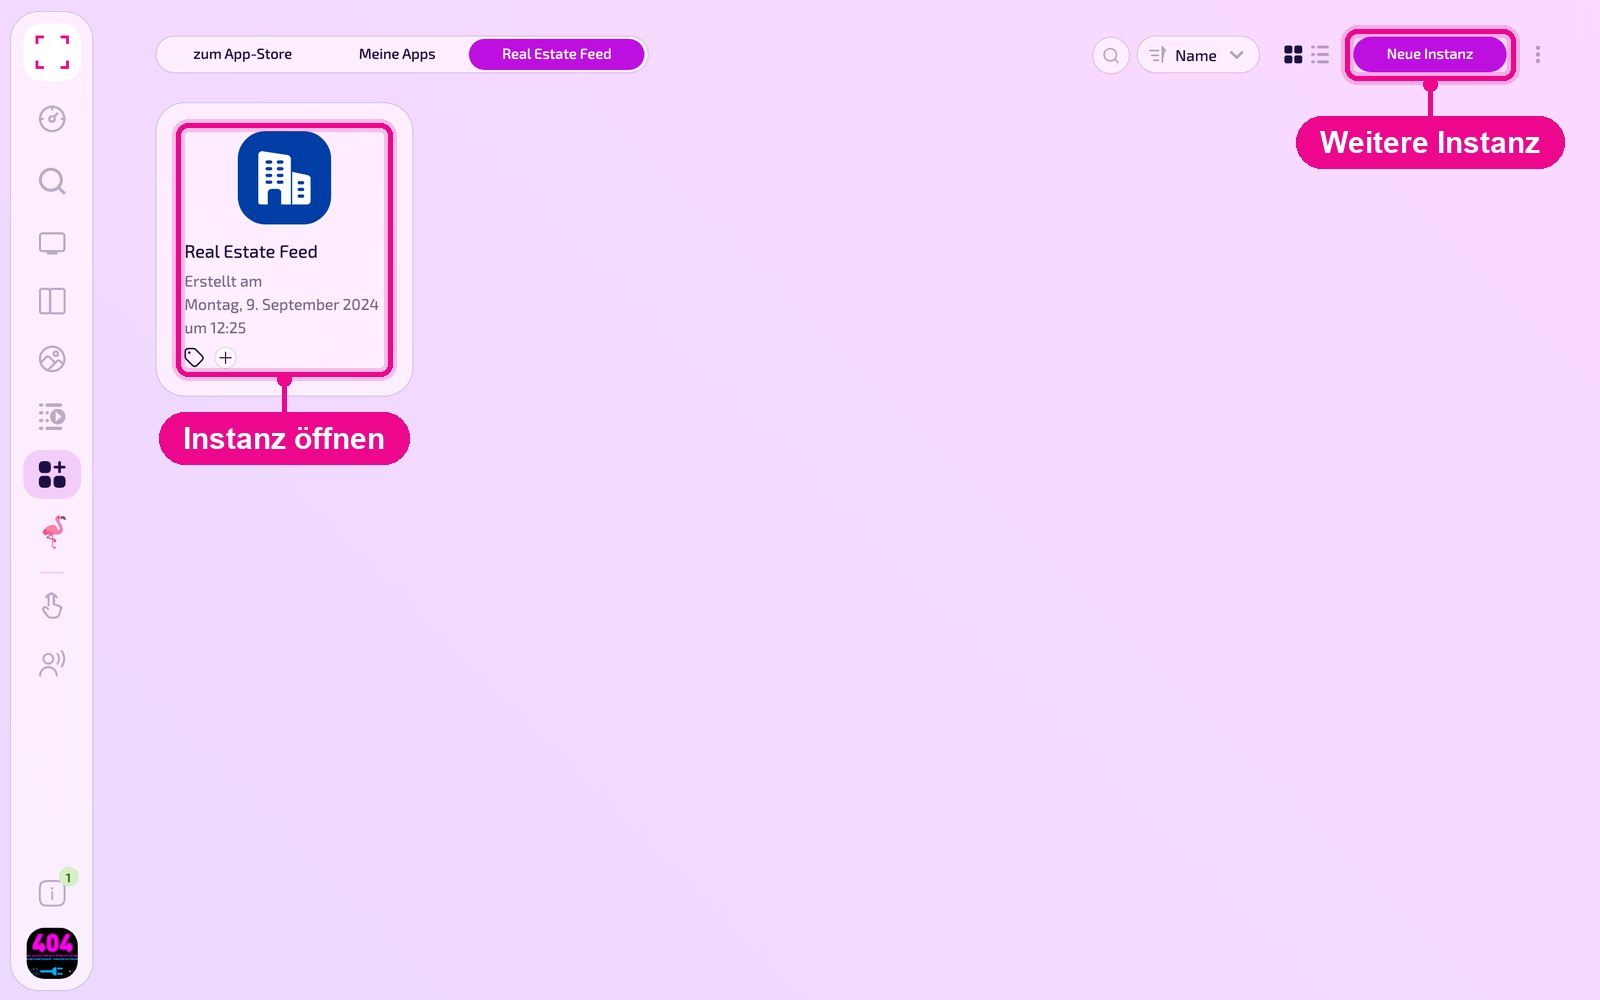
Under «Apps › Meine Apps» (My Apps) you see all instances of the app as tiles. With «Neue Instanz» (New instance) at the top right you create another one, and by clicking a tile you open an existing one.
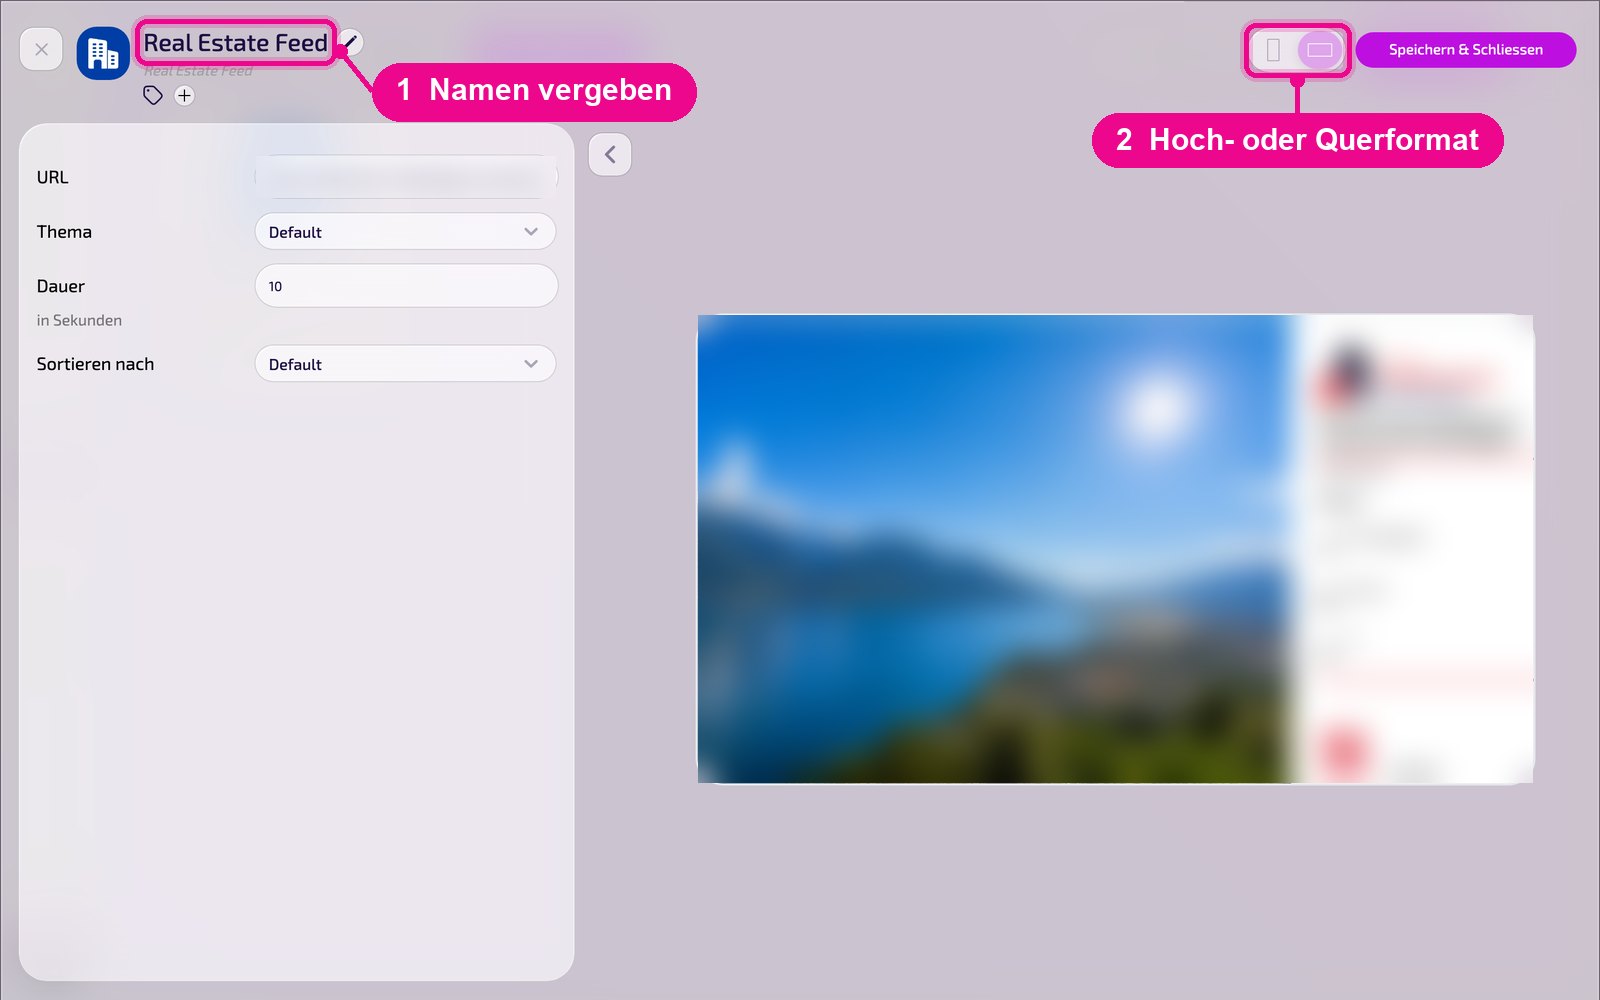
In the editor, move the mouse over the title and click the pencil to give the instance a name. A new instance shows «Kein Name angegeben» (No name given) in red until then. At the top right you choose whether the preview appears in portrait or landscape format.
Connect the feed
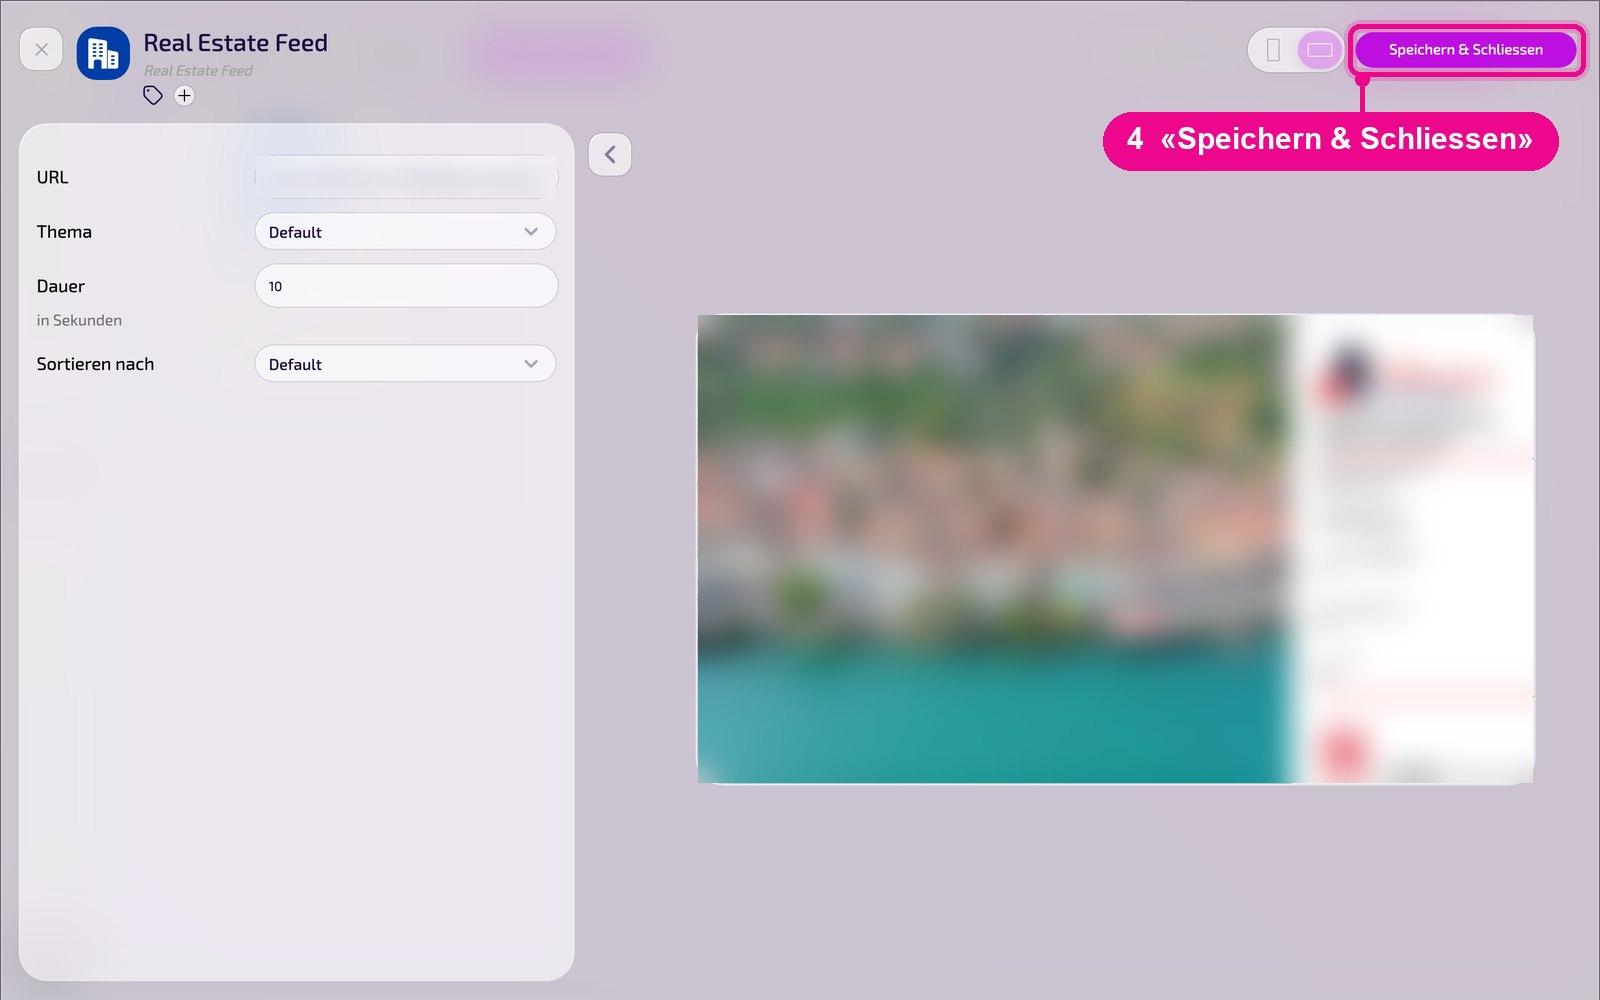
In the «URL» field, paste the address of your object feed. The live preview then shows the objects from the feed.
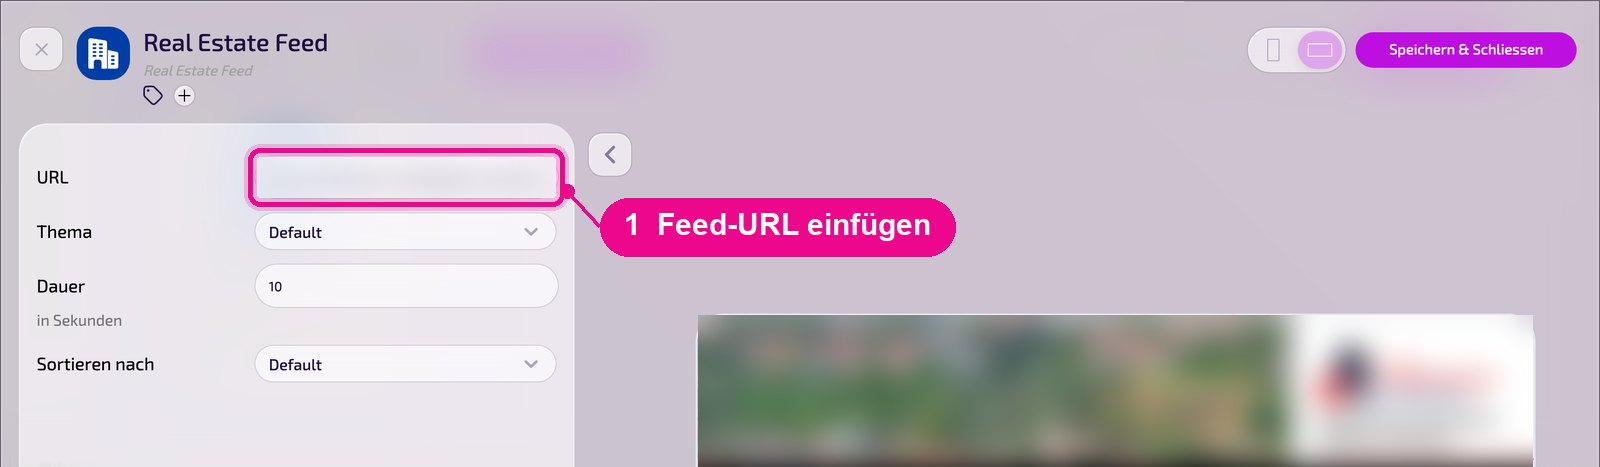
The feed URL leads directly to your object data. Do not share it and do not show it in screenshots.
Configuration in detail
On the left are all settings, on the right you immediately see in the live preview how the instance looks on the screen. Use the arrow next to the card to collapse the settings.
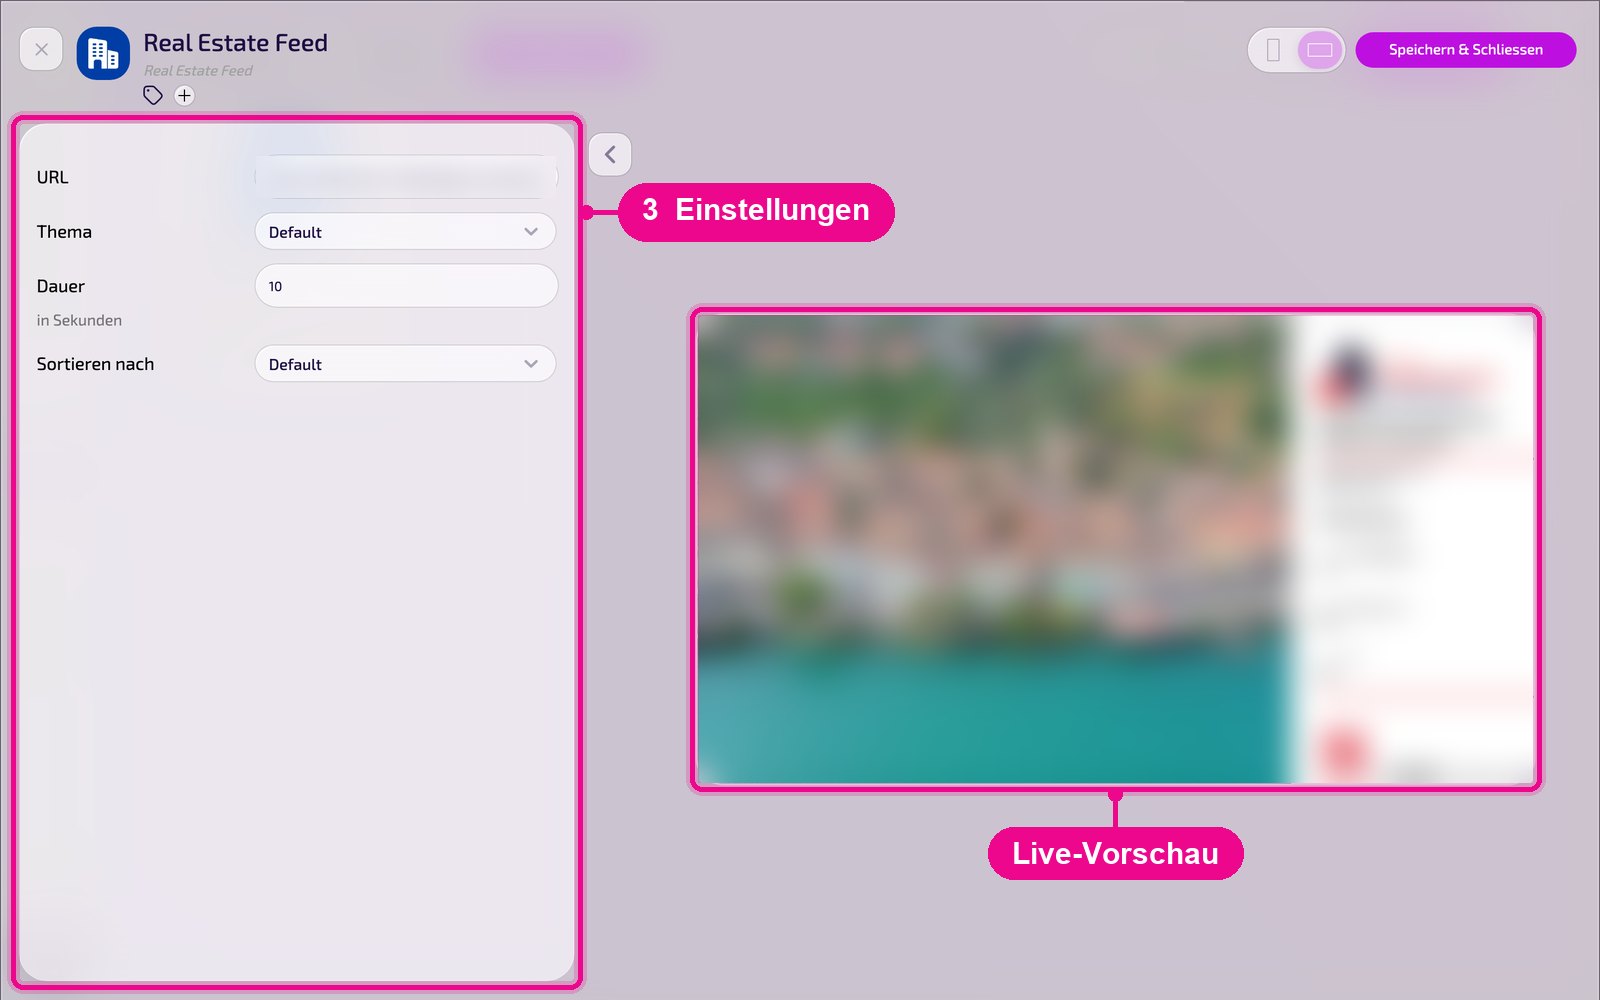
- URL: Address of the real estate feed.
- Thema: Display template, e.g. «Default». On request we create a theme in your brand style.
- Dauer: Display time per object in seconds.
- Sortieren nach: Order of the objects, e.g. «Default».
Display duration in playlist & layout
Real Estate Feed shows several posts one after another per instance. When you use the instance in a playlist or layout, you set how long it runs via the element duration. To do this, click the element's duration. This logic applies to all apps with several posts per instance.
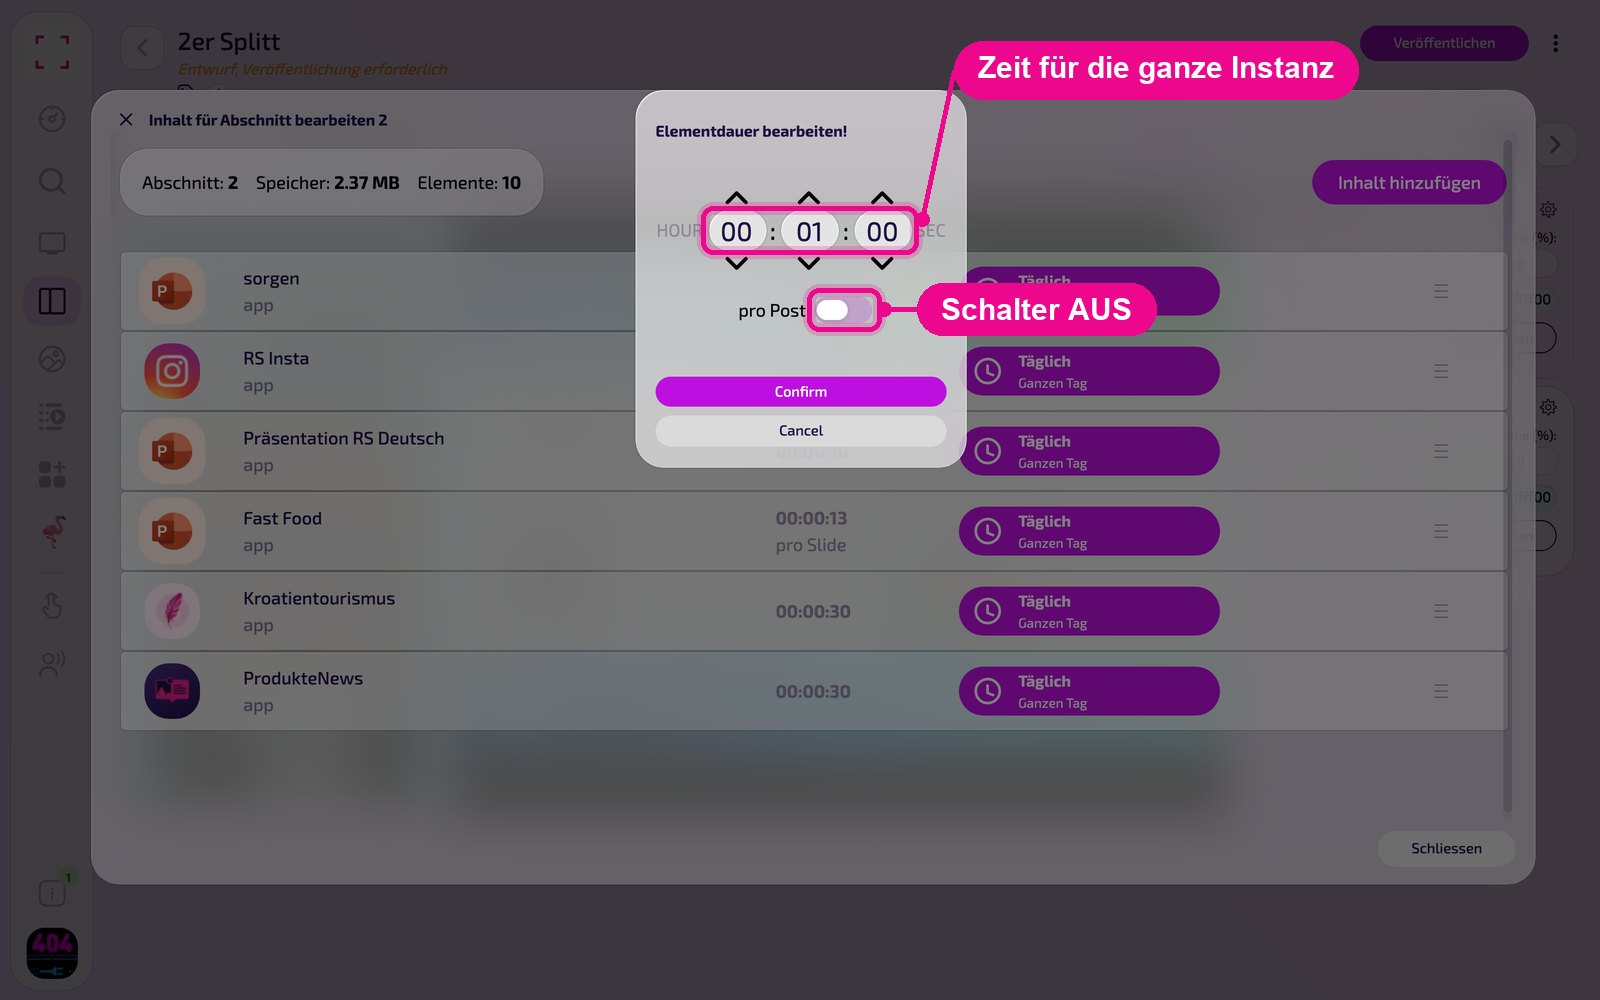
In the «Elementdauer bearbeiten!» (Edit element duration) window, the toggle decides between two variants. It is usually called «pro Post» (per post), or «pro Slide» (per slide) for presentations. With «Confirm» you apply the setting.
Variant 1: Toggle OFF (total duration)
The set time applies to the entire instance. Example 00:01:00: The instance runs for one minute. The posts change in sequence during this time and start over if needed. So not necessarily all posts appear.
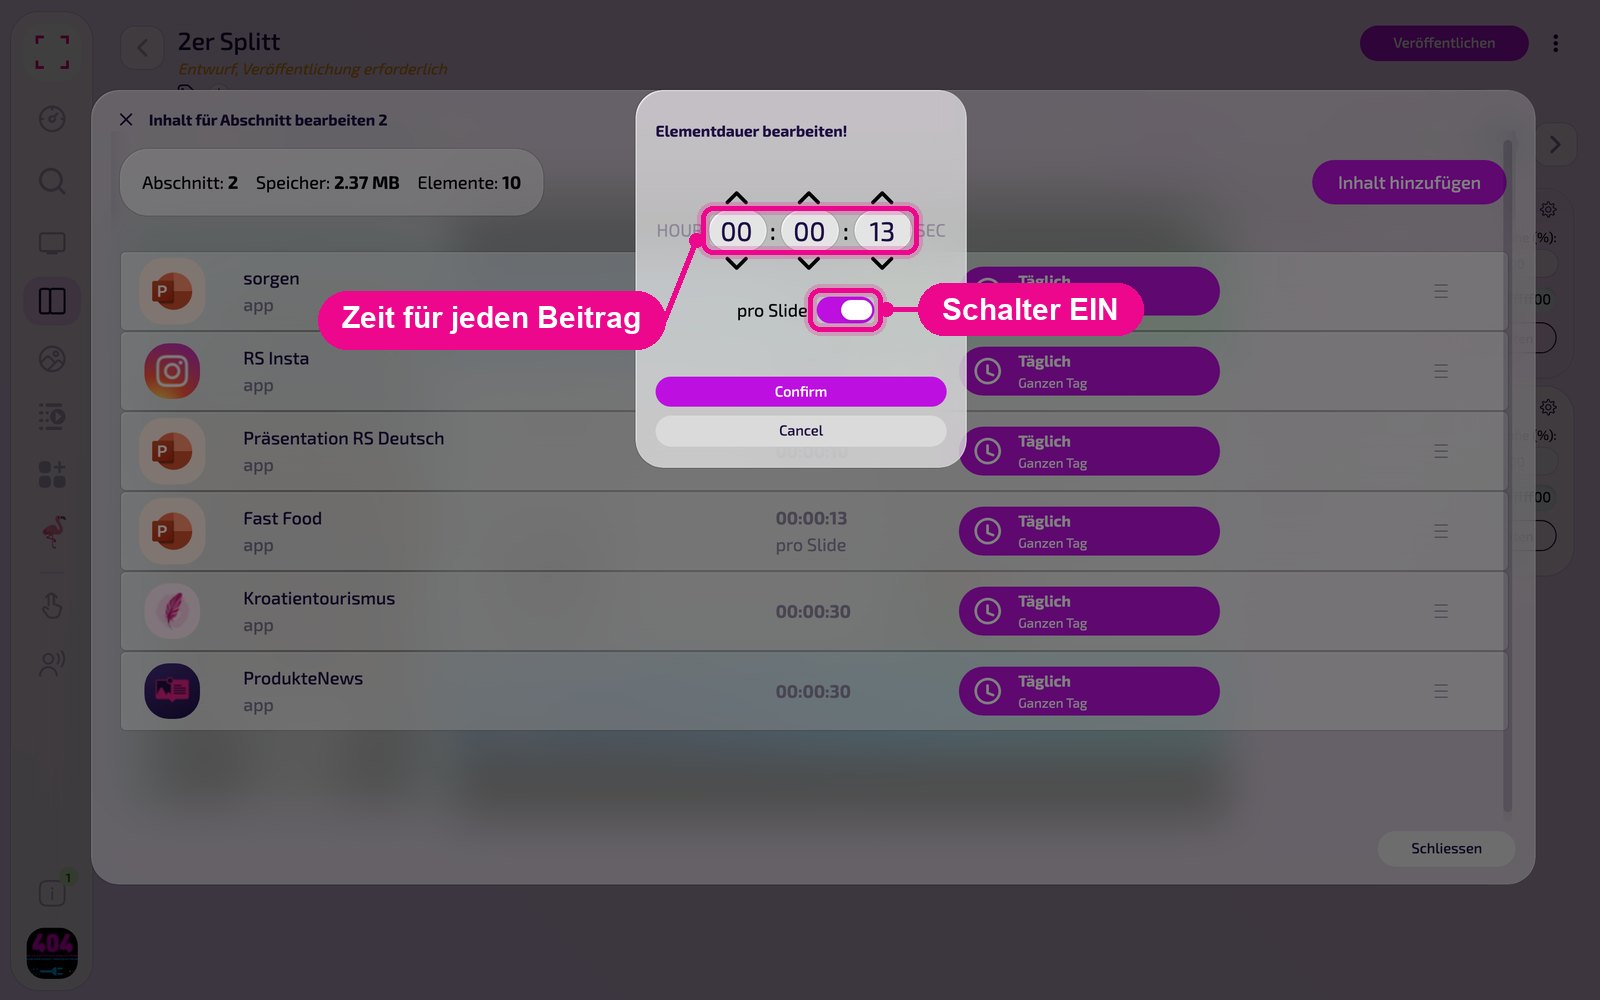
Variant 2: Toggle ON (duration per post)
The set time applies to each post. Example 00:00:10 with 12 posts: Each post appears for exactly 10 seconds, the instance runs for a total of 2 minutes. In the list, «pro Post» or «pro Slide» then appears below the duration.
If you want to be sure all posts appear, turn on «pro Post». If the instance should occupy exactly a fixed time, leave the toggle off.
Save & play out on the screen
Save the instance at the top right with «Speichern & Schliessen» (Save & close).
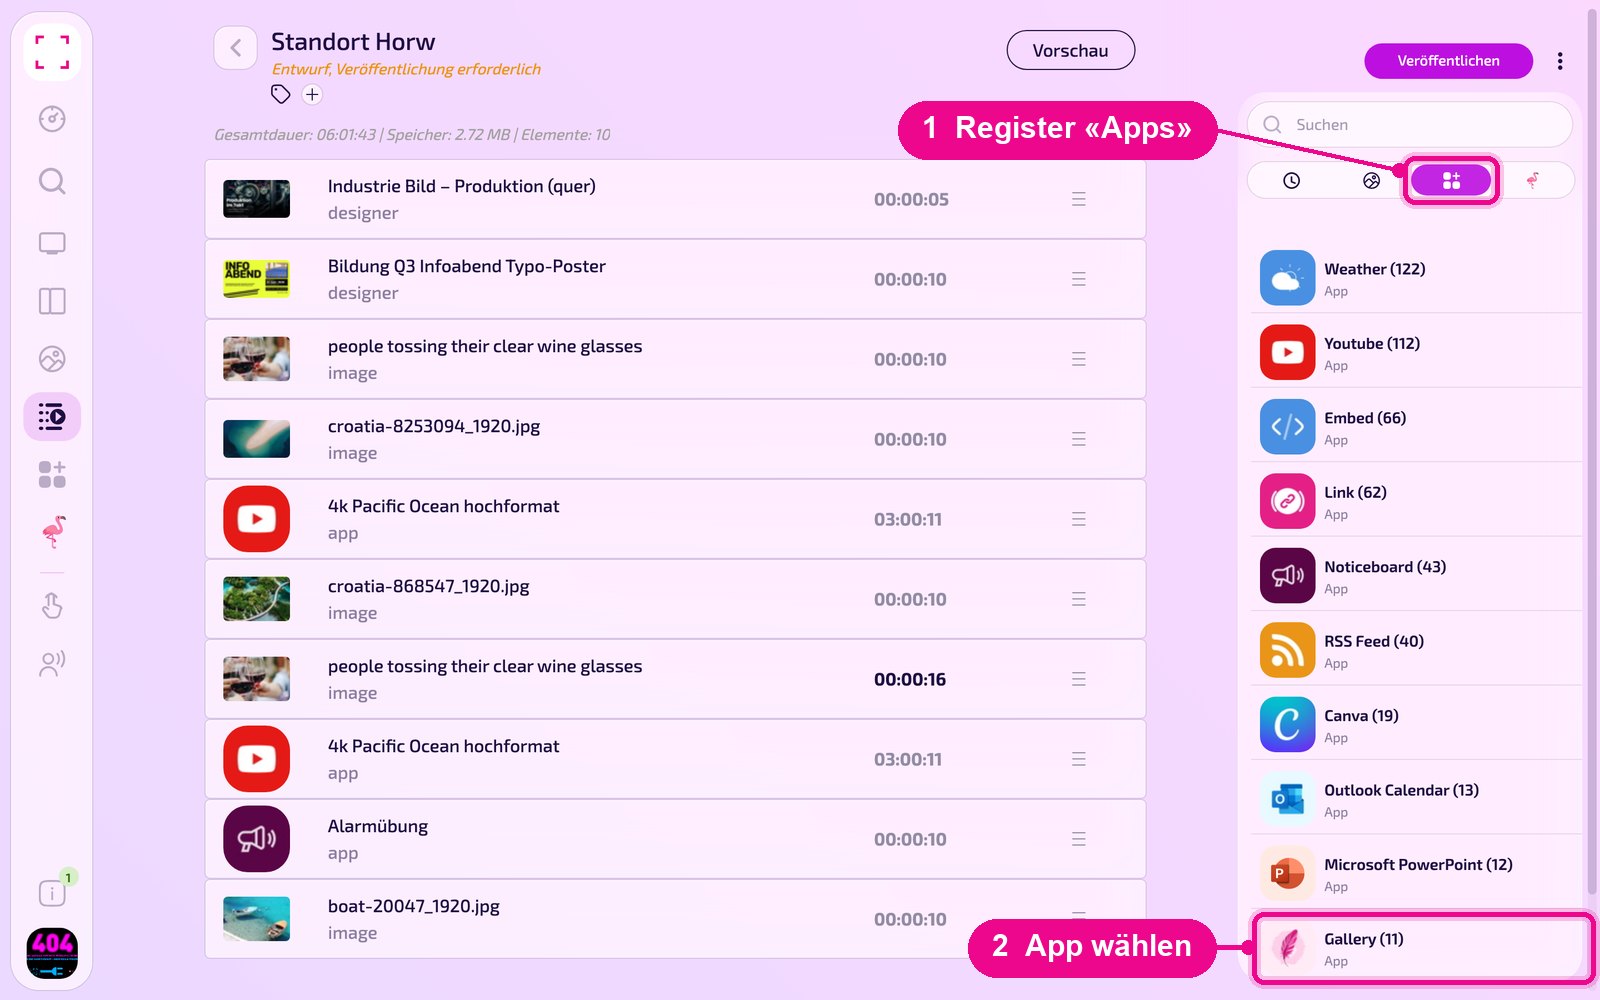
Add to a playlist: Open the playlist, select the «Apps» tab on the right, click the app and then the instance. The instance is added immediately.
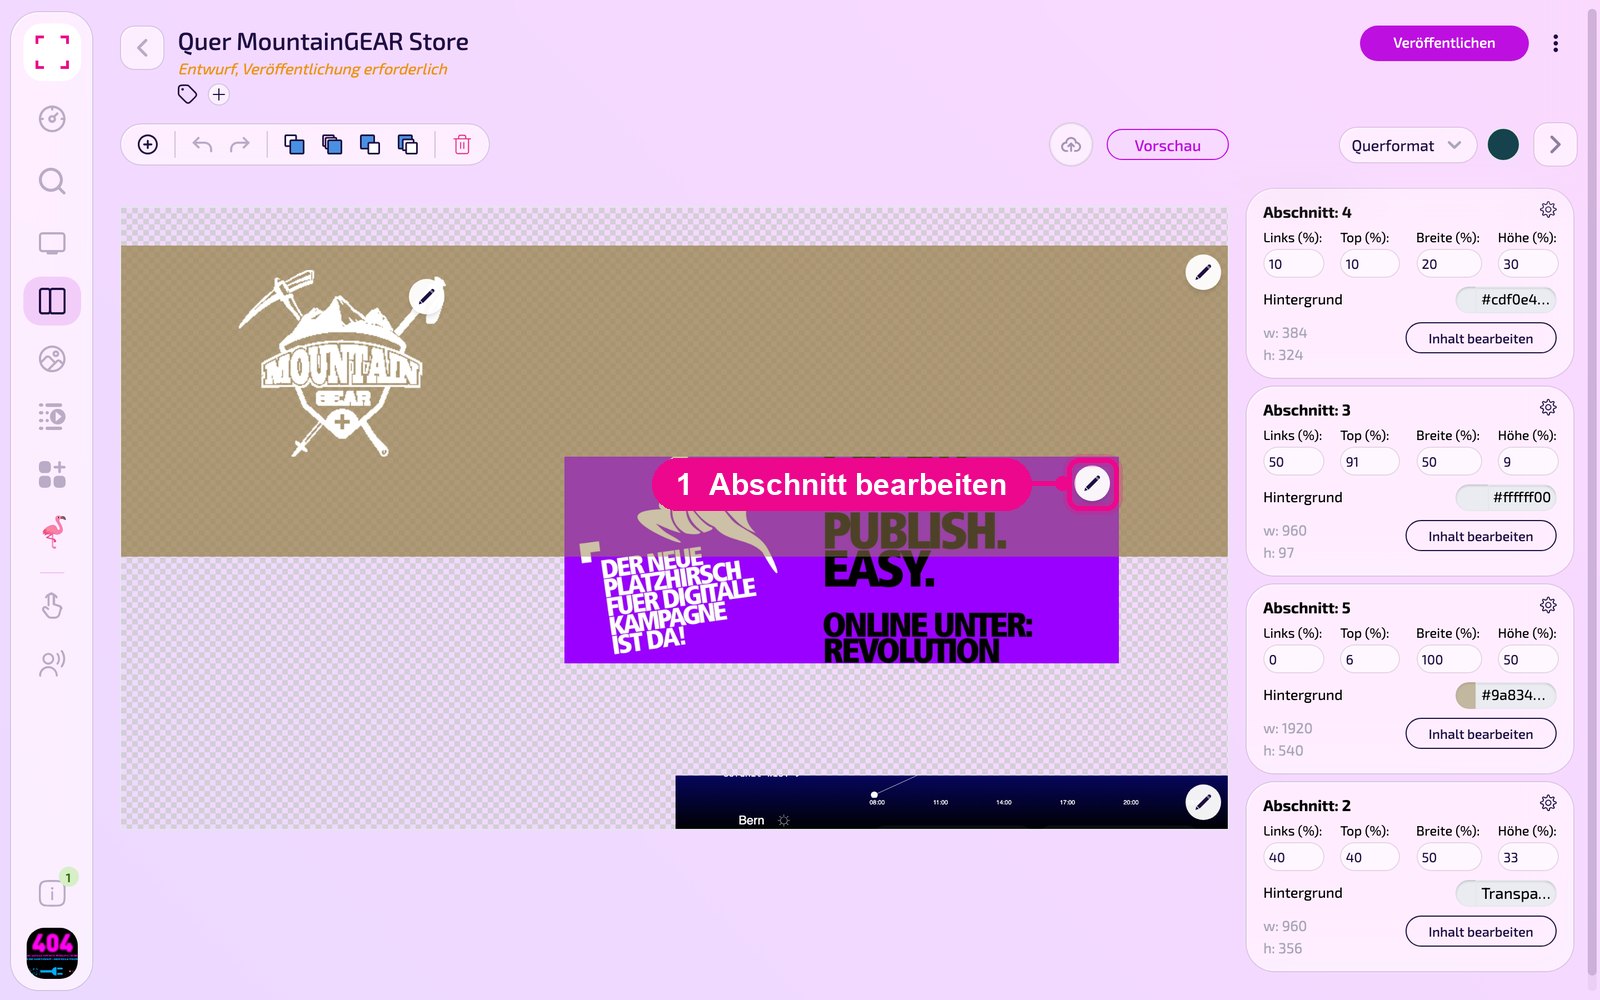
Add to a layout: Open the layout and click the pencil at the desired section.
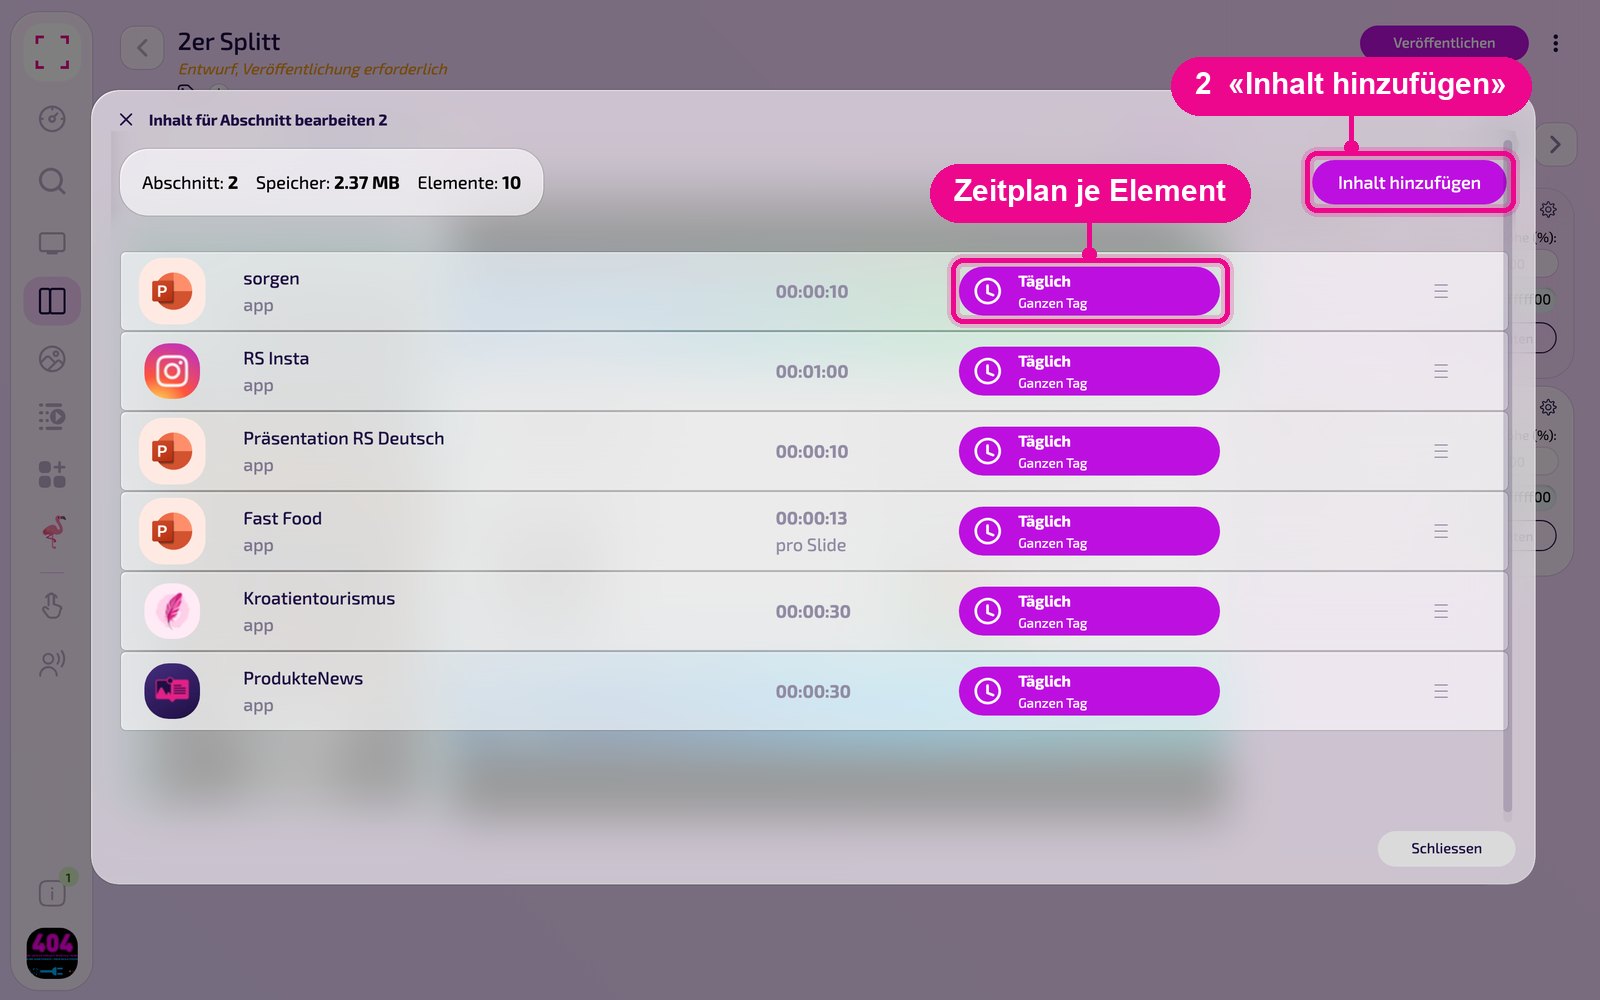
In the «Inhalt für Abschnitt bearbeiten» (Edit content for section) window, add the instance with «Inhalt hinzufügen» (Add content). On the right, for each element you set the schedule via «Täglich» (Daily).
Then click «Veröffentlichen» (Publish) in the playlist or layout. As long as it still says «Entwurf, Veröffentlichung erforderlich» (Draft, publishing required), the screen still shows the old state.
Tips & Troubleshooting
No objects
Check the feed URL: the address must be complete and the feed must return objects.
Wrong order
Select the desired order under «Sortieren nach» (Sort by).
Not all objects appear
In the Playlist or Layout, set the element duration to «pro Post» (per post), see «Anzeigedauer in Playlist & Layout» (Display duration in Playlist & Layout).
Content does not appear
Check whether the Playlist or Layout is published and assigned to the correct Screen and that the Player is online.